5-2 Stage
Fig.
25
Fig.
26
Fig. 27
Fig
.
28
a Placing
of
Specimen Slides
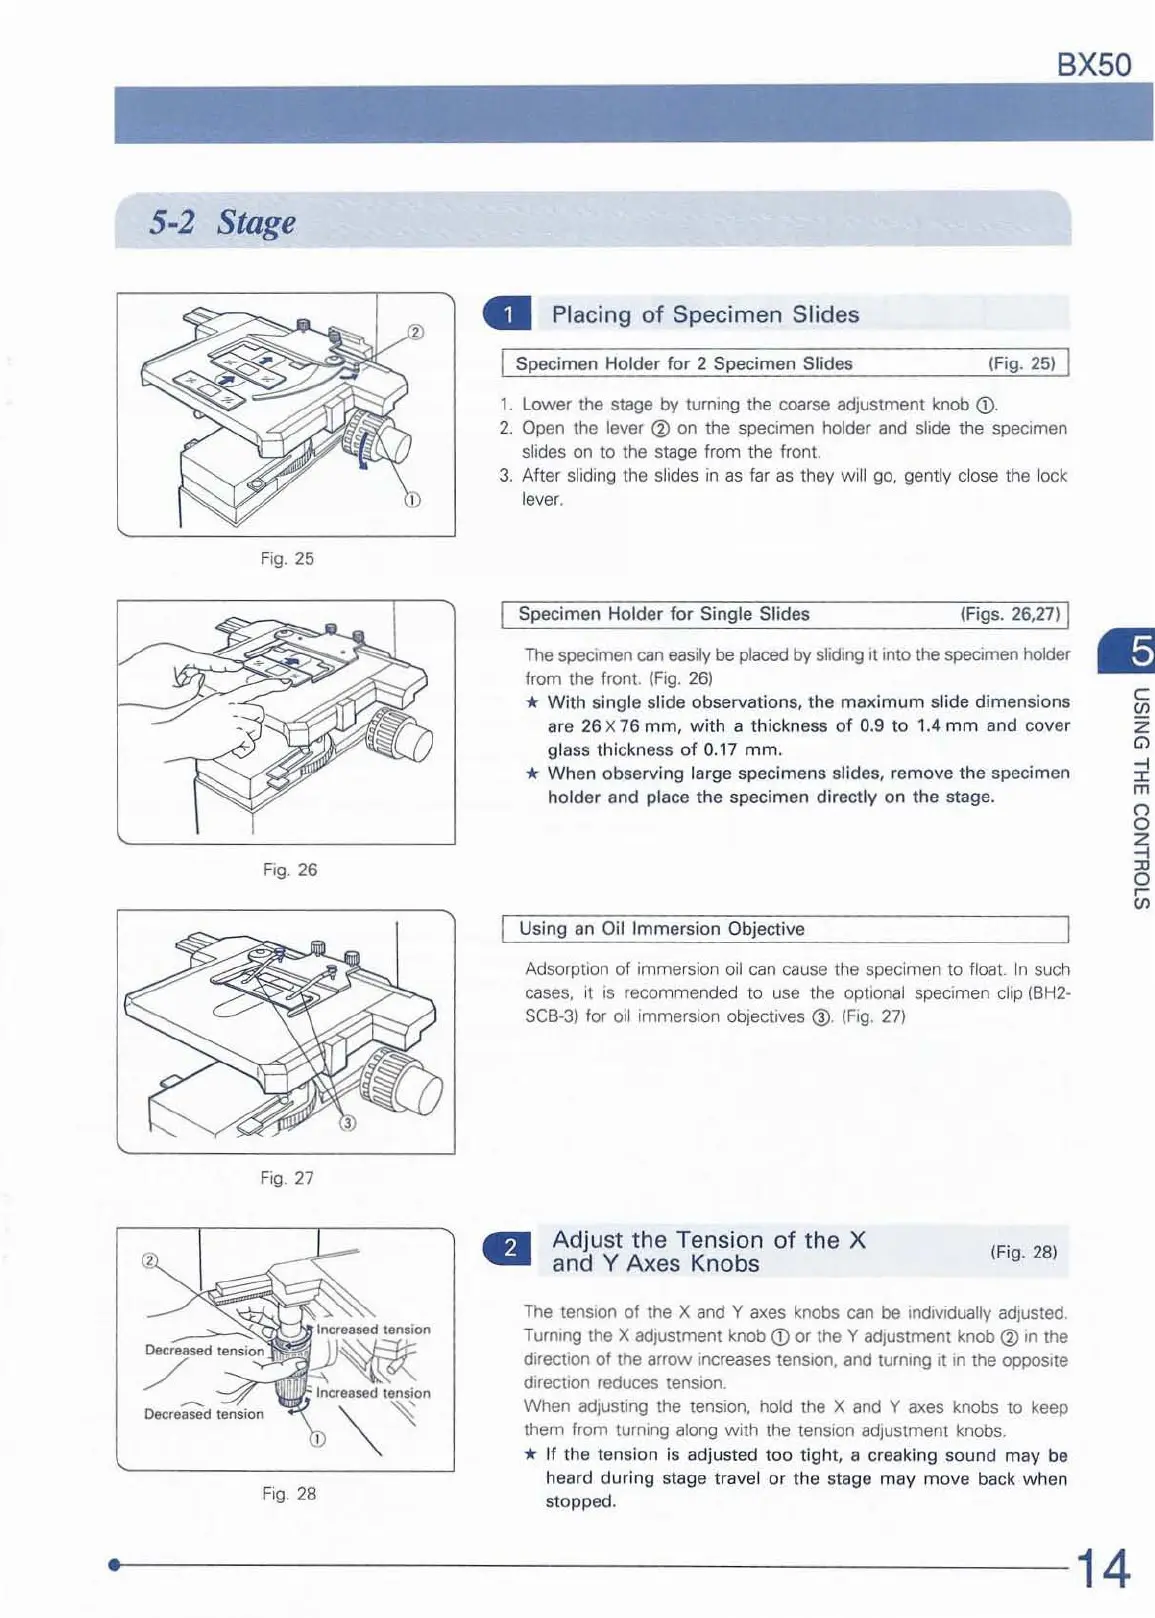
Specimen Holder for 2 Specimen Slides (Fig. 25)
1.
lower
the st
age
by
turning the coarse adjustment
kn
ob
CD.
2. Open the lever @ on the specimen holder
and
slide the specimen
slides
on
to the
sta
ge from the front.
3. After sliding the
sli
des in as far as they
wi
ll
go,
gently
cl
ose the lock
le
ver.
Specimen Holder for Single Slides (FigS. 26.27) I
The
specimen can easily be placed
by
sliding It into the specimen holder
from the front. (Fig. 26)
*
Wit
h single slide observations, the
maximum
slide dimensions
are
26 X 76
mm,
with
a
thic
kness
of
0.9
to
1.4
mm
and cover
glass thickness
of
0.
17
mm.
* When observing large specimens slides, remove the specimen
holder and place the specimen directly
on
the
stage.
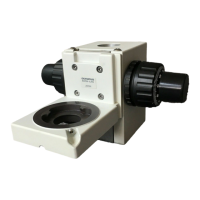
Using an Oil I
mmersion
Objective
Adsorpllon
of Immersion o
il
can
cause the specimen to
floa
t.
In
such
cases, it
is
recommended
to
use the optional s
pe
cimen clip
(BH2-
SC
B-3)
for oil immersion objectives @'
(Fig
.
27)
Ad
just the Tension of the X
and Y Axes
Kn
obs
{Fig.
28)
The tension of the X
and
Y axes knobs
can
be individually
ad
justed.
T
urmng the X adjustment
k.nob
<D
or the Y
ad
justment knob Q) In the
direction of the arrow increases
tenSIOn
,
and
IU
rmng
It
in the opposite
direction reduces tension.
When adjusting the tensi
on,
ho
ld the X and Y axes knobs
to
k.eep
them from turning along with the tension adjustment knobs.
*
If
the tension is adjusted
too
tight, a creaking sound
may
be
heard
during
stage travel or the stage may
move
back
when
stopped.
~·
------------------------
----
14
C
<J>
Z
G>
:i!
m
8
Z
:ti
o
r
<J>