66
5
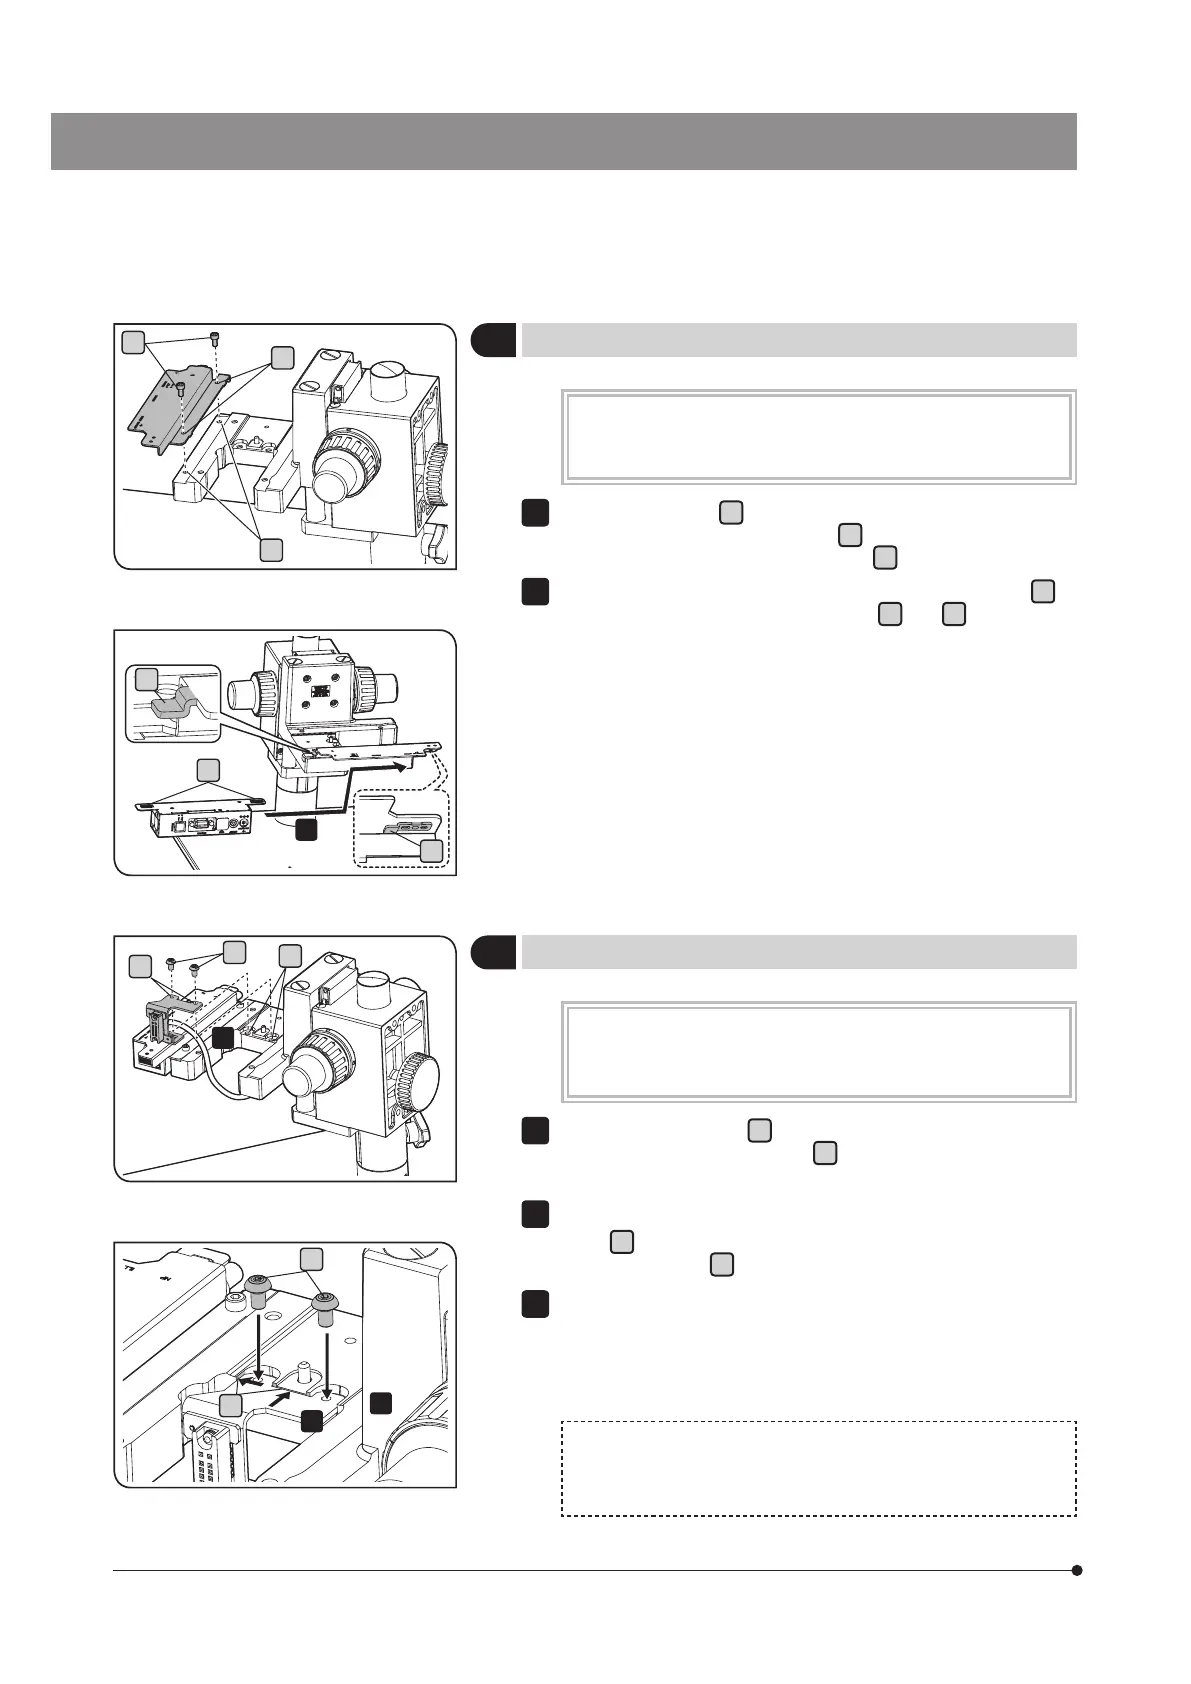
Attaching the cable for motorized nosepiece
The cable for the motorized nosepiece (BX3M-RMCBL) must
be attached when combining the motorized nosepiece to the
microscope.
Align the mounting holes
b
(2 positions) of the cable for the motorized
nosepiece with the screw holes
a
(2 positions) on the illuminator
holder for BXFM (BX3M-ILH).
While pushing the metal plate of the cable for the motorized nosepiece
to the
c
position of illuminator holder for BXFM (BX3M-ILH), tighten
the provided screw
d
to secure the metal plate.
Connect the cable that comes out from the lower area of the illuminator
holder for BXFM (BX3M-ILH) to the connector of the FM control box
(BX3M-CBFM).
For connection of the cable for motorized nosepiece (BX3M-
RMCBL) with the FM control box (BX3M-CBFM), refer to the
instruction manual provided with the BX3M-CBFM.
1
2
3
b
c
2
4
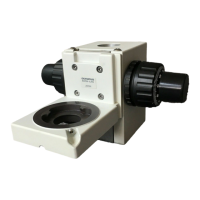
Attaching the control box for coded function
a
d
e
f
b
c
d
a
d
3
4
2
The control box for coded function (U-CBS) must be attached
when combining the coded reflected light illuminator or the
coded revolving nosepiece with the microscope.
Align the screw holes
a
(2 positions) of the illuminator holder for BXFM
(BX3M-ILH) with the mounting holes
b
(2 positions) of the provided
bracket, and tighten the provided screws
c
to secure it.
Attach the hangers of the control box for coded function
d
(2
positions) by hanging them on the hooks
e
and
f
of the bracket.
1
2