5
EN
Preparations for shooting
Basic guide
1
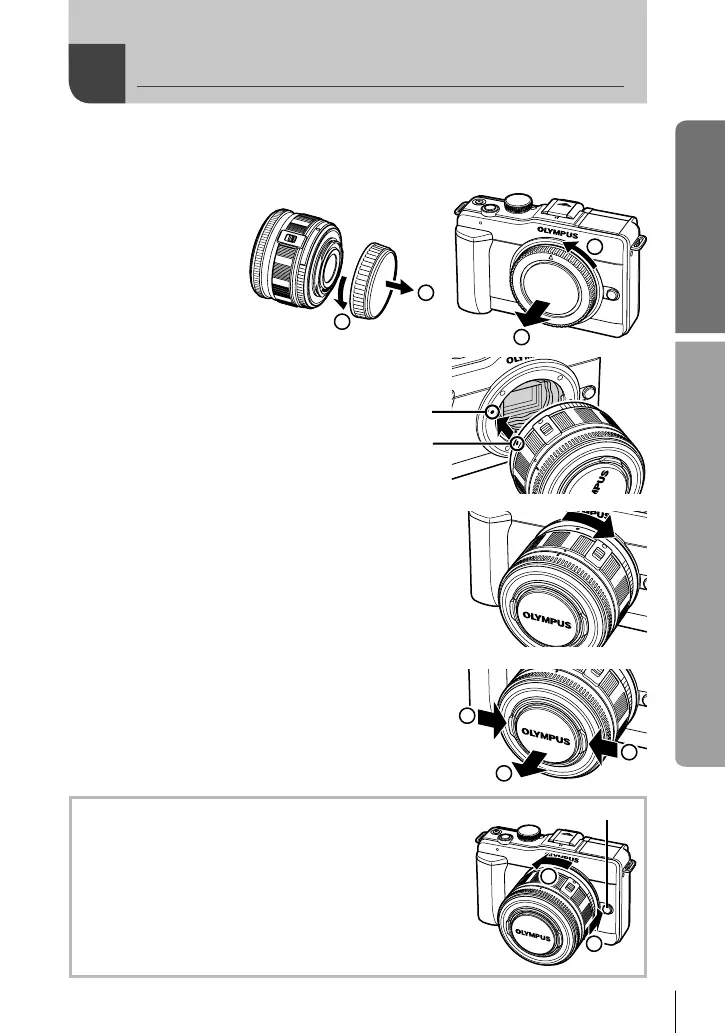
Remove the body cap from the camera and the rear cap from
the lens.
1
2
1
2
2
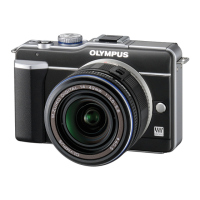
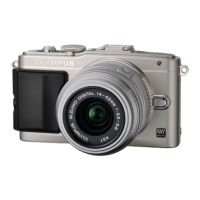
Attach a lens to the
camera.
Align the lens attachment
mark (red) on the camera with
the alignment mark (red) on
the lens, then insert the lens
into the camera's body.
•
Alignment mark
Lens attachment
mark
Rotate the lens in the direction indicated by the
arrow until you hear it click.
# Caution
Make sure the camera is turned off.
Do not press the lens release button.
Do not touch internal portions of the camera.
•
•
•
•
3
Remove the lens cap.
2
1
1
Removing the lens from the camera
While pressing the lens release button, rotate the lens in
the direction of the arrow.
g “Interchangeable lenses” (P. 97)
2
1
Lens release button
Attaching a lens to the camera
S0027E.indb5S0027E.indb5 2009/12/2114:52:362009/12/2114:52:36