87
EN
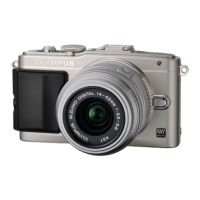
Connecting the camera to a computer
9
9
Your camera supports the USB Mass Storage Class. You can transfer images
to a computer by connecting the camera to the computer with the provided USB
cable. The following operating systems are compatible with the USB connection:
Windows: Windows 2000 Professional/Windows XP Home Edition/
Windows XP Professional/Windows Vista/Windows 7
Macintosh: Mac OS X version 10.3 or later
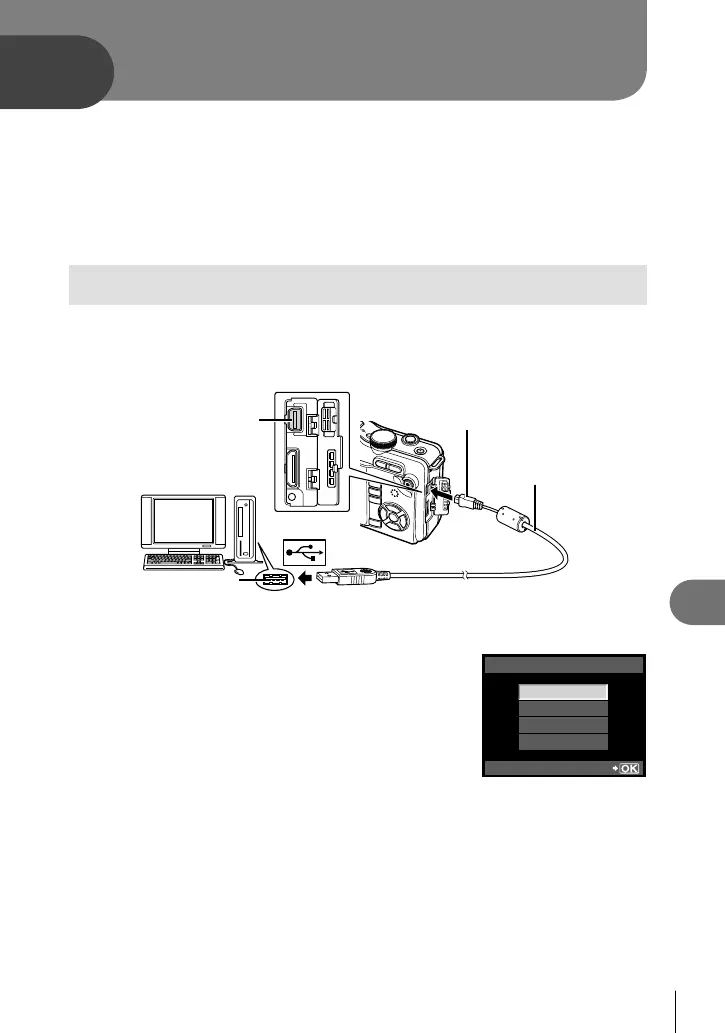
Connecting the camera to a computer
1
Turn the camera off and connect it to the computer.
The location of the USB port varies with the computer. For details, refer to your
computer's manual.
Multi-connector Smaller terminal
USB cable
Look for this mark.
USB port
2
Turn on the camera.
The selection screen for the USB connection is displayed.
3
Press FG to select [STORAGE]. Press
the i button.
4
The computer recognizes the camera as a
new device.
STORAGE
MTP
PRINT
EXIT
USB
SET
# Caution
If your computer is running Windows Vista, select [MTP] in Step 3 to use Windows
Photo Gallery.
Data transfer is not guaranteed in the following environments, even if your computer
is equipped with a USB port.
Computers with a USB port added by means of an extension card, etc.
Computers without a factory-installed OS and home-built computers
When the camera is connected to the computer, none of the camera buttons are
functional.
•
•
•
•
•
•
•
Connecting the camera to a computer
S0027E.indb87S0027E.indb87 2009/12/2114:53:142009/12/2114:53:14