P
Patricia SharpSep 23, 2025
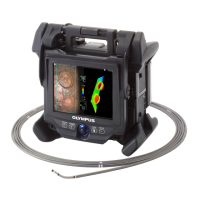
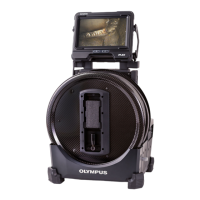
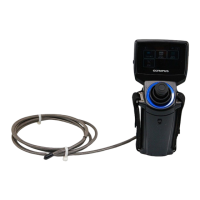
Why doesn't the stereo measurement function start on my Olympus IPLEX NX IV9675N?
- JJared FisherSep 23, 2025
If the stereo measurement function does not start, verify that the combination of the stereo optical adapter and the stereo scope unit is correct by checking their serial numbers.