Page 20 of 76
Issue 20 : July 2012
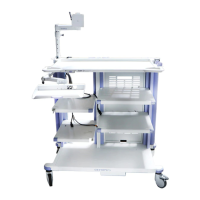
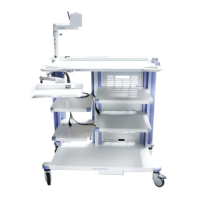
WM--P1 SERIES WORKSTATIONS
6.7 Remote switch replacement
(1) Unplug the Remote switch plug from the separation transformer.
(2) Refer to Figure 6-5 for WM--NP1, Figure 6-6 for WM--WP1 and Figure 6-7 for WM--DP1, use a No 2 Pozi drive tool to
release four screws (item 77) securing four p clips (item 78).
(3) Release the remote switch cable from releasable cable tie (item 34).
(4) Free the cable from the column side cable retainer.
(5) Using 4mm hex drive tool release two screws (item 40) with washer (item 50) to release remote switch (item 2).
(6) Reassemble in reverse order, use 4mm hex drive tool in torque wrench to tighten remote switch fixings to 2Nm.
(7) Fit four p clips to remote switch cable. Use a No 2 pozi driver in a torque wrench to fasten four screws (item 77) securing
four p clips (item 78) tighten to torque of 2.2Nm.
(8) Route the remote switch cable to releasable cable tie (item 34). Take up any slack in the cable toward the switch and
tighten the cable tie.
(9) Plug the Remote switch cable into the separation transformer.
(10) Route remaining cable into column side cable retainer.
 Loading...