Preparation for Use
MOBILE WORKSTATION WM-NP2
45
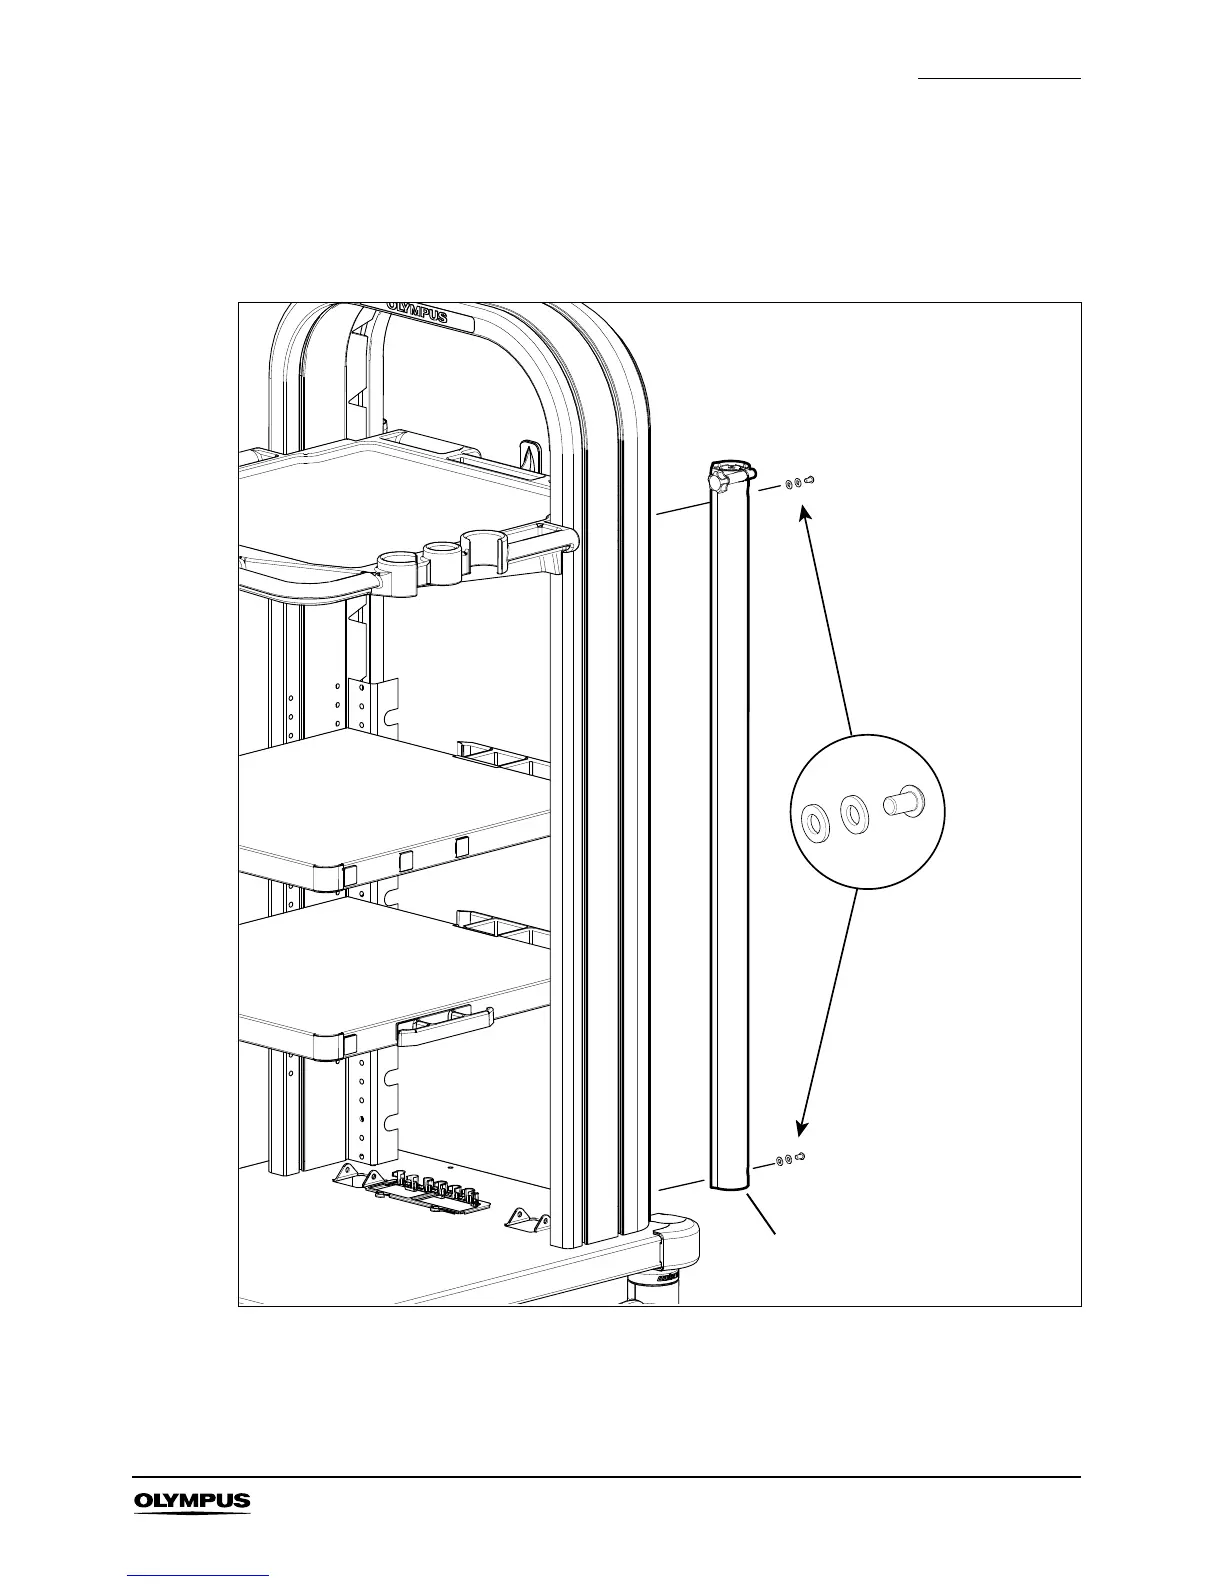
6. Left hand installation: referring to Figure 4.22, remove the lower M6 screw, M6 crinkle
washer and M6 plain washer from the scope pole extrusion using a 5mm A/F Allen key.
Support the scope pole extrusion and remove the top fixing screw and washers. Note the two
M6 T-nuts inside the rear slot in the workstation hoop, these need to be removed and
installed on the left hand side of the workstation as described in step 8.
7. Referring to Figure 4.23, undo the two screws and washers, lift off the pole clamp and turn it
over. Replace and tighten both screws.
Figure 4.22
 Loading...