35
EN
Changing the printer’s settings
for printing [CUSTOM PRINT]
1
Follow Steps 1 and 2 for [EASY
PRINT] (p. 34), then press the o
button.
EASY PRINT
USB
SET
OK
EXIT
CUSTOM PRINT
PC
2
Use ab to select [CUSTOM
PRINT], and press the o button.
3
Use ab to select the print mode,
and press the o button.
Submenu 2 Application
PRINT
Thisprintstheimageselectedin
Step6.
ALLPRINT
Thisprintsallimagesstoredinthe
internalmemoryorcard.
MULTIPRINT
Thisprintsoneimageinamultiple
layoutformat.
ALLINDEX
Thisprintsanindexofallimages
storedintheinternalmemory
orcard.
PRINTORDER
*1
Thisprintsimagesbasedonthe
printreservationdataonthecard.
*1
[PRINTORDER]isavailableonlywhenprint
reservationshavebeenmade.“PrintReservations
(DPOF)”(p.37)
4
Use ab to select [SIZE] (Submenu
3), and press d.
Ifthe[PRINTPAPER]screenisnot
displayed,the[SIZE],[BORDERLESS]
and[PICS/SHEET]aresettotheprinter’s
standard.
STANDARDSTANDARD
PRINTPAPER
SET
OK
MENU
BACK
SIZE BORDERLESS
5
Use ab to select the
[BORDERLESS] or [PICS/SHEET]
settings, and press the o button.
Submenu 4 Application
OFF/ON
*1
Theimageisprintedwithaborder
aroundit([OFF]).
Theimageisprintedtollthe
entirepaper([ON]).
(Thenumberof
imagespersheet
variesdepending
ontheprinter.)
Thenumberofimagespersheet
([PICS/SHEET])isselectableonly
when[MULTIPRINT]isselected
inStep3.
*1
Theavailablesettingsfor[BORDERLESS]vary
dependingontheprinter.
If[STANDARD]isselectedinSteps4and5,
theimageisprintedattheprinter’sstandard
settings.
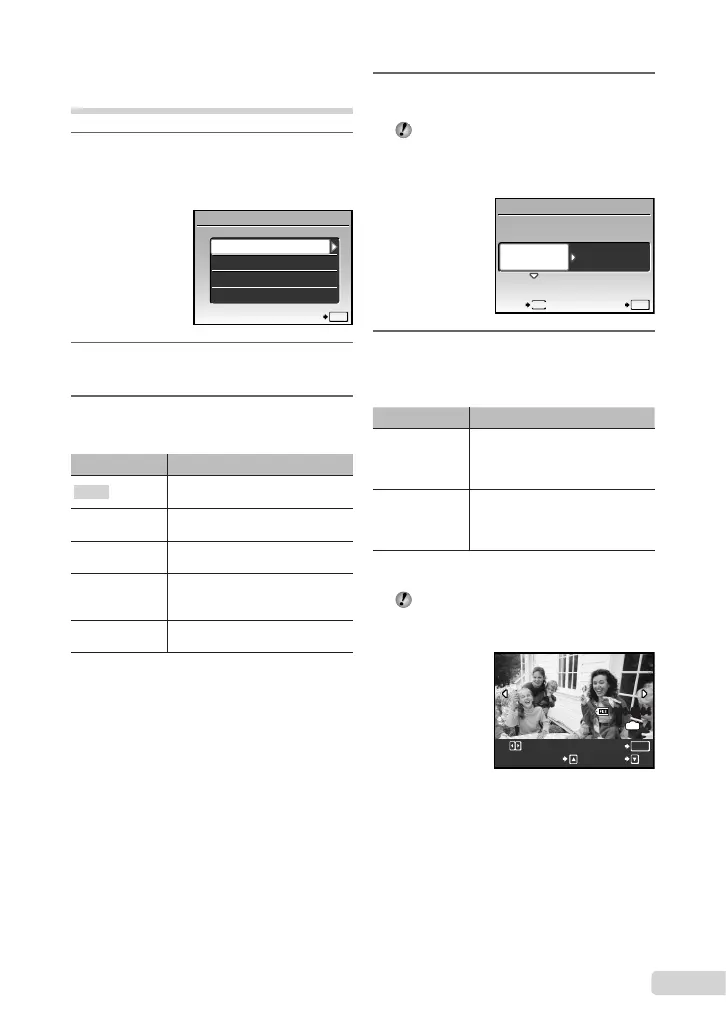
100-0004
OK
4
IN
SINGLEPRINT MORE
PRINT