710.1760.00.04-05 22/05/2014
26
4. Scroll through parameter list with the and arrows.
5. Select the parameter you require.
6. Press the key to change its value.
7. Change the value with the and keys.
8. Press the key again to confirm the new value. After a few seconds, the next parameter will be
displayed.
To exit programming: press the + keys when a parameter is displayed or wait 15 sec.
(timeout), without pressing any key.
NOTE: The new parameter value is also saved if the keys are not pressed during the timeout.
CAUTION: It is only possible to change the value of the parameters (configuration parameters) when the
chiller is in standby mode.
While programming, press the key in order to scroll through the parameter codes or increase the
value.
List of parameters that can be changed with the procedure described:
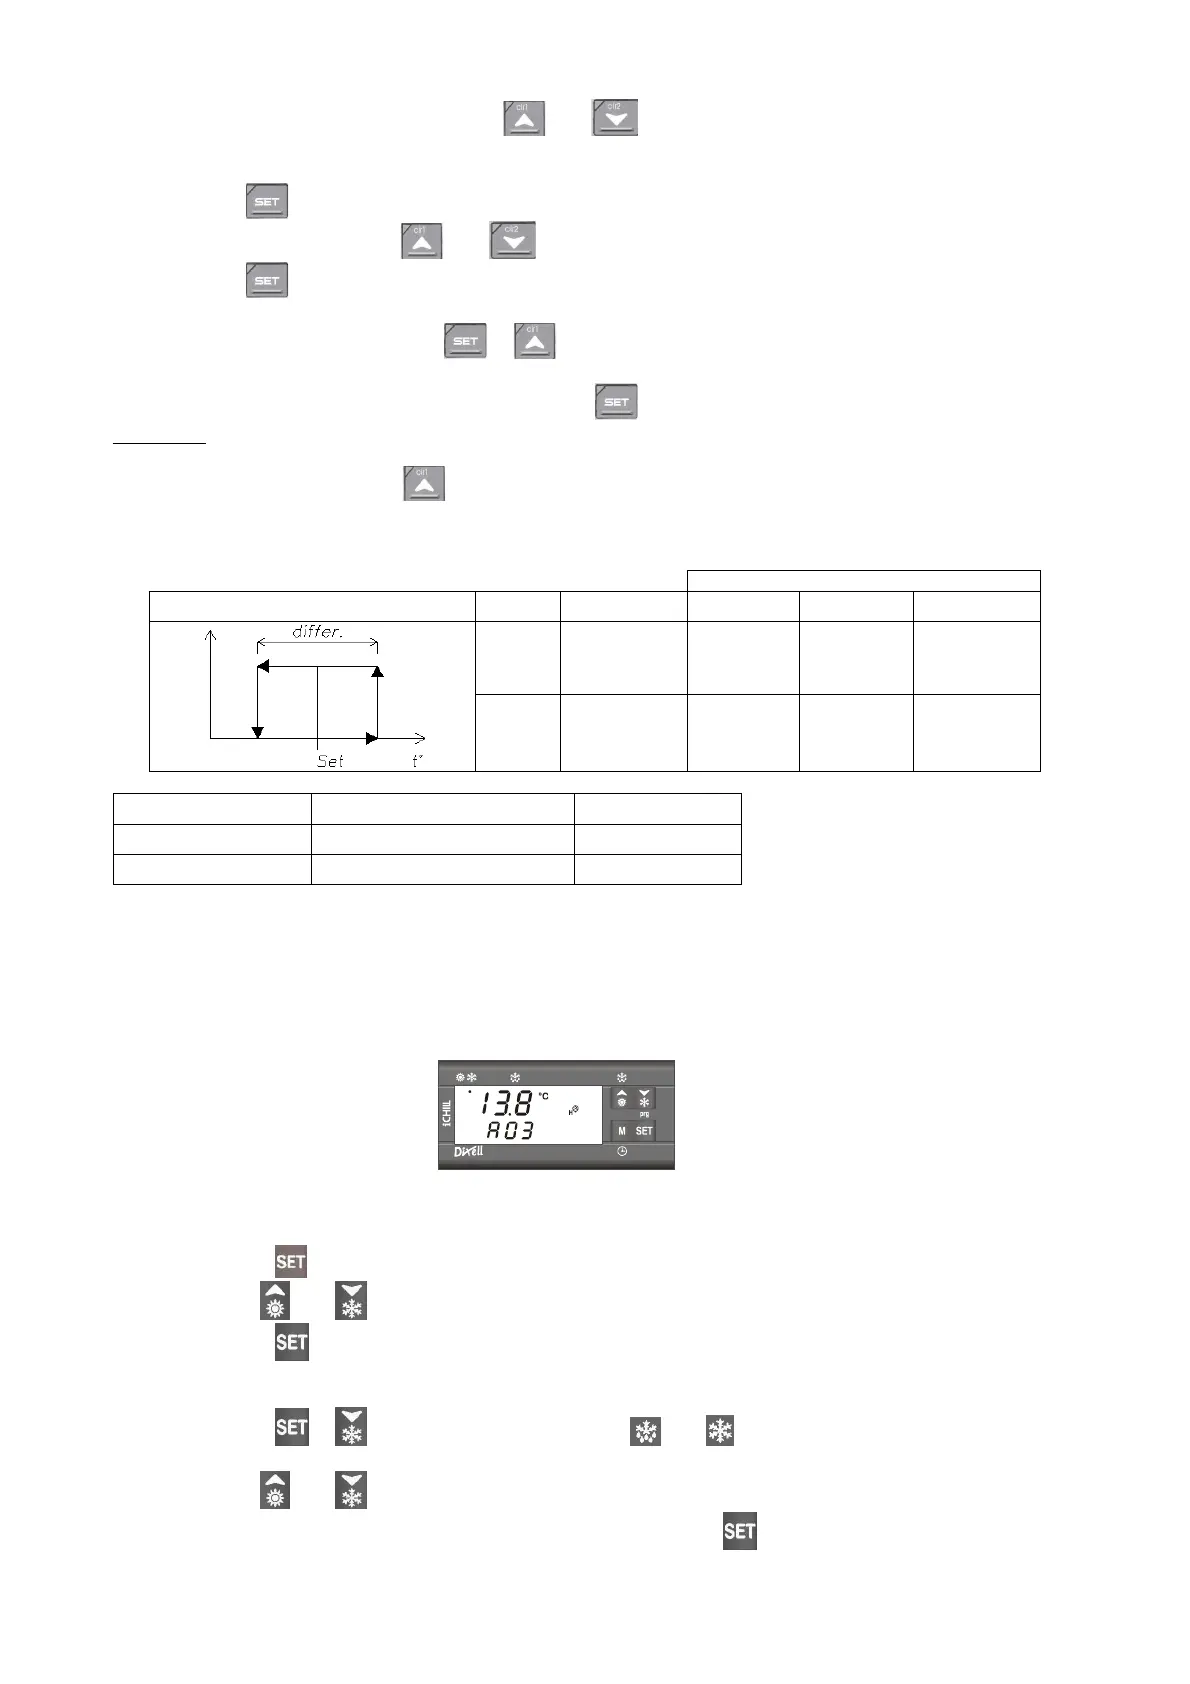
Functioning Code Meaning CHW CHO CHG
ST01 Set-point 15 25 -10
ST02 Differential 3 3 3
Please contact the manufacturer for further parameters
Displayed Description On our schemes
Pb1 Work probe temperature SL
Pb2 Antifreeze probe temperature SA
CONTROLLER TYPE “B” (CHW 29 TO CHW 149; CHO 29 TO CHO 149; CHG 24 TO CHG 100)
The operating thermostat is supplied pre-adjusted according to the standard specifications of the chiller
listed in the supplement. The operating thermostat controls both the temperature regulating functions
and the other safety parameters (e.g. alarm management and the running time of the electric motors).
The complete list of parameters is not supplied to the customer because changes in certain parameters
may lead to problems affecting the reliability and properties of the chiller.
Instructions for changing the parameters required by the user:
Changing the SET-POINT:
1. Press the key for 3 seconds (the set-point starts to flash).
2. Use the and arrows to change the SETPOINT.
3. Press the key or wait 15 sec. (timeout), without pressing any key.
To access the “Pr1” user level:
1. Press the + keys for a few seconds (the and LEDs start to flash)
the upper display (red script) shows “ALL”, which means the first group of parameters.
2. Use the
and arrows to scroll through the names of the parameter groups to be changed.
3. After you have found the right parameter group, press the key in order to enter and display
all the parameters belonging to this group.
The first parameter name appears on the display together with the value.