9-61
9 Troubleshooting and Maintenance
CJ-series DeviceNet Units Operation Manual for NJ-series CPU Unit(W497)
9-5 Maintenance and Replacement
9
9-5-3 Replacing Faulty Units
Replace a DeviceNet Unit with an error as soon as possible. Refer to the DRT2 Series DeviceNet
Slaves Operation Manual (Cat. No. W404) or the DeviceNet MULTIPLE I/O TERMINAL Operation Man-
ual (Cat. No. W348) for details on replacing slaves. We recommend having spare Units available to
restore network operation as quickly as possible.
Observe the following precautions when replacing a faulty Unit.
• After replacement make sure that there are no errors with the new Unit.
• When a Unit is being returned for repair, attach a sheet of paper detailing the problem and return
the Unit to your OMRON dealer.
• If there is a faulty contact, try wiping the contact with a clean, lint-free cloth dampened with alco-
hol.
Precautions for Safe Use
To prevent electric shock when replacing a Unit, be sure to stop communications in the network
and turn OFF the power supplies to all of the nodes (master and slaves) before removing the
faulty Unit.
When the master communication is used, the scan list (project file) must be registered again.
All of the settings data stored in the DeviceNet Unit can be saved to the CPU Unit's SD Memory
Card*
1
and later read from the SD Memory Card*
2
. It will be much easier to replace the Unit if you
save all of the settings data when the Unit is operating normally.
*1 Change *_Sw2FileBkupCmd (Unit Setup File Backup Switch) to TRUE.
*2 Change *_Sw2FileRestoreCmd (Unit Setup File Restore Switch) to TRUE.
The backup file is saved to the CPU Unit's SD Memory Card with the filename DNnnBKUP.dvf. (The
number "nn" is the unit number in 2-digit hexadecimal.)
z Fixed Remote I/O Allocations
Turn ON power to all slaves and then select one of the fixed allocations areas (1, 2, or 3) and change
*_Sw1SListEnblCmd (Scan List Enable Switch) of software switch 1 to TRUE. The scan list will be
registered.
For details on allocation procedures, refer to 4-3-2 Allocation Procedures.
z User-set Remote I/O Allocations
Use one of the following procedures.
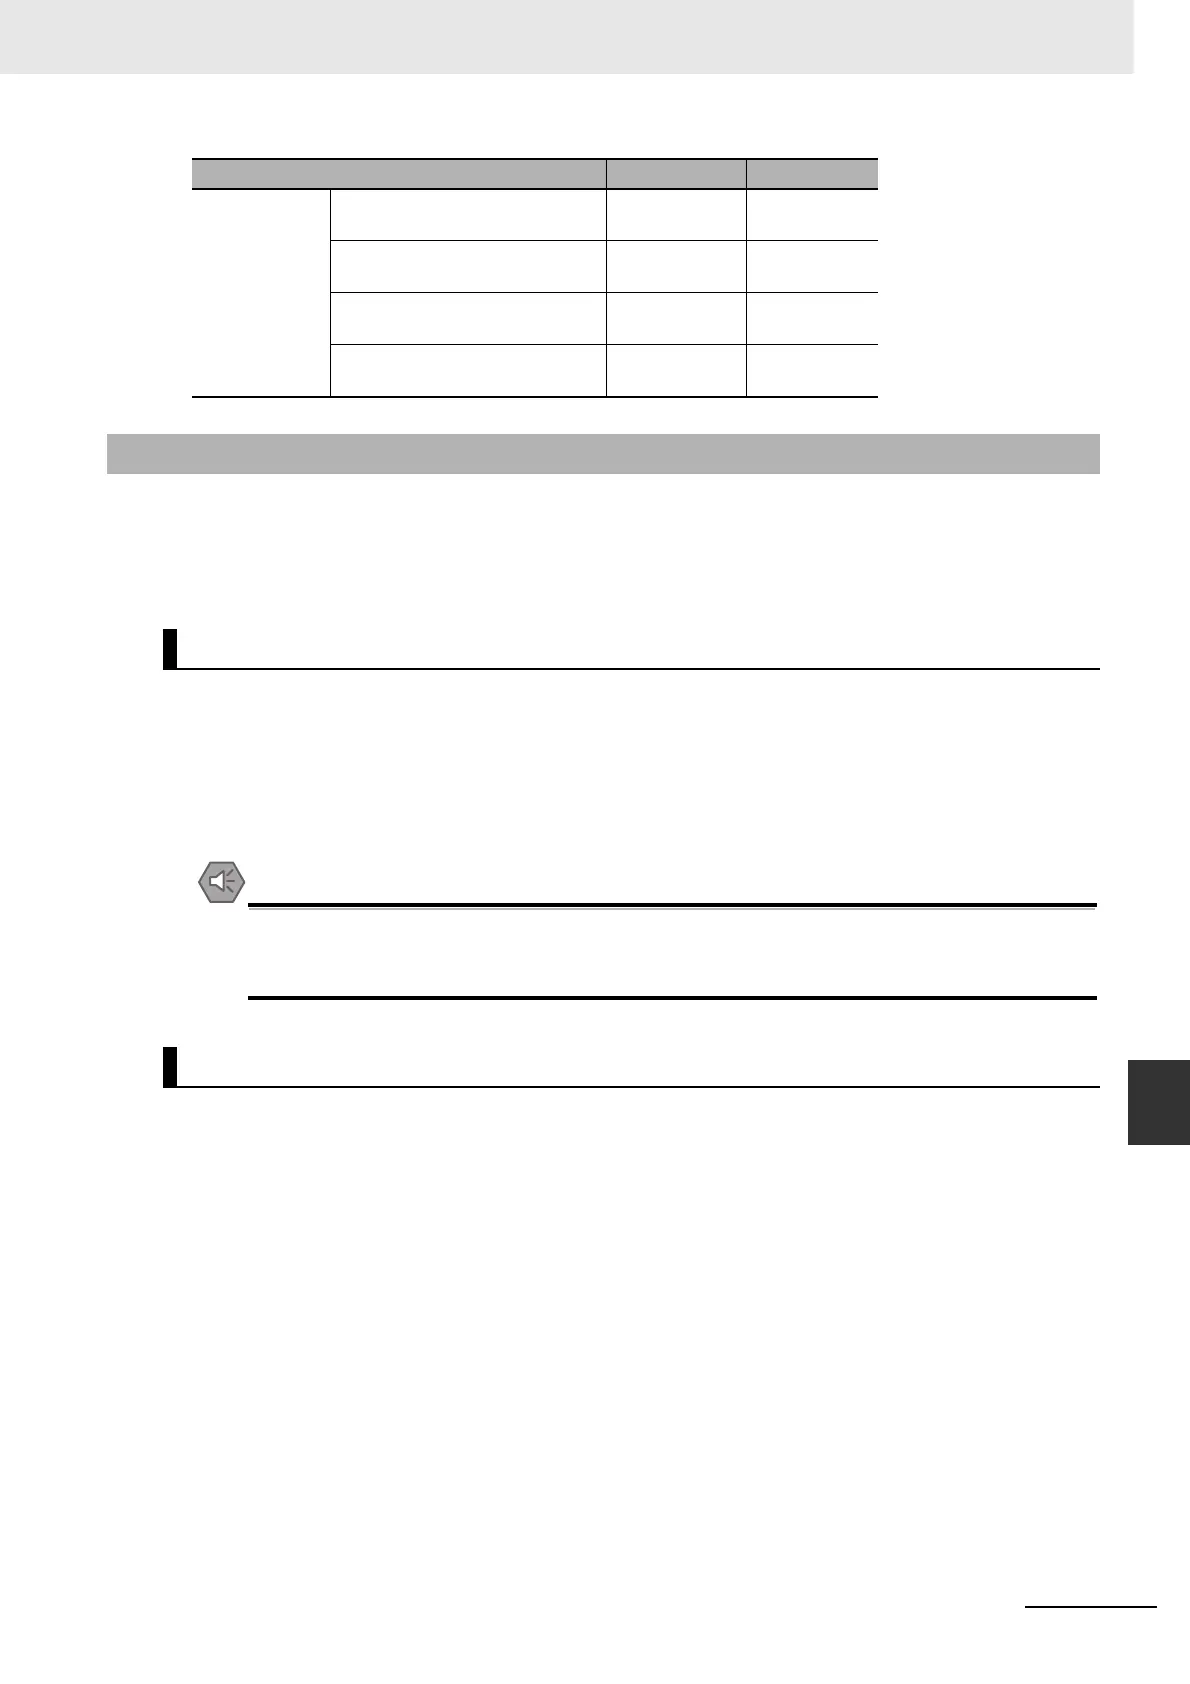
Installation Are the Units installed securely? No looseness Phillips head
screwdriver
Are the communications connec-
tors fully inserted?
No looseness Phillips head
screwdriver
Are the external wiring screws
tight?
No looseness Phillips head
screwdriver
Are the connecting cables
undamaged?
No damage Check visually
9-5-3 Replacing Faulty Units
Precautions
Settings after Replacing DeviceNet Units
Item Standard Equipment