EasyManuals Logo

Omron CPM1A User Manual

Omron CPM1A
201 pages
To Next Page IconTo Next Page
To Previous Page IconTo Previous Page
Page #72 background imageLoading...
Page #72 background image
49
Pre-V1 Units
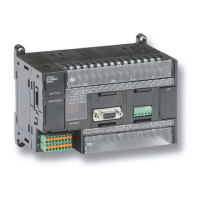
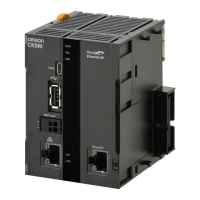
1, 2, 3... 1. Remove the cover from the CPU Unit’s or the Expansion I/O Unit’s Expan-
sion I/O Unit Connector. Use a flat-blade screwdriver to remove the cover
from the Expansion I/O Connector.
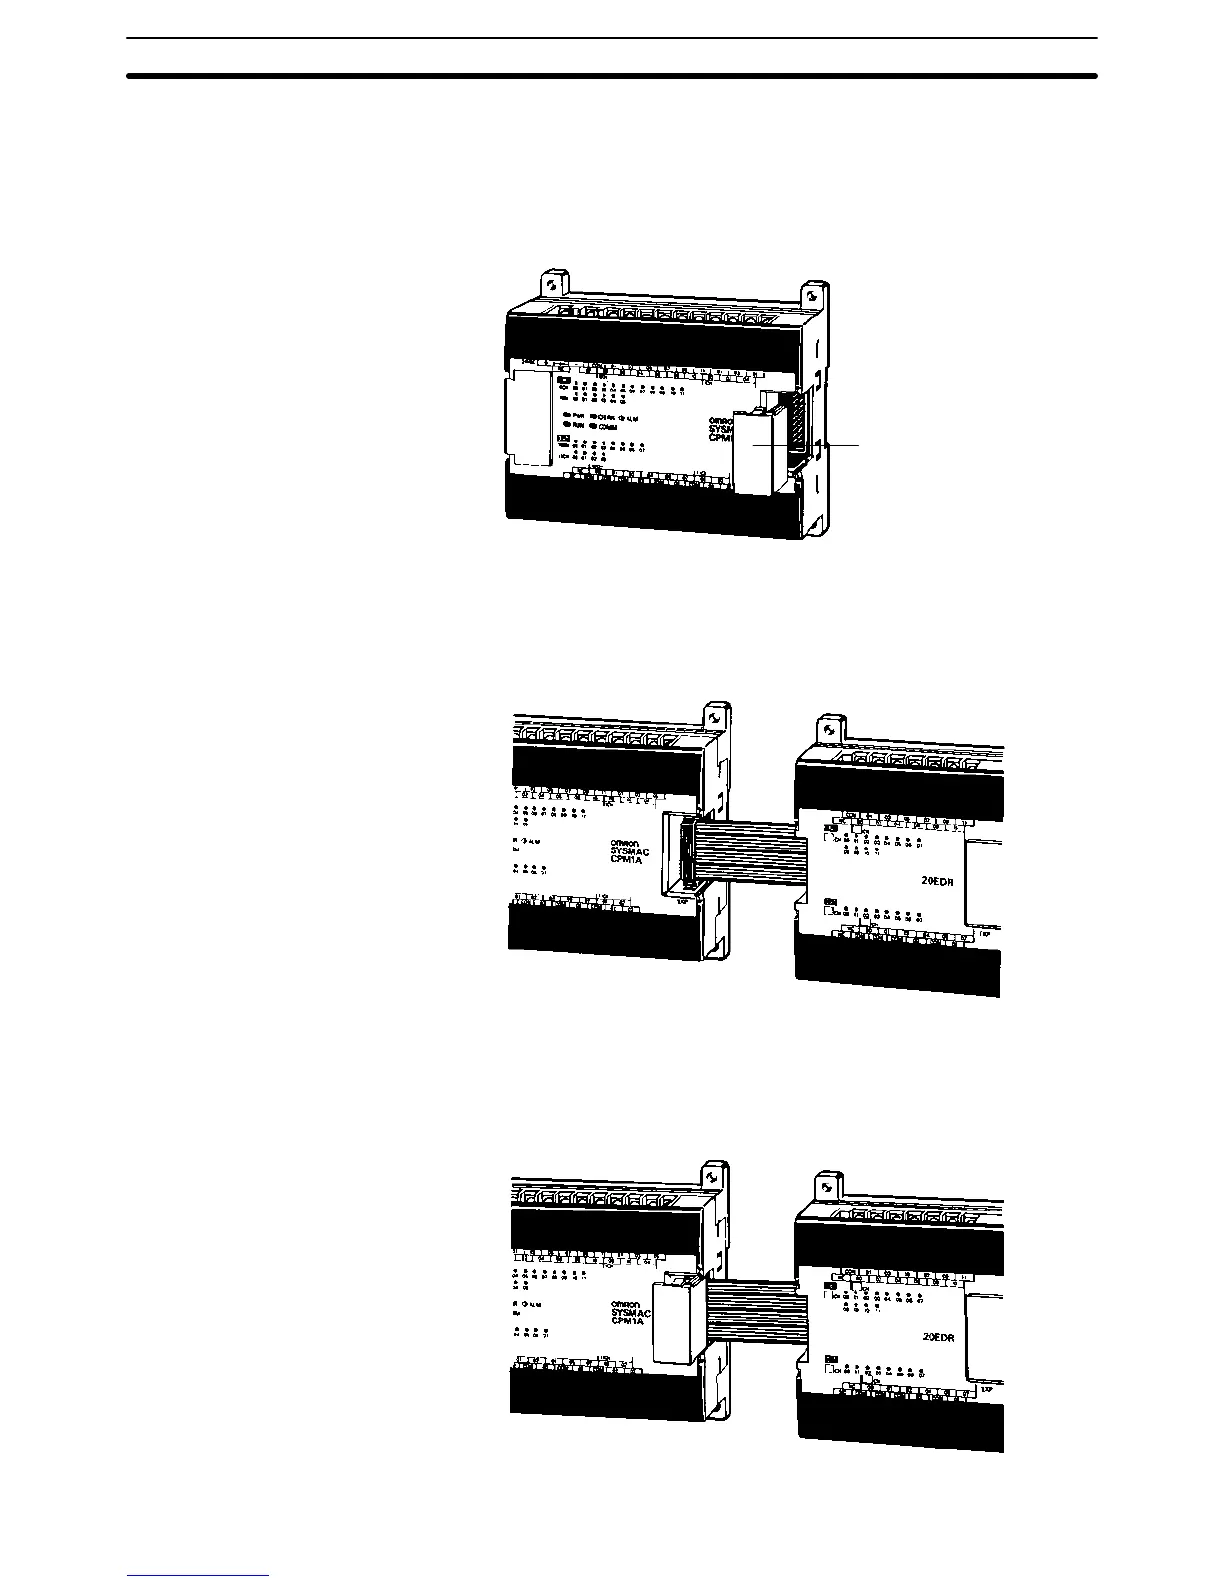
Expansion I/O Unit
connector cover
2. Insert the Expansion I/O Unit’s Connecting Cable into the CPU Unit’s or the
Expansion I/O Unit’s Expansion I/O Unit Connector.
3. Replace the cover on the CPU Unit’s or the Expansion I/O Unit’s Expansion
I/O Unit Connector.
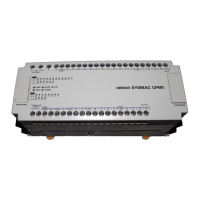
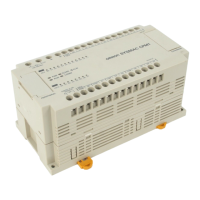
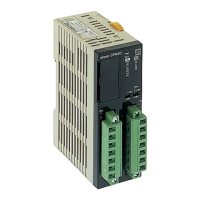
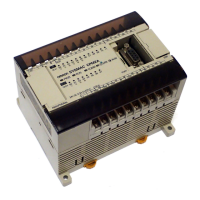
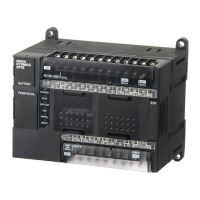
Installing the CPM1A
Section 3-3

Table of Contents

Other manuals for Omron CPM1A

Questions and Answers:

Question and Answer IconNeed help?

Do you have a question about the Omron CPM1A and is the answer not in the manual?

Omron CPM1A Specifications

General IconGeneral
ModelCPM1A
TypeCompact PLC
Communication PortsRS-232C (optional)
Instruction SetBasic and advanced instructions
Operating Temperature0 to 55°C
Storage Temperature-20 to 75°C
Humidity10% to 90% RH (non-condensing)
Power Supply24 VDC or 100-240 VAC
ExpansionExpansion I/O units available
Timers128
Counters256 counters
I/O Points10, 20, 30, or 40 points (depending on model)

Related product manuals