Using the Graphics Editor SECTION 2 Basic Tutorial
15
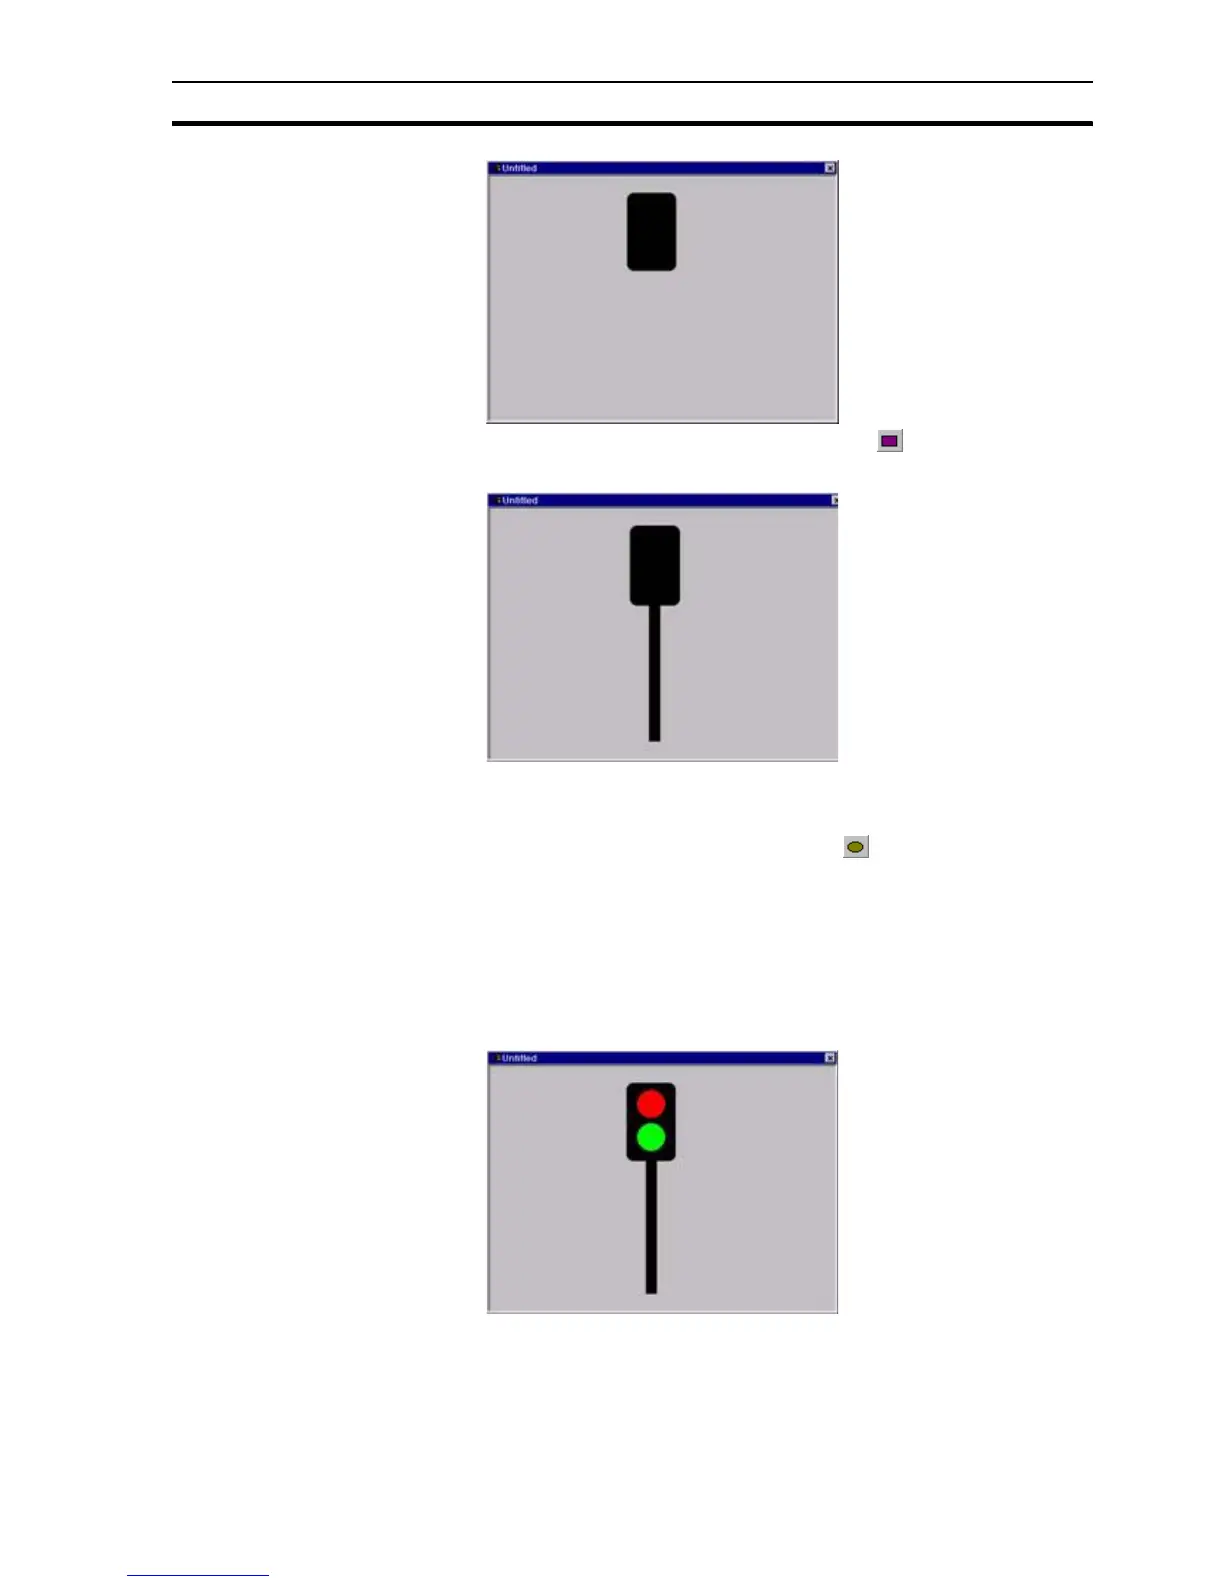
5. From the Graphic Object toolbar, click the button and draw the
support leg of the traffic signal.
Now that the main structure of the traffic signal is complete (although
rather basic), work can begin on the coloured lights. Only two lights are
needed, one red and one green;
6. From the Graphic Object toolbar, click the button and draw a circle of
appropriate size to represent the light.
Holding the CTRL key down while drawing an ellipse ensures that a true
circle is drawn.
7. Select the colour red and then position the light at the top of the traffic
signal.
8. Repeat the process for the green light and position this at the bottom of
the traffic signal.
2-5-1 Adding a Point
Now we need to define a variable by which the traffic signal is to be controlled.
As there are only 2 states i.e. 'GO' and 'STOP' a Boolean or digital value will
be used.
 Loading...


