Pulse Bar
Magnetic Starter
Oneida Air Systems, Inc.22
Assembly Instructions (Continued)
21
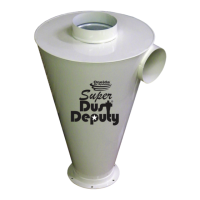
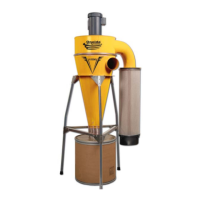
Li and close the Ring Clamp (D) over the
Barrel Gasket (G2) and the Cyclone's upper
ange. Secure the Ring Clamp (D) using the
Clamp's cotter pin [FIG. 22].
22
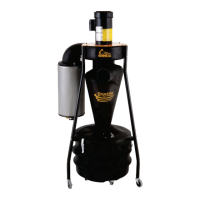
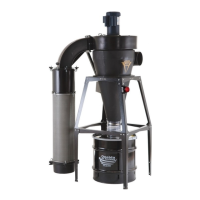
Take the Tubing Assembly (G16) and route it
through the closest retaining hole located in
the back corner of the Wall Bracket (F) [FIG.
23].
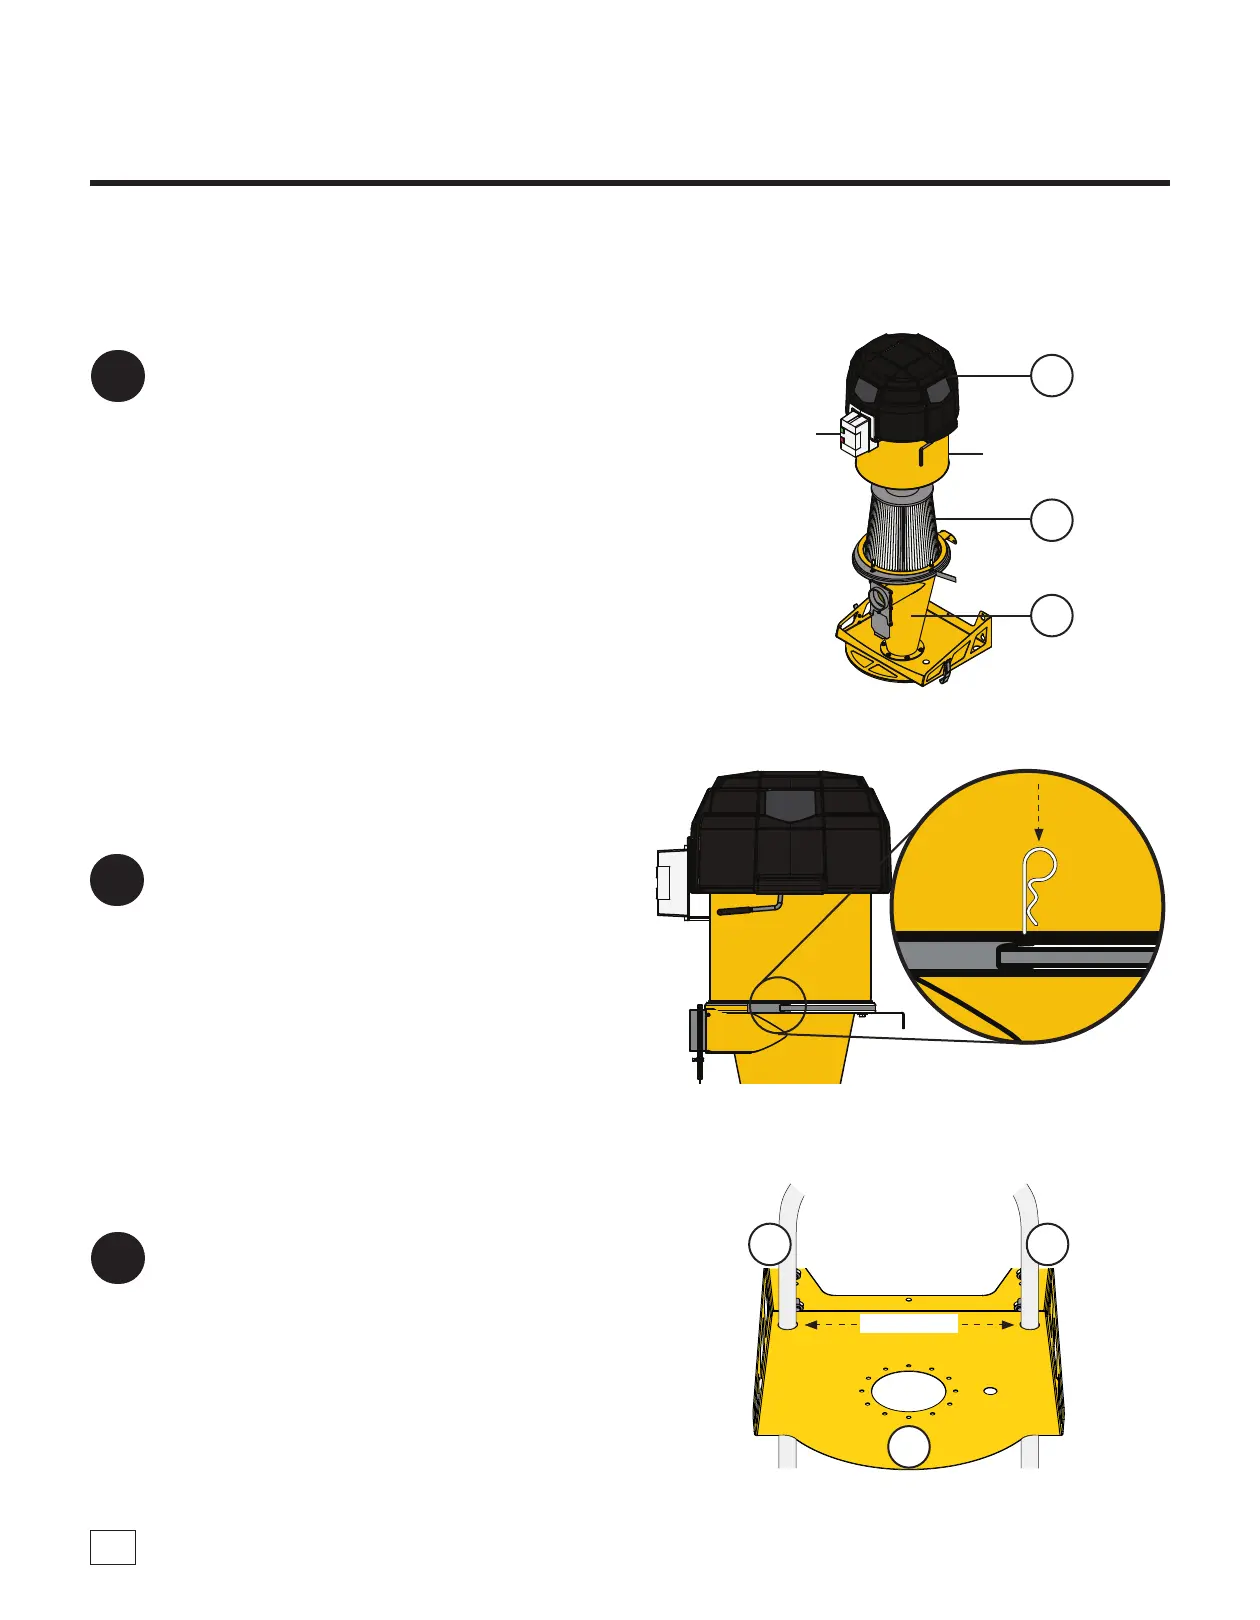
20
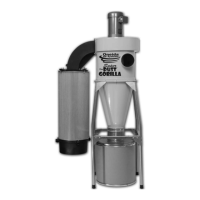
Carefully li the Motor Assembly (A) up
and over the Filter (C) and down onto the
Cyclone's (E) upper ange. Align the Motor
Assembly so its perimeter is ush with the
Cyclone's (E) ange below it [FIG. 21].
Note: e Motor Assembly can be freely rotated
to best position the Magnetic Starter and Pulse
Bar to suit your needs. Some positions will not
work as these items may impact with the wall.
Either Hole
THE MOTOR ASSEMBLY IS HEAVY AND CUMBERSOME; BE SURE TO HAVE ADEQUATE HELP WHEN LIFTING!
G16
F
E
A
C
G16
FIG. 20
FIG. 21
FIG. 2