20
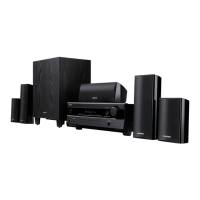
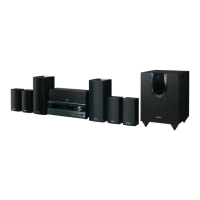
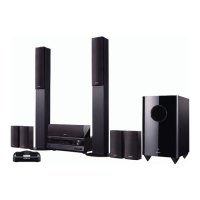
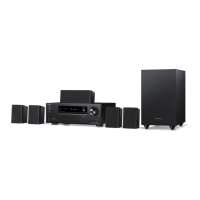
Connecting the Speakers
—Continued
The speakers can easily be wall mounted by using the
keyhole slots.
To mount the front or surround speakers vertically, use
the keyhole slot shown to hang each speaker on a screw
that’s securely screwed into the wall.
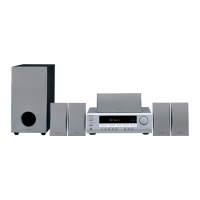
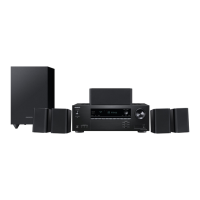
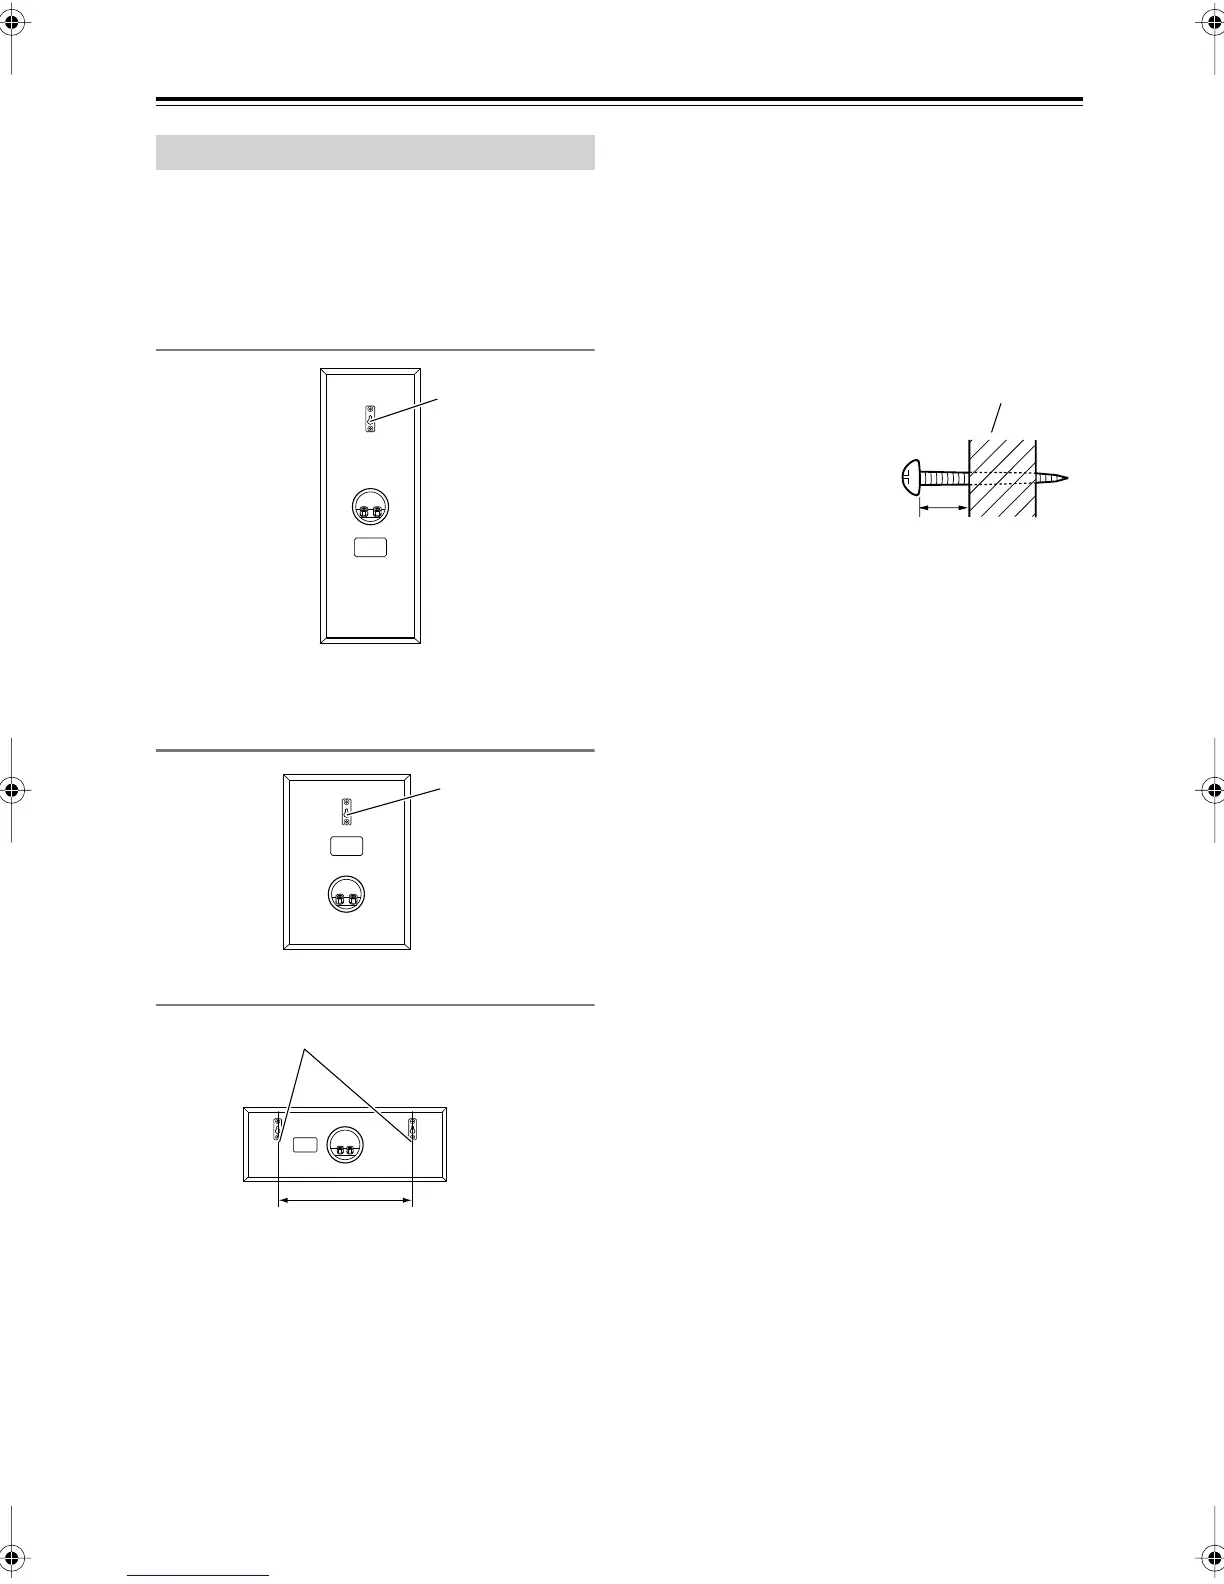
Front Speakers (SKF-960F)
Surround (SKM-960S) and Surround Back
Speakers (SKB-960)
Center speaker (SKC-960C)
To mount the center speaker horizontally, use the two
keyhole slots shown to hang each speaker on two screws
that are securely screwed into the wall.
Caution:
A mounting screw’s ability to support a speaker depends
on how well it’s anchored to the wall. If you have hollow
walls, screw each mounting screw into a stud. If there are
no studs, or the walls are solid, use suitable wall anchors.
Use screws with a head diameter of 5/16" (8 mm) or less
and a shank diameter of 5/32" (4 mm) or less. With
hollow walls, use a cable/pipe detector to check for any
power cables or water pipes before making any holes.
Leave a gap of between
7/32" (5 mm) and 3/8"
(10 mm) between the wall
and the base of the screw
head, as shown.
(We recommend that you
consult a home installa-
tion professional.)
Wall Mounting the Speakers
Keyhole slot for
wall mounting
Keyhole slot for
wall mounting
10-1/4" (260 mm)
Keyhole slots for wall mounting
Wall
7/32" – 3/8"
(5 mm) – (10 mm)
HT-S9100THXEn.book Page 20 Friday, June 27, 2008 4:00 PM

 Loading...