Optomed Aurora 17
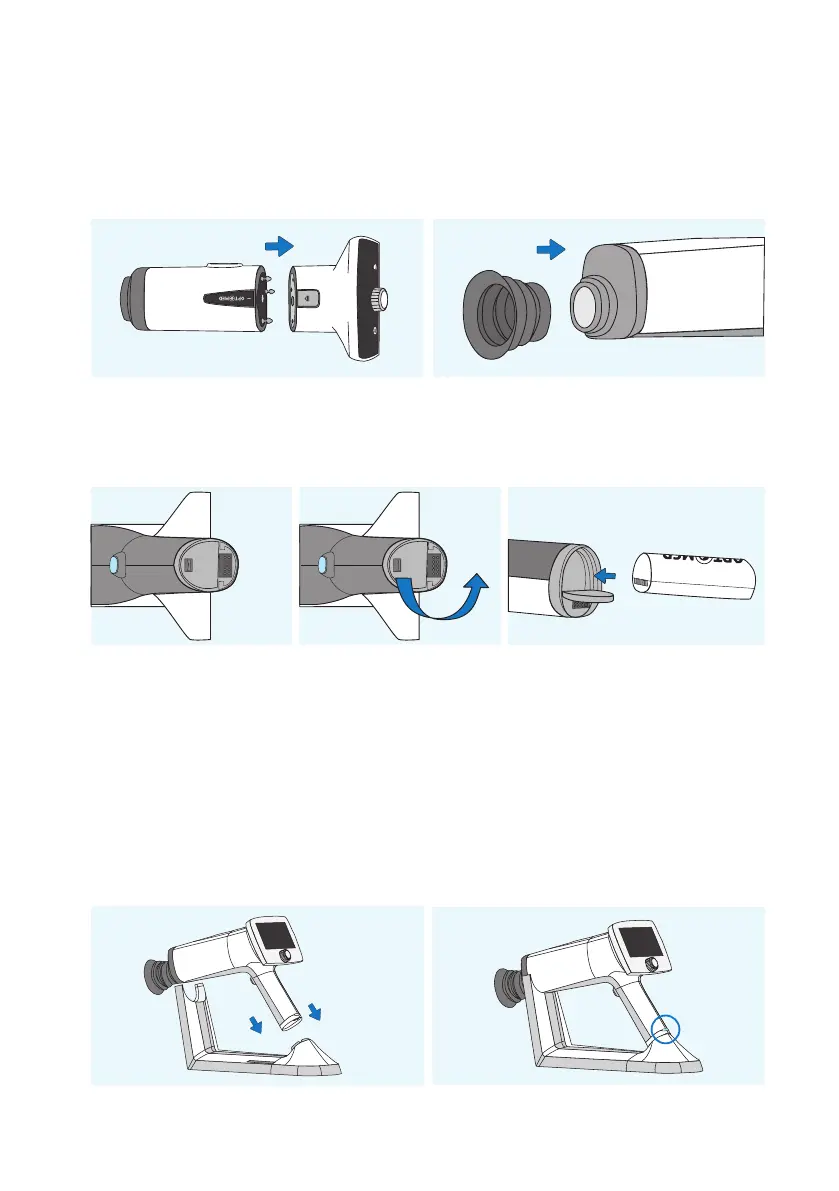
Both Retinal Module (2) and Anterior Module (3) are attached to Aurora Camera (1) by connecting firmly
the bayonet legs of the optics module to the bayonet holes of the camera. Avoid touching the camera lens
with bayonet legs in order to prevent scratches. To detach the optics module, press the eject button on the
top of the camera and take the camera and optics module apart.
Place the eye cup (7) on the optics ring of Aurora Retinal Module (2).
Install the battery (8) in Aurora Camera (1). Ensure that the camera is powered o when placing the battery.
Open the battery cover by sliding the battery cover release knob.
Insert the battery and press the cover firmly into place.
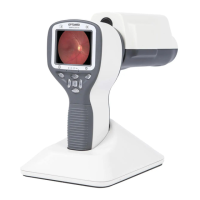
Place the camera on Charging Station (4) for charging. The camera will fit on Charging Station when Retinal
Module (2) is attached. Place the handle of the camera carefully onto the connector of Charging Station and
move the front part of the optics module onto the support. Excessive force should be avoided in order to
prevent the camera and Charging Station connectors from breaking. Aurora Camera is in power save mode
while placed on Aurora Charging Station and it is powered on when lied from Aurora Charging Station.
The battery charging indicator LEDs on the handle of the camera blink when the battery is being charged.
When the battery is fully charged, all indicator LEDs are lit. When charging for the first time, charge the
battery fully. In daily use, charge the battery when the battery level is low. Charging the battery at any level
is not harmful for the battery.
Getting started |