Starting or Resuming Media Validation
11-2 StorageTek SL8500 Library Guide
5.
Place a maximum of 10 drives into the pool. Highlight the drive slots, and then
click Add or Remove.
6. Click Apply.
7. If using a partitioned library reassign any drive slots removed from the pool to a
partition (see "Partitioning the Library" on page 7-1).
8. Reconfigure host applications (see "Updating Host Information After Modifying
the MV Pool" on page 11-3).
Media Validation Drive Pool Icons
Starting or Resuming Media Validation
You can only validate one cartridge at a time per each SLC session. To automate the
process, use StorageTek Tape Analytics 2.0 or above (refer to the STA documentation).
1. Log in to the library. For a library complex, log in to the library that contains the
drive that you will use for validation.
2. In SLC, select Tools > Media Validation. Click the Media Validation tab.
3. Select a drive. If there are no drives listed, see "Defining the Media Validation
Pool" on page 11-1.
4. Select a cartridge from the list or enter a VOLSER in the cartridge label field.
5. Select a validation type (see Validation Types for a description).
6. Click Start. Validation begins if the cartridge loads successfully.
Note: When adding drives to the MV pool, the library (or affected
partition) will go offline.
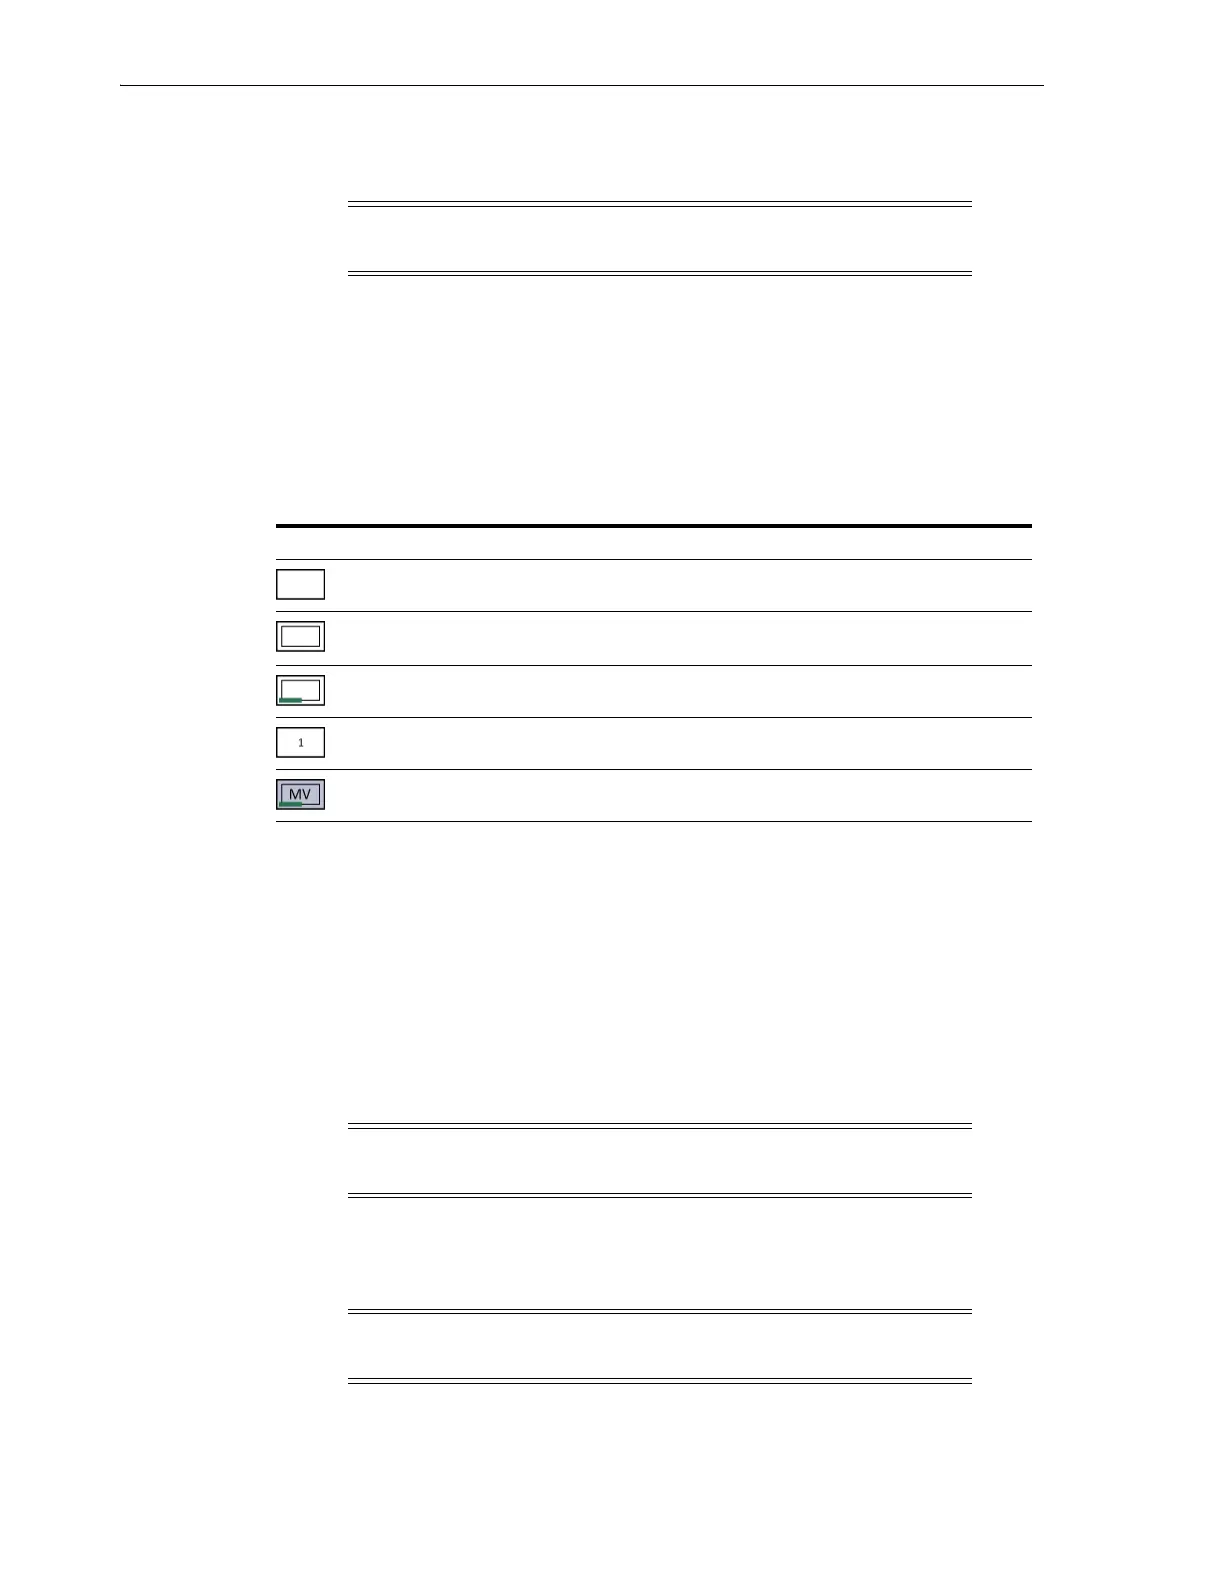
SLC Drive Icon Meaning
Empty drive slot
Slot contains either an invalid drive type or a correct drive type
in an invalid state
Correct drive type (T10000C or T10000D) in a valid state
Partition number of drive slot
Drive slot is in media validation pool
Note: If you cannot select a drive, it might be the wrong type or in an
invalid state.
Note: Select Complete Resume or Complete Plus Resume to resume
a complete validation where it left off.

 Loading...


