5OrionWelders.com
CONNECTOR PORTS ON THE BACK OF THE INTERFACE BOX
1. Foot Pedal Connection Port.
2. Shutter/Darkening Lens Connection Port.
3. Stylus Connection Port
4. Power Supply Connection Port
5. External Device Port
6. Positive Grounding Port (Use for Arc Welding)
7. Negative Grounding Port (Use with Positive when Tack Welding)
8. Inert Gas Connection Port
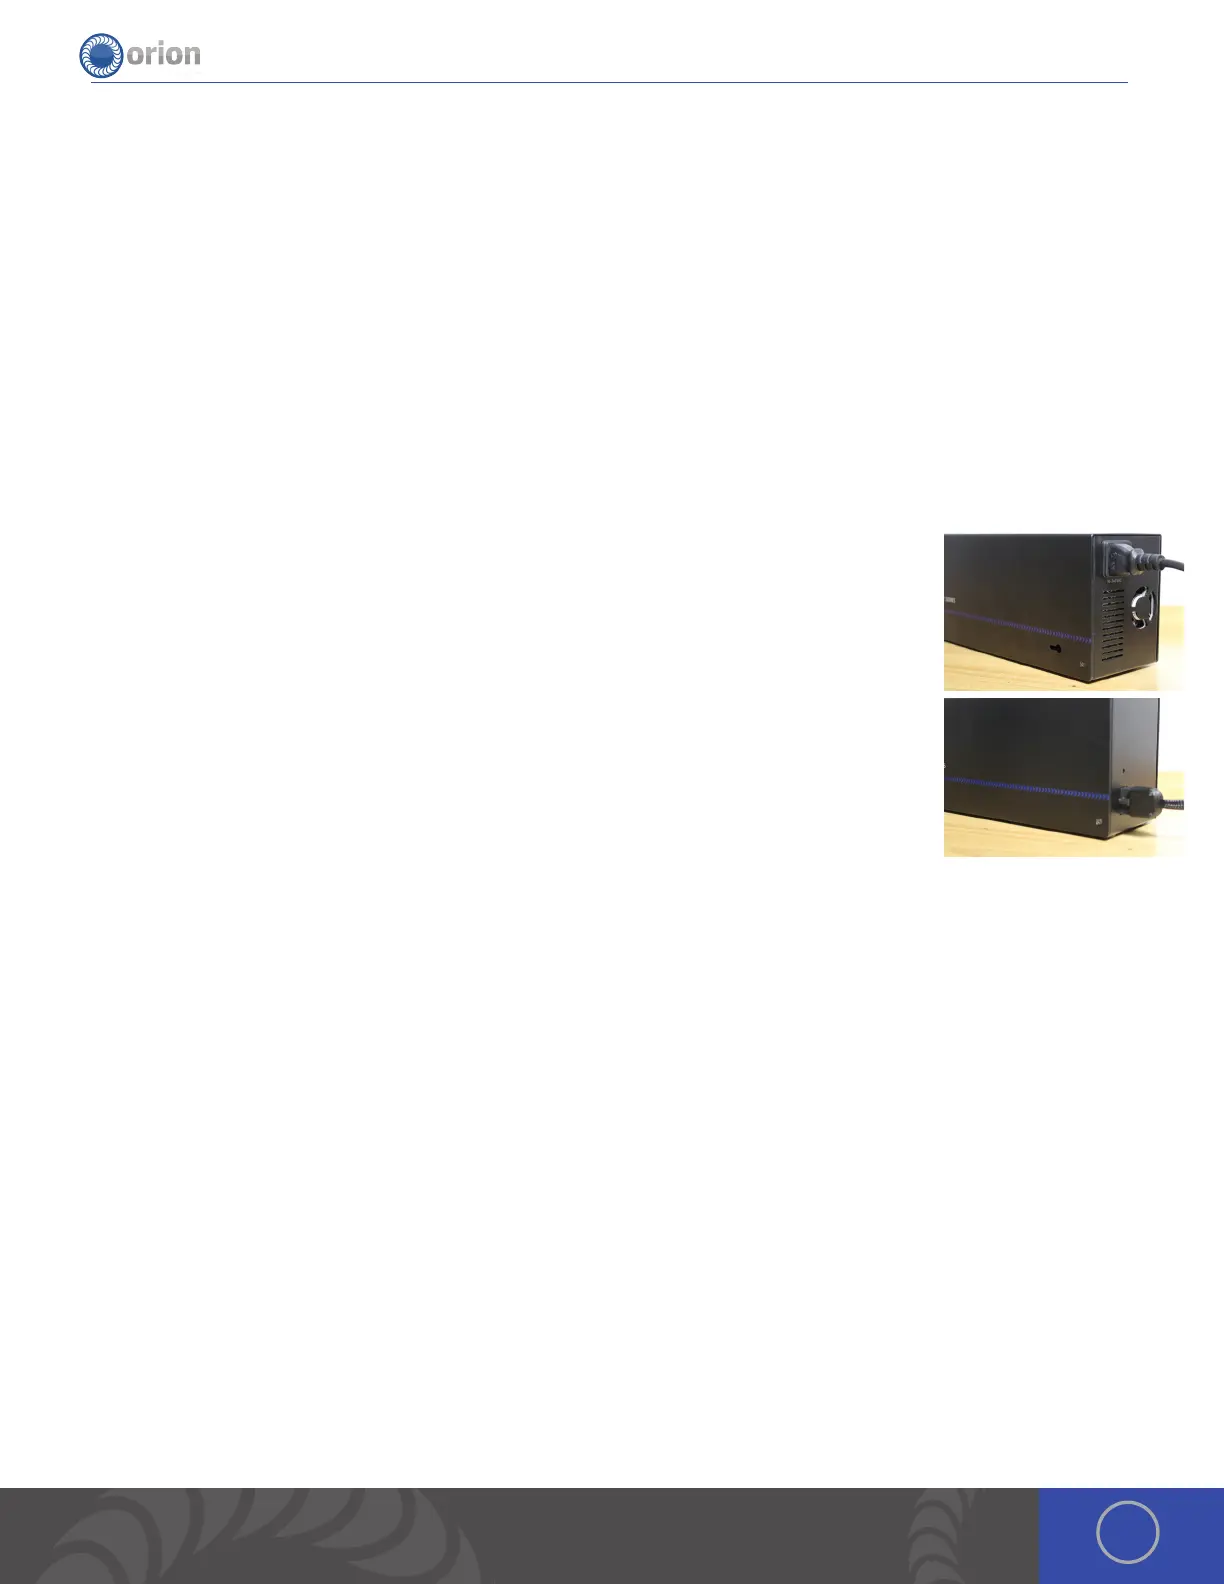
External Power Supply Setup
SET UP THE EXTERNAL POWER SUPPLY
e Orion has an internal switching power supply that can accept 90VAC to 240VAC.
1. Plug the female end of the power cable into the “AC Power” port on the side of the external
power supply.
2. Connect the male end of the power cable into AC power.
3. Plug the 10 pin “external power supply to touch screen box“ cable into the 10 pin port on the
external power supply.
4. Run the cable from step 3 to the microscope extender arm. Remove the plastic piece on the
underside of the microscope extender arm by squeezing the plastic piece on both ends with
your thumb and index fingers.
5. Place the cable in the plastic piece.
6. Connect the plastic piece back to the extender arm.
7. Plug the end of the cable into the 10 pin port on the back of the touch screen box.
8. e red LED indicates that the power supply has AC power applied and is ready to use.
Shielding Gas Setup
During the pulse-arc welding process high temperature plasma quickly melts metal into a molten pool. As the weld is
performed, a small amount of shielding gas is released through the weld stylus to prevent oxygen from entering the molten
pool. After the weld has occurred the protective gas turns off. If oxygen from the air enters this molten pool, the result is a
metal oxide that is brittle, porous and burnt-looking. Protective shielding gas is used, such as 99.996% pure Argon (Argon
4.6) or higher, to prevent these effects. Shielding gas is necessary to produce clean and repeatable pulse-arc welds. We
recommend high purity argon. is can be purchased at your local welding supply shop.
PRESSURIZED GAS SAFETY
1. Always secure the pressurized gas tank to a fixed location (such as a sturdy table leg). If the pressurized gas cylinder
were to tip and become damaged there is possibility that the tank could become rocket-like, expelling the high pressure
shielding gas as propellant.
2. ALWAYS TURN OFF THE SHIELDING GAS AT THE MAIN VALVE WHEN FINISHED. is will help your shielding gas supply
last longer in case there is a small leak in the tubing. is is also a good safety practice. If the tube becomes dislodged,
shielding gas could fill the room displacing needed breathing oxygen. Argon is heavier than air and will fill the room from
the bottom upward. If you experience a large shielding gas leak, open all of the doors and windows in the room.
 Loading...


