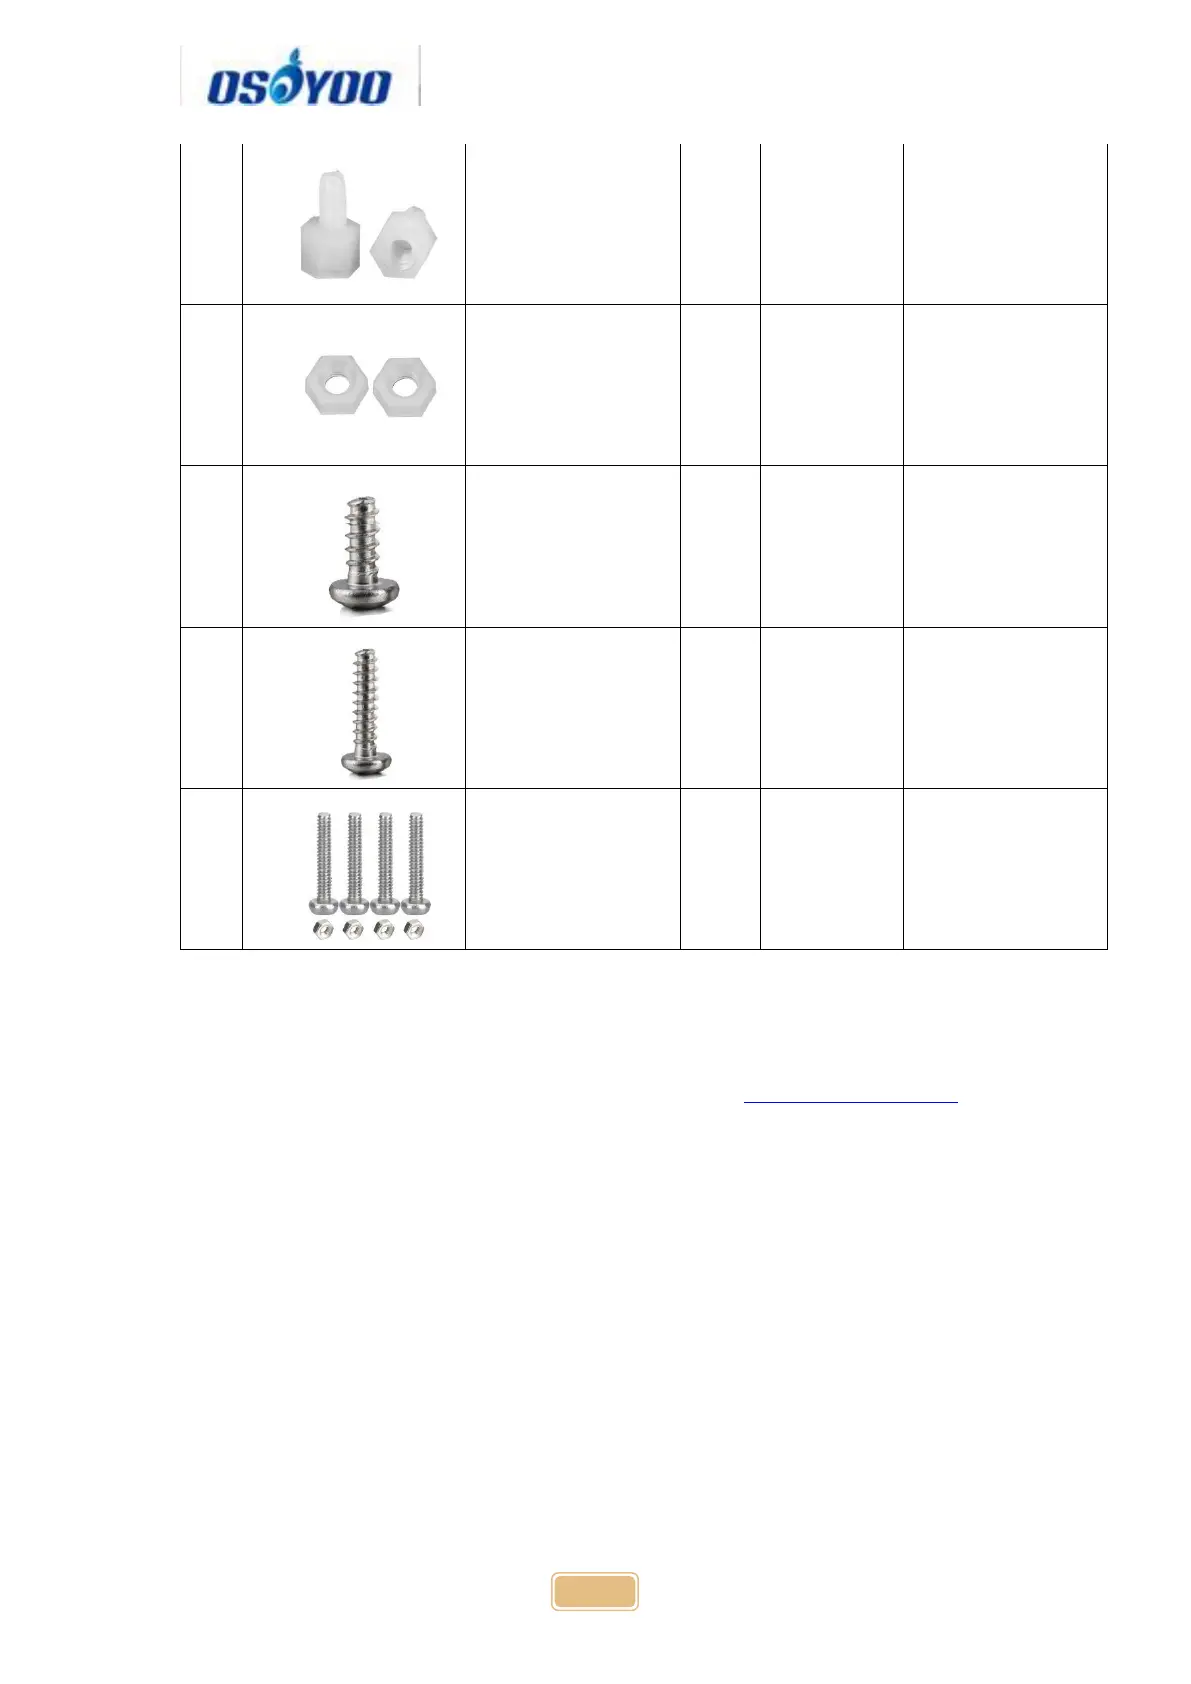
M2.2*8 self
tapping screw
Hardware Installation
Step 1: Install the smart car basic frame work as per Smart Car Lesson 1 .If
you have already completed installation in Lesson 1 , Everything keep it as is
except move ENA from D9 to D3(we need D9 for Servo control). If you have
installed Lesson 2 or 3, please remove the wires. If you have installed Lesson
4, please keep it.
Step 2: Install servo motor at the front of upper car chassis with 2pcs M2.2*8
Self Tapping Screws
 Loading...