- 23 (E) -
p Example of mounting on a surface above the camera
Secure the end of the wire onto the M6 anchor
bolts by tightening nut or secure it by tightening the
M6 bolts.
Adjust the camera mounting bracket on the surface
above the camera so that the ventilation holes of the
cooling fan will not be blocked.
Mounting screw for wire (Inch screw: 1/4-20UNC) (supplied)
Mounting screw for wire (M4) (supplied)
Drop-prevention wire (sold separately)
Camera mounting bracket [*]
Flat washers [*]
Spring washer (supplied)
Flat washer (supplied)
Spring washers [*]
Mounting screws [*] (Inch screws: 1/4-20UNC)
Attach the camera mounting
adapter to the unit’s top surface.
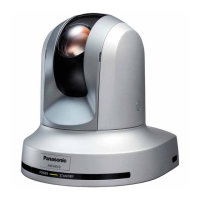
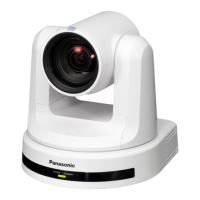
AW-E750/AW-E655
AW-E650/AW-E350
( The mounting method shown in the illustration
above is for the AW-E650 and AW-E350.
The same method is used for both models.)
[*]: Procured locally
Notes
p When installing the mounting bracket or attaching one end of the
drop-prevention wire to the ceiling or a wall, be absolutely sure to
use the anchor bolts, and ensure that the withdrawal strength of the
installation surface is at least ten times the total mass of all units
installed, including the mounting bracket, camera, lens, and cables.
p When the camera has been attached to a tripod as well, be absolutely
sure to prevent the camera from falling off by using the screw in the
tripod or other such means.
p When mounting the camera on a surface above the camera, do not
block the ventilation holes of the cooling fan.
p Ensure that the total mass, including the mounting bracket, camera,
lens and cables, does not exceed 8 kg.
p Ensure that a drop-prevention wire is installed in such a way that the
drop distance does not exceed 150 mm.
p Tighten the mounting screws using the torque levels shown in the
table to the below, and then check for play and unsteadiness.
p Do not use an impact driver as doing so may cause damage to the
screws.
Screws Clamping torque
Mounting screws (M4) 1.5 N • m (15 kgf • cm)
Mounting screws (Inch screws) 2.0 N • m (20 kgf • cm)