6.4 Using Push Scan
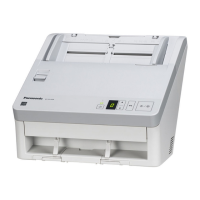
This scanner has a push scan function for starting scanning without operation through a computer.
6.4.1 Setting the scanning conditions
Scanning conditions are set on the setting screen of each application. For details about the setting screen of
each application, refer to the manual or help for that application.
Note
• If the unit is in sleep mode, return to ready mode first (page 19).
• Press and hold the Start/Stop button ( ) for more than 2 seconds to open the application setting
screen.
6.4.2 Selecting the behavior of push scan
Select the behavior of push scan using the Scan Button Setting Tool.
1. Double click the (
) icon in the notification area of the task bar to open the Scan Button Setting Tool.
• In Windows 8, open the Scan Button Setting Tool on the Desktop screen.
2. Select [Touch Free Scanning] or [Single Touch Scanning].
Note
• In Image Capture Plus and Scan Button Setting Tool, [Single Touch Scanning] means performing
push scanning using the 7-segment LED.
• For details about the Scan Button Setting Tool, refer to the Scan Button Setting Tool help.
6.4.3 Performing push scan
Note
• Register jobs in advance. For details about registering jobs, refer to the Image Capture Plus help.
1. Use
or of the cursor button to select a job number.
2. Load the documents (page 27).
• [Touch Free Scanning]: Scanning will start.
• [Single Touch Scanning]: Press the Start/Stop button (
) to start scanning.
6.4 Using Push Scan
42
 Loading...


