Firmware Ver. 2.0
F-16
This software is used to control a Panasonic digital camera from a PC. It allows you to
change various settings of the camera, perform remote recording, and save remotely
recorded images to the PC.
Check the site below to download and install the software.
http://panasonic.jp/support/global/cs/soft/download/d_lumixtether.html
• Operating environment
• For details on how to use the “LUMIX Tether”, refer to the operation guide of “LUMIX Tether”.
• To download the software, you need to connect the PC to the Internet.
• It may take some time to download the software depending on the communication
environment.
By selecting [PC(Tether)] and connecting the camera to a PC, you can control the camera
from supported software.
∫ Operating the camera from a PC
Preparations:
Install “LUMIX Tether” to the PC. Turn on the camera and the PC.
1 Connect the computer and camera with the USB connection cable (supplied).
• Do not use any other USB connection cables except the supplied one.
2 Press 3/4 to select [PC(Tether)], and then press [MENU/SET].
• If [USB Mode] is set to [PC(Tether)] in the [Setup] menu in advance, the camera will be
automatically connected to the PC without displaying the [USB Mode] selection screen.
3 Use “LUMIX Tether” to operate the camera from the PC.
The camera can now be controlled from a PC connected via USB
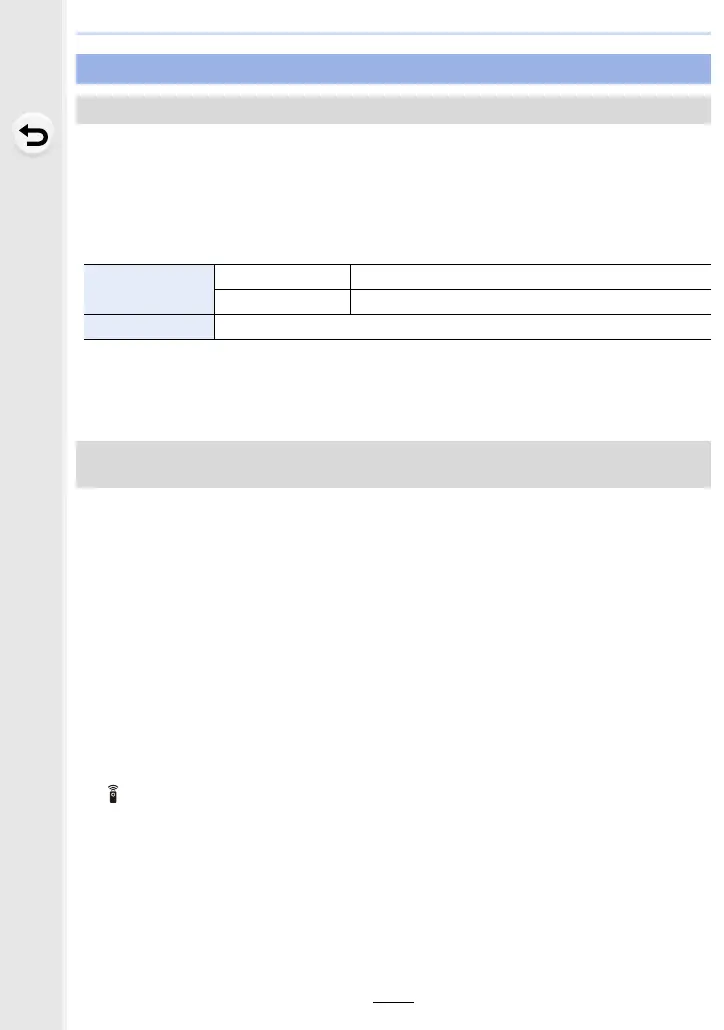
Camera Control Software “LUMIX Tether”
OS
Windows Windows 7, Windows 8.1, Windows 10
Mac OS X v10.10 to v10.11, macOS 10.12
Interface USB port (Super Speed USB (USB 3.0))
[PC(Tether)] has been added to [USB Mode] in the [Setup] menu
[PC] has been renamed to [PC(Storage)].
• When the camera is connected to the PC via [PC(Tether)]:
– The camera will be set to Recording Mode.
– Wi-Fi/Bluetooth function cannot be used.
– [ ] is displayed on the screen.
– The HDMI cable can be connected to the
camera at the same time.
– Instead of the number of recordable
pictures, [PC] will appear on the screen if
you perform recording without inserting a
card into the camera.
 Loading...