73
Changing the recording date
Processing still pictures
1
Select [Tools] → [Still picture tool] →
[Change recording date] from the menu.
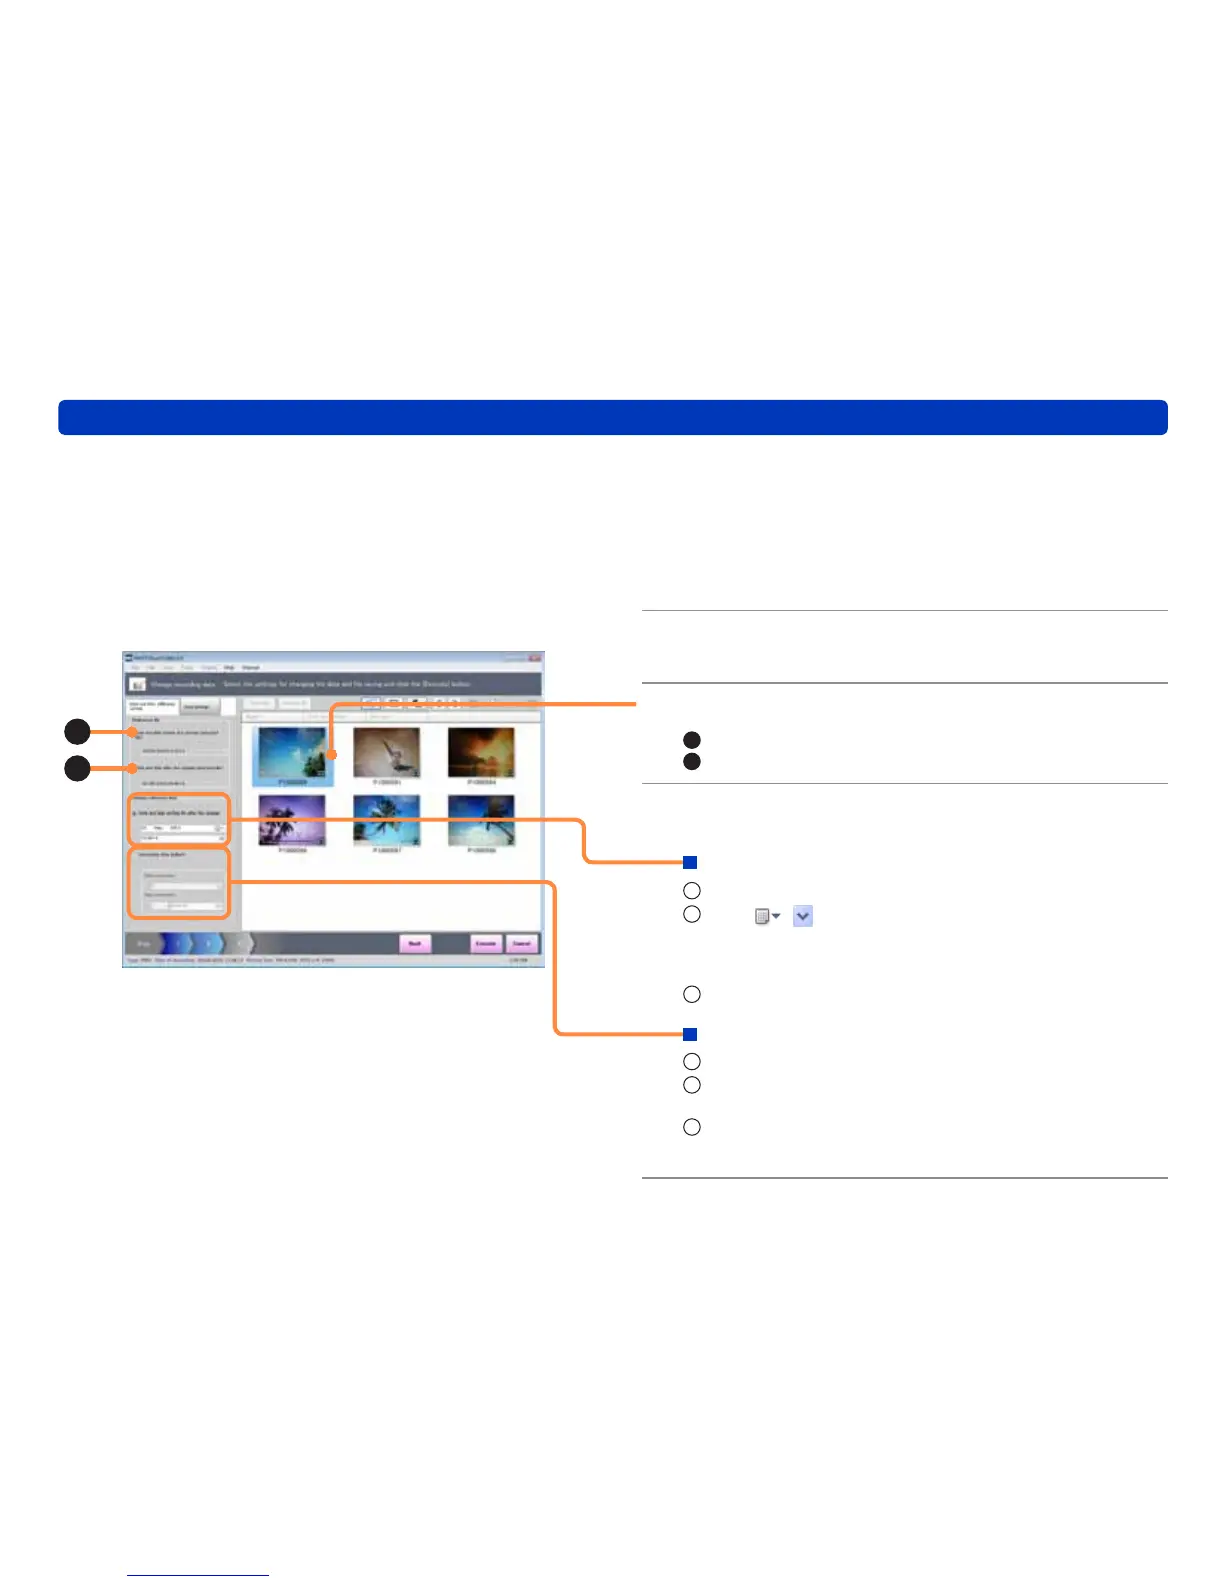
The [Change recording date] screen is displayed.
●You can change the recording date of only JPEG pictures with
Exif information (containing the recording date information).
When the confirmation message is displayed, click [OK].
2
Select a picture by selecting its check
box and click [Next].
3
Select one picture to use as a reference.
A
: Recording date and time of the selected picture
B
: Recording date and time after the change
4
Set the recording date and time for after
the change.
To set the correct recording date and time
1
Click [Date and time setting for after the change].
2
Click ( in Windows XP) to display the calendar,
and set the recording date.
●You can click the year display of the calendar to change the
display in yearly units.
3
Set the recording time.
To set the time difference
1
Click [Correction time (offset)].
2
Click [Date correction] and set by how many days to
correct the date.
3
Click [Time correction] and set by how many hours to
correct the time.
A
B
 Loading...