9. Using Menu Functions
198
Applicable modes:
Gives an effect like multi exposure. (up to 4 times equivalent per a single image)
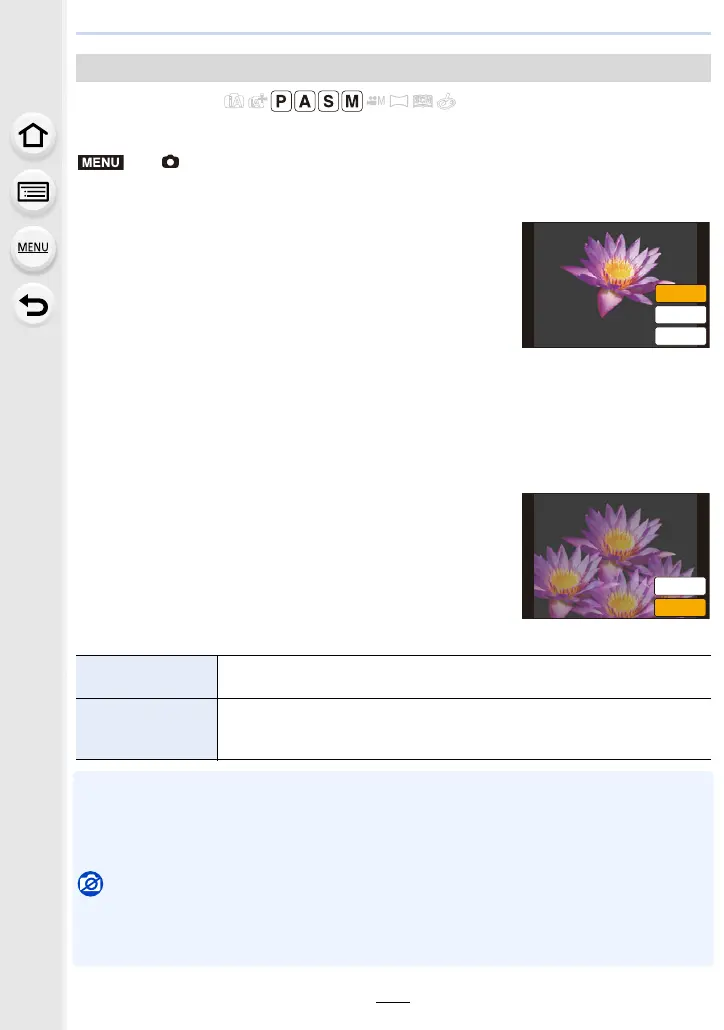
1 Press 3/4 to select [Start] and then press [MENU/SET].
2 Decide on the composition, and take the first picture.
•
After taking the picture, press the shutter button halfway
down to take the next picture.
• Press 3/4 to select the item and then press [MENU/SET]
for one of the following operations.
3 Shooting the second, third, and fourth exposures.
•
If [Fn3] is pressed while taking pictures, the photographed images are recorded, and the
multiple exposure picture-taking session will be completed.
4 Press 4 to select [Exit] and then press [MENU/SET].
•
You can also press the shutter button halfway to finish.
∫ Changing settings
•
The recording information displayed for pictures taken with multiple exposures is the recording
information for the last picture taken.
• Items shown in grey on the menu screen cannot be set during multiple exposures.
• [Overlay] is available only for RAW images taken with this unit.
Not available in these cases:
•
This function is not available in the following cases:
– When using [Time Lapse Shot]
– When using [Stop Motion Animation]
[Multi Exp.]
> [Rec] > [Multi Exp.]
–
[Next]: Advance to the next picture.
– [Retake]: Return to the first picture.
– [Exit]: Record the image of the first picture, and
finish the multiple exposure picture-taking
session.
[Auto Gain]
If you select [OFF], all exposure results are superimposed as they are.
Compensate the exposure as necessary, depending on the subject.
[Overlay]
If you select [ON], you can apply Multi Exposure to previously recorded
images. After [Start] is selected, images on the card will be displayed.
Select a RAW image, and press [MENU/SET] to proceed to recording.
MENU
 Loading...