81
Adding date and title information to a picture
Processing still pictures
Tips
●Up to 5 lines are burned-in to the bottom right of the picture, in the
order of the recording date, travel days or age in months/years,
destination, names, and title information.
●No further information may be burned in for pictures to which date or
title information has already been burned in using the digital camera’s
[DATE STAMP] or [TEXT STAMP] functions.
(If there are pictures with the date and title information burned-in by
other than the [DATE STAMP] and the [TEXT STAMP] functions, the
confirmation message will not appear, so check the contents carefully
before performing the burn-in.)
●The color and size of the characters used for the burned-in date and
title information cannot be changed.
●When burn-in is performed, the picture quality may deteriorate.
●The date may not be properly burned-in to pictures if the date was
not set on the digital camera when the picture was taken or if it was
recorded by a digital camera not manufactured by Panasonic.
4
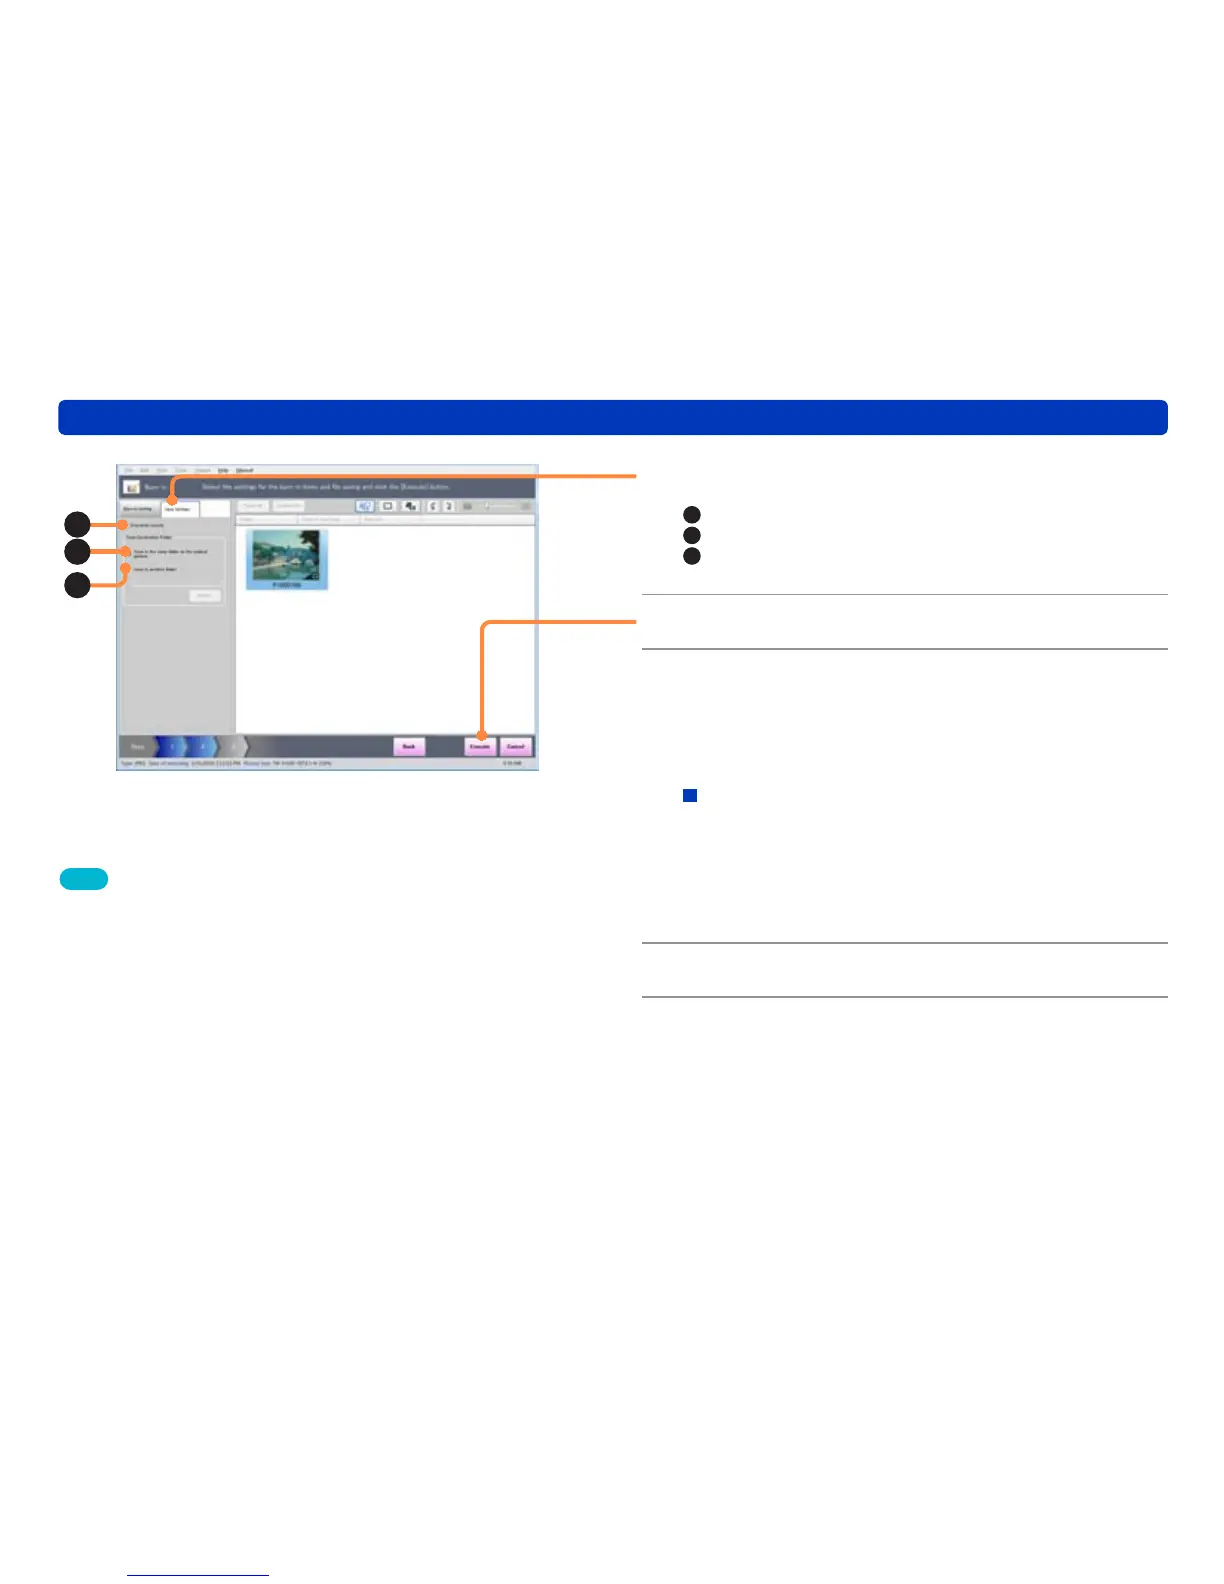
Click [Save Settings].
A
: Overwrites the original picture.
B
: Save in the same folder as the original picture.
C
: Save in a different folder. Click [Browse] and select the
save destination.
5
Click [Execute].
6
When the confirmation message is
displayed, click [Yes].
A picture is created with information such as the date or title
burned-in according to the settings.
About the confirmation message for print retouching
information
When Overwrite Original Picture is set in [Save Settings],
a confirmation message is displayed to warn that the print
retouching information will be lost.
When [Yes] is clicked, an original picture is overwritten by a
picture with burned-in information such as the date or title.
7
Click [OK].
8
Click [Close].
B
C
A
 Loading...