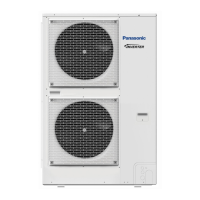
Mini VRF SYSTEM
Test Run
7 - 10
7
4. Auto Address Setting
Case 2
Auto Address Control for Multiple Linked Refrigerant System
How to Control Auto Address Setting from Outdoor Unit
1. Check that the refrigerant system address Rotary switch (SW2) on outdoor unit control PCB (Main) in 1
refrigerant system is set to “1” and the Dip switch (SW1) is set to “0” (at shipment).
ON
OFF
21
ON
2. Regarding the number of indoor units connected to the outdoor unit, set the Dip switch (SW3) for setting the
number of indoor units on outdoor unit control PCB (Main) to “0”
ON
OFF
1
and set the Rotary switch (SW4) to “9”.
Total of 9 units installation is made.
3. Turn on power to all indoor and outdoor units only for one refrigerant system or disconnect link wires for multiple
refrigerant system.
4. Short circuit the A.ADD pin of outdoor main unit for over 1 second long and then open circuit.
Communication for auto address setting begins.
* To cancel, again short circuit the A.ADD pin for over 1 second long and then open circuit.
LEDs 1 and 2 that indicate auto address setting is in progress go out and that process is stopped.
Be sure to perform auto address setting again.
Auto address setting is completed when the compressor stops and LEDs 1 and 2 on outdoor unit control PCB
(Main) go out.
5. Remote control operation is now available.
* When performing auto address setting by the remote controller, perform auto address setting by the remote
controller after step 3.
See “Auto Address Setting from the Remote Controller”.
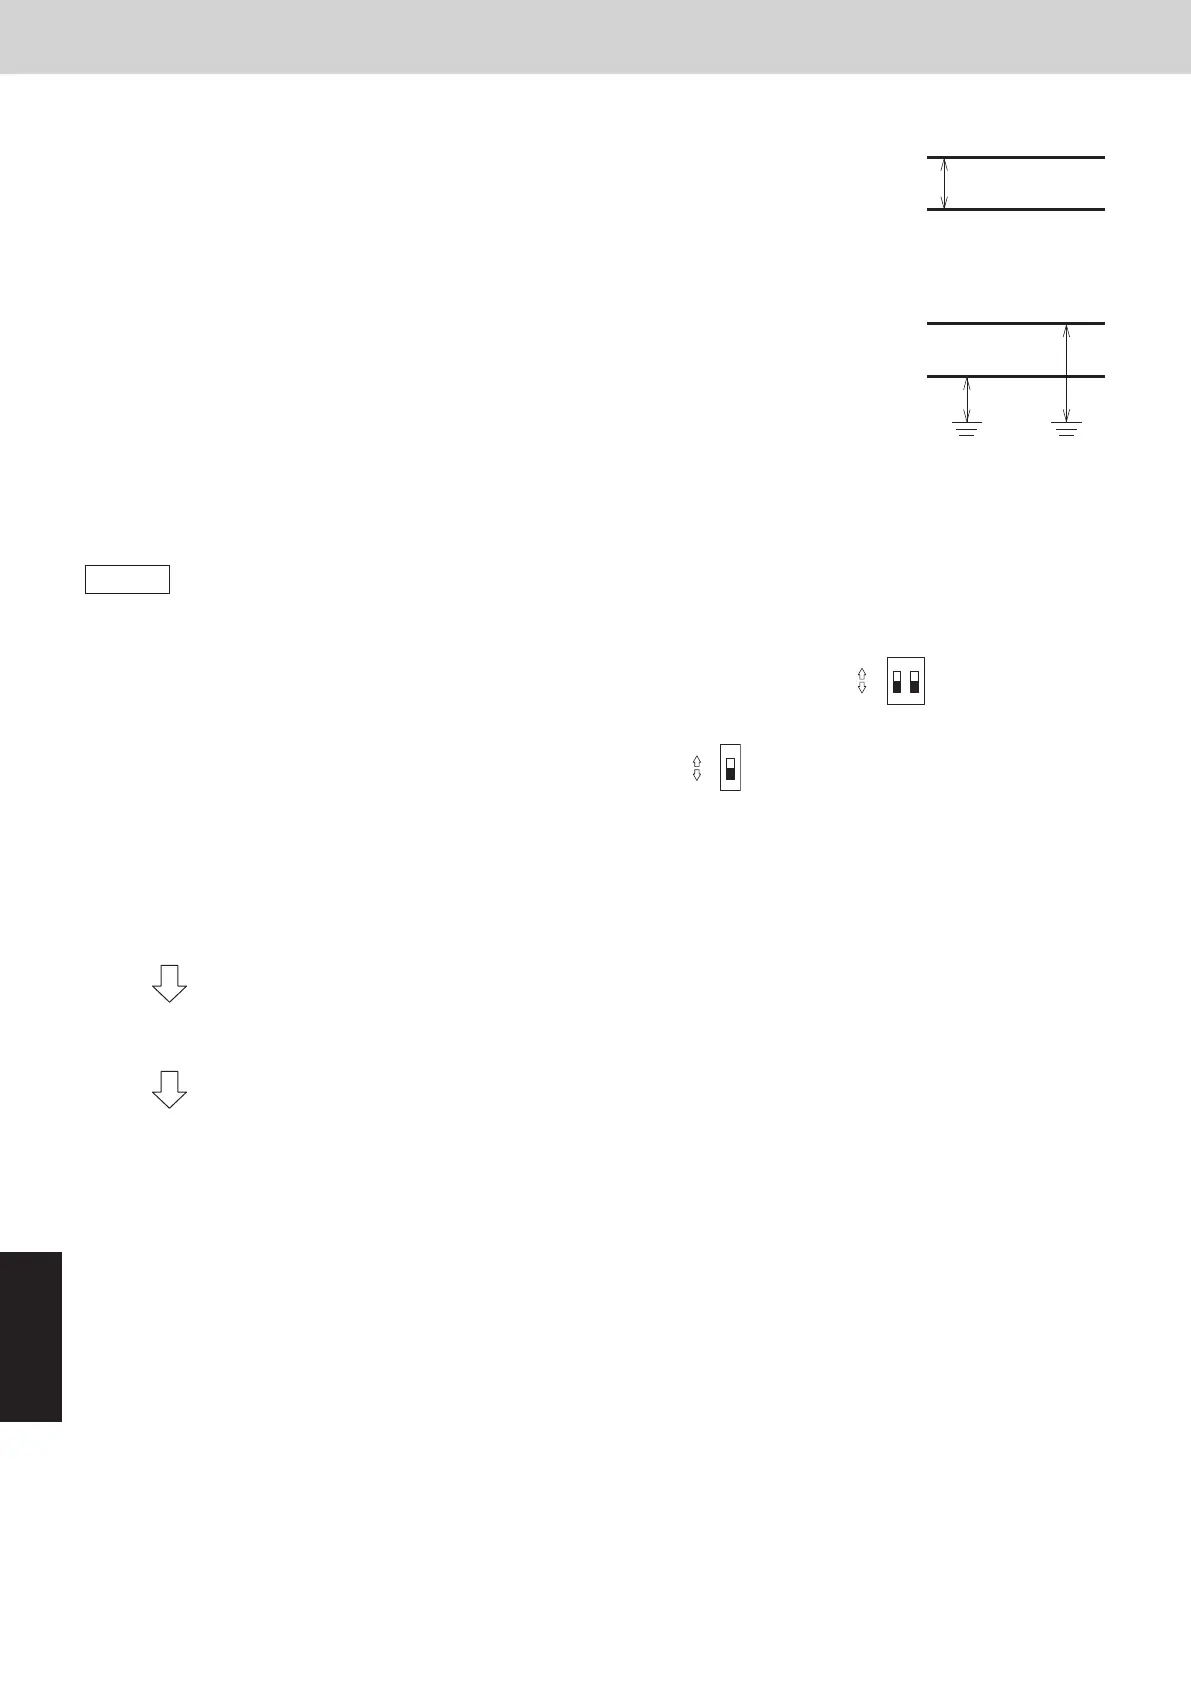
Between conductors
Between wiring and ground
Wire
Wire
Wire
Wire
Ground
Ground
Final check before operation
Final check must be done under the conditions of inter-outdoor unit control
wiring connected to the centralized control system and the resistor between
conductors must be measured by a tester. Check if it is showing between
30Ω and 120Ω.
If the resistance value is out of range, check adjustment of the termination resistor
again. Even if it is out of range, the problem is caused by wiring.
• Is the wiring connection properly completed?
• Are there any scratches or deterioration on the coverage?
• Measure between conductors and also between wiring and ground
by 500 V mega-tester (insulation resistance meter).
Make sure the mega-tester is showing more than 100MΩ.
When measuring, remove both ends of the wiring from the terminal board.
If not removed, it will be damaged.
If it is less than 100MΩ, a new wiring connection should be made.
Auto Address Setting from the Remote Controller
Auto Address Setting from the Wired Remote Controller
(CZ-RTC6 series)
(1) Keep pressing the , and buttons simultaneously for 4 or
more seconds.
The “Maintenance func” screen appears on the LCD display.
Maintenance func
XX / XX
[][]
ECONAVI
nanoeX
RC. setting mode
(2) Press the or button to see each menu.
Select “Auto address” on the LCD display and press the button.
(3) The “Auto address” screen appears on the LCD display.
Select the “Code no.” to “A1” by pressing the or button.
After selecting “Code no.”, press the button and proceed to Step (4).
If the button is pressed, proceed to Step (5).
(4) Select one of the “O/D unit no.” for auto address by pressing the or
button.
After selecting “O/D unit no.”, press the button.
Auto address
[]
O/D unit no. 1
Assigning
Auto address
[]
O/D unit no. 1
Searching
Auto address
Restarting
Automatic
transition
Automatic
transition
Approximately 10 minutes are required.
When auto address setting is completed, the units return to normal stopped status.
(5) If the button is pressed under the display Step (3), the following
display (Auto address-end screen) appears.
Then select “YES” by pressing the or button and press the
button.
Maintenance func
XX / XX
[][]
Simple settings
Detailed settings
Auto address
Auto address
[][]
Code no.
O/D unit no.
A1
1
Auto address
[][]
Code no.
O/D unit no.
A1
1
Exit auto
address setup
and restart?
YES
NO
Auto address
]
Code no.
O/D unit no.
1
A1
Confrm
[][]
SM830289-01_欧州向け R32 mini VRF 8,10HP SM&TRSM.indb 10SM830289-01_欧州向け R32 mini VRF 8,10HP SM&TRSM.indb 10 2021/05/07 10:16:472021/05/07 10:16:47