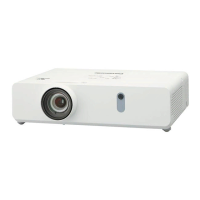
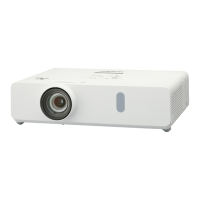
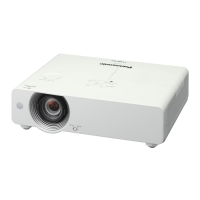
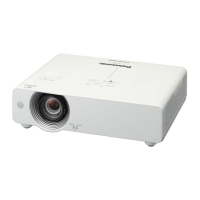
Setting up
Installation mode
There are four ways to set up the projector. Set the [PROJECTOR SETUP] menu → [PROJECTION METHOD]
(x page 72) depending on the installation location.
Setting on a desk/oor and projecting forward Setting on a desk/oor and projecting from rear
(Using the translucent screen)
Menu item Method Menu item Method
[PROJECTION METHOD] [AUTO] or [FRONT/DESK] [PROJECTION METHOD] [REAR/DESK]
Mounting on the ceiling and projecting forward Mounting on the ceiling and projecting from rear
(Using the translucent screen)
Menu item Method Menu item Method
[PROJECTION METHOD] [AUTO] or [FRONT/CEILING] [PROJECTION METHOD] [REAR/CEILING]
Note
f The projector has a built-in angle sensor. The attitude of the projector is automatically detected by setting the [PROJECTOR SETUP] menu
→ [PROJECTION METHOD] to [AUTO]. For rear projection, set the [PROJECTION METHOD] to [REAR/DESK] or [REAR/CEILING].
rAngle sensor
The range of installation posture detected by the projector’s built-in angle sensor is as follows.
In case of [AUTO], when the projector is placed with the top side upward within ±40° from the horizontal plane, it
will switch to [FRONT/DESK] automatically; when the projector is placed with the top side downward within ±30°
from the horizontal plane, it will switch to [FRONT/CEILING] automatically.
30°
30°
40°
40°
:
Projection direction
[FRONT/CEILING] [FRONT/DESK]
ENGLISH - 27
Chapter 2 Getting Started - Setting up
 Loading...