Projector settings
1) Use the LAN cable to connect the projector with computer.
2) Turn on the projector.
3) Select the [NETWORK/USB] menu → [WIRED LAN] from the main menu and press the <ENTER>
button.
4) Set the detailed setup of [WIRED LAN].
f For details,please refer to “WIRED LAN” (x page 82).
Note
f Please conrm with your network administrator before you connect to an existing network.
f The following settings are set before the projector leaves the factory.
[DHCP] OFF
[IP ADDRESS] 192.168.10.100
[SUBNET MASK] 255.255.255.0
[DEFAULT GATEWAY] 192.168.10.1
[DNS1]/[DNS2] NONE
Computer settings
1) Turn on the computer.
2) Make the network setting according to your system administrator.
f If the projector settings are the default settings, the computer can be used with the following network
settings.
[IP ADDRESS] 192.168.10.101
[SUBNET MASK] 255.255.255.0
[DEFAULT GATEWAY] 192.168.10.1
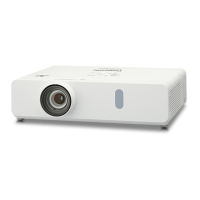
Connecting with wireless LAN
The wireless module (Model No.: ET-WML100)
*1
of the optional accessories is required if you want to use the
network function through the wireless LAN.
*1 The wireless module (Model No.: ET-WML100) and the wireless LAN function are not available in Taiwan.
Connection example
IEEE802.11b/g/n
Wireless module of optional accessories
(Model No.: ET-WML100)
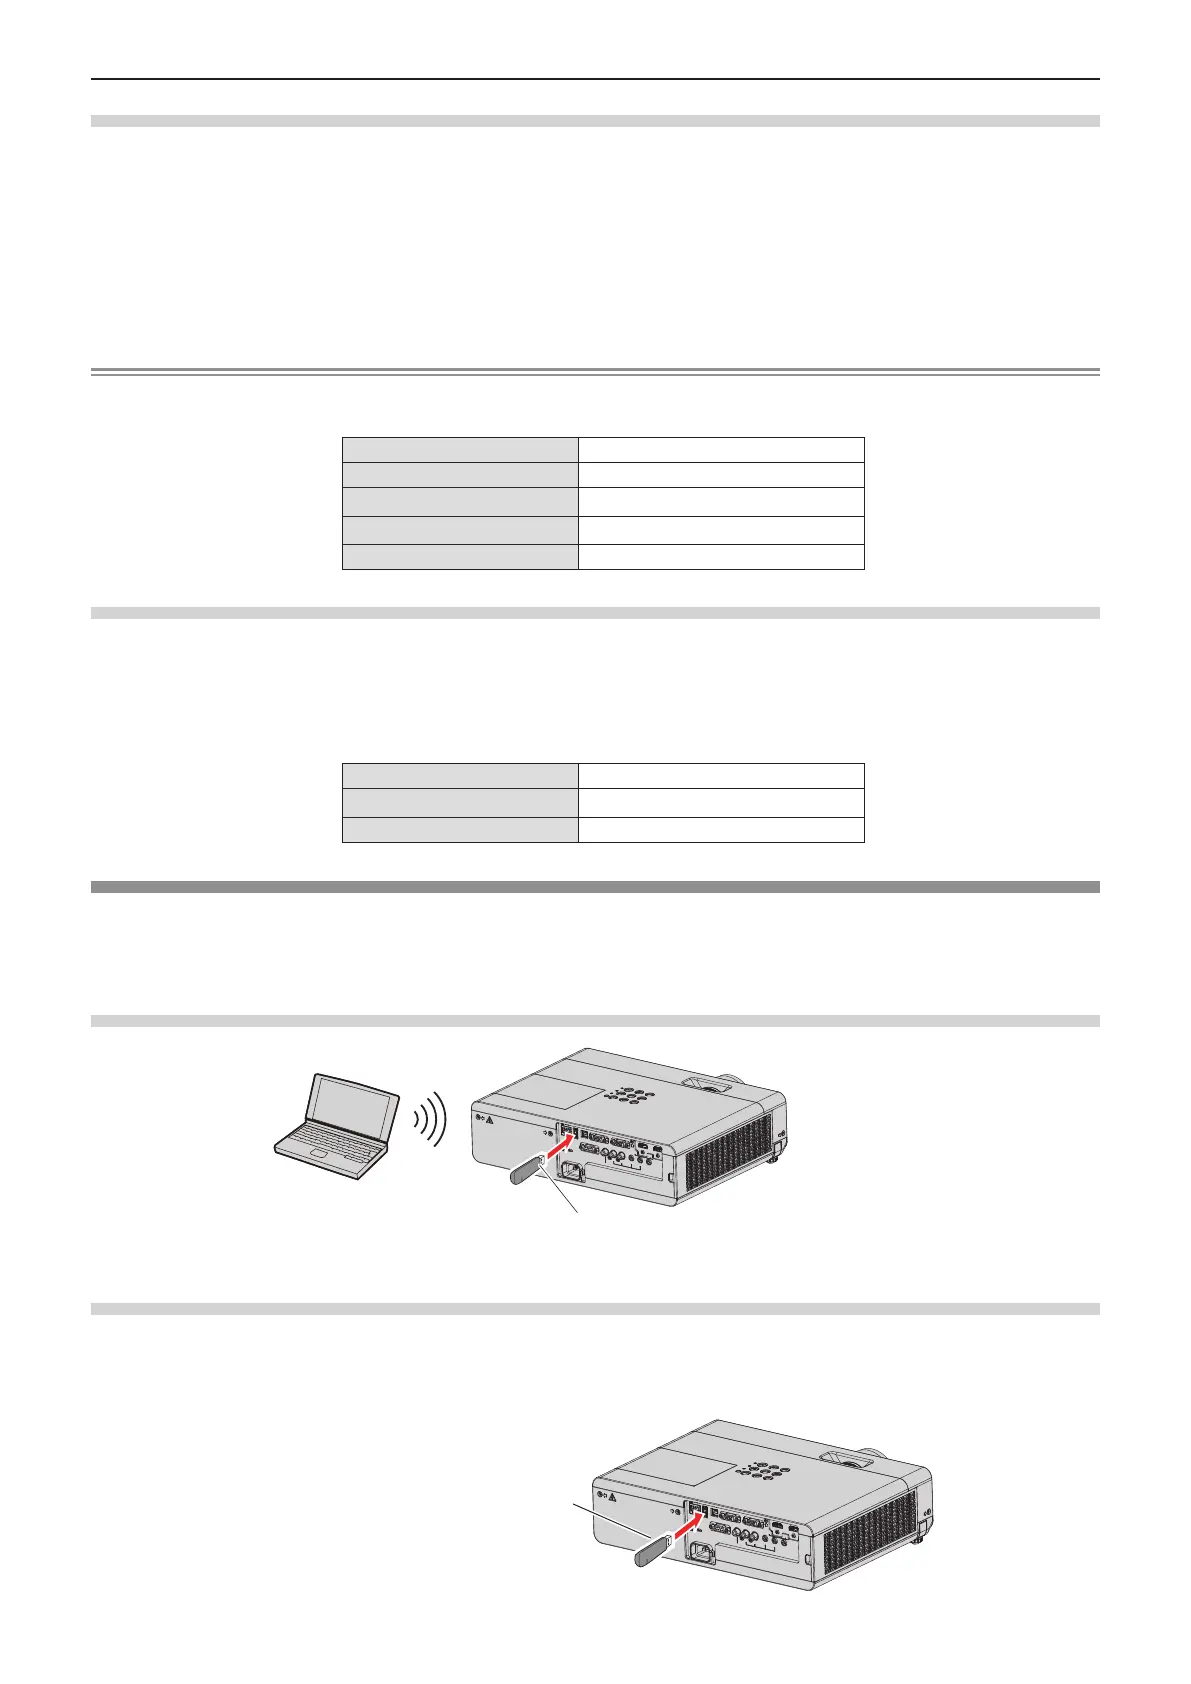
Preparation and conrmation of the projector
1) Turn on the projector.
2) Attach the wireless module (Model No.: ET-WML100) of optional accessories firmly into the <USB A
(VIEWER/WIRELESS)> terminal.
Wireless module of optional accessories
(Model No.: ET-WML100)
92 - ENGLISH
Chapter 5 Operation of Function - Network connection