13 Self-Diagnostic Display Function
This unit is equipped with a self-diagnostic display function, which will be useful during servicing and maintenance.
z Refer to the next page for display symbols, symptoms, etc.
13.1 Preparations
1. A Cr02-positioned blank cassette tape with an erase prevention niche on either Side A or B.
2. A normal-positioned music tape with erase prevention niches on both Sides A and B. Both tapes are halfway forwarded
in advance.
3. The remote controller that comes with this unit.
13.2 Setting of the Self-Diagnostic Mode
13.3 Restoring Normal Display
z From the F76 display, the normal display does not appear till an error is recovered.
z For displays other than F76, press “POWER” button to turn off the power, and then turn on the power.
13.4 Clearing Self-Diagnostic Memory
(F15, F17, F22, F26, F27, F28, F29)
1. Enter a self-diagnostic mode.
2. Press "STOP█/-DEMO" button. A symbol of self-diagnostic is indicated on the display if an error is found. If several
errors are found, a respective indication is displayed when "STOP█/-DEMO" button is pressingrepeatedly. (e.g. H01 →
CD F15 → F01) If no error is found, only "T " indication is displayed and remains unchange even if "STOP█/-DEMO"
button is pressed.
13.5 Displaying Self-Diagnostic Results
(H01, H02, H03, F01, F02)
1. Enter the self-diagnostic mode, following the instructions described in [13.2. Setting of the Self-Diagnostic Mode].
2. Insert a normal-positioned music tape with erase prevention niches on both Sides A and B. Press [TAPE ] button to
No. Operation Procedure
Operation and Processing of
Microcomputer
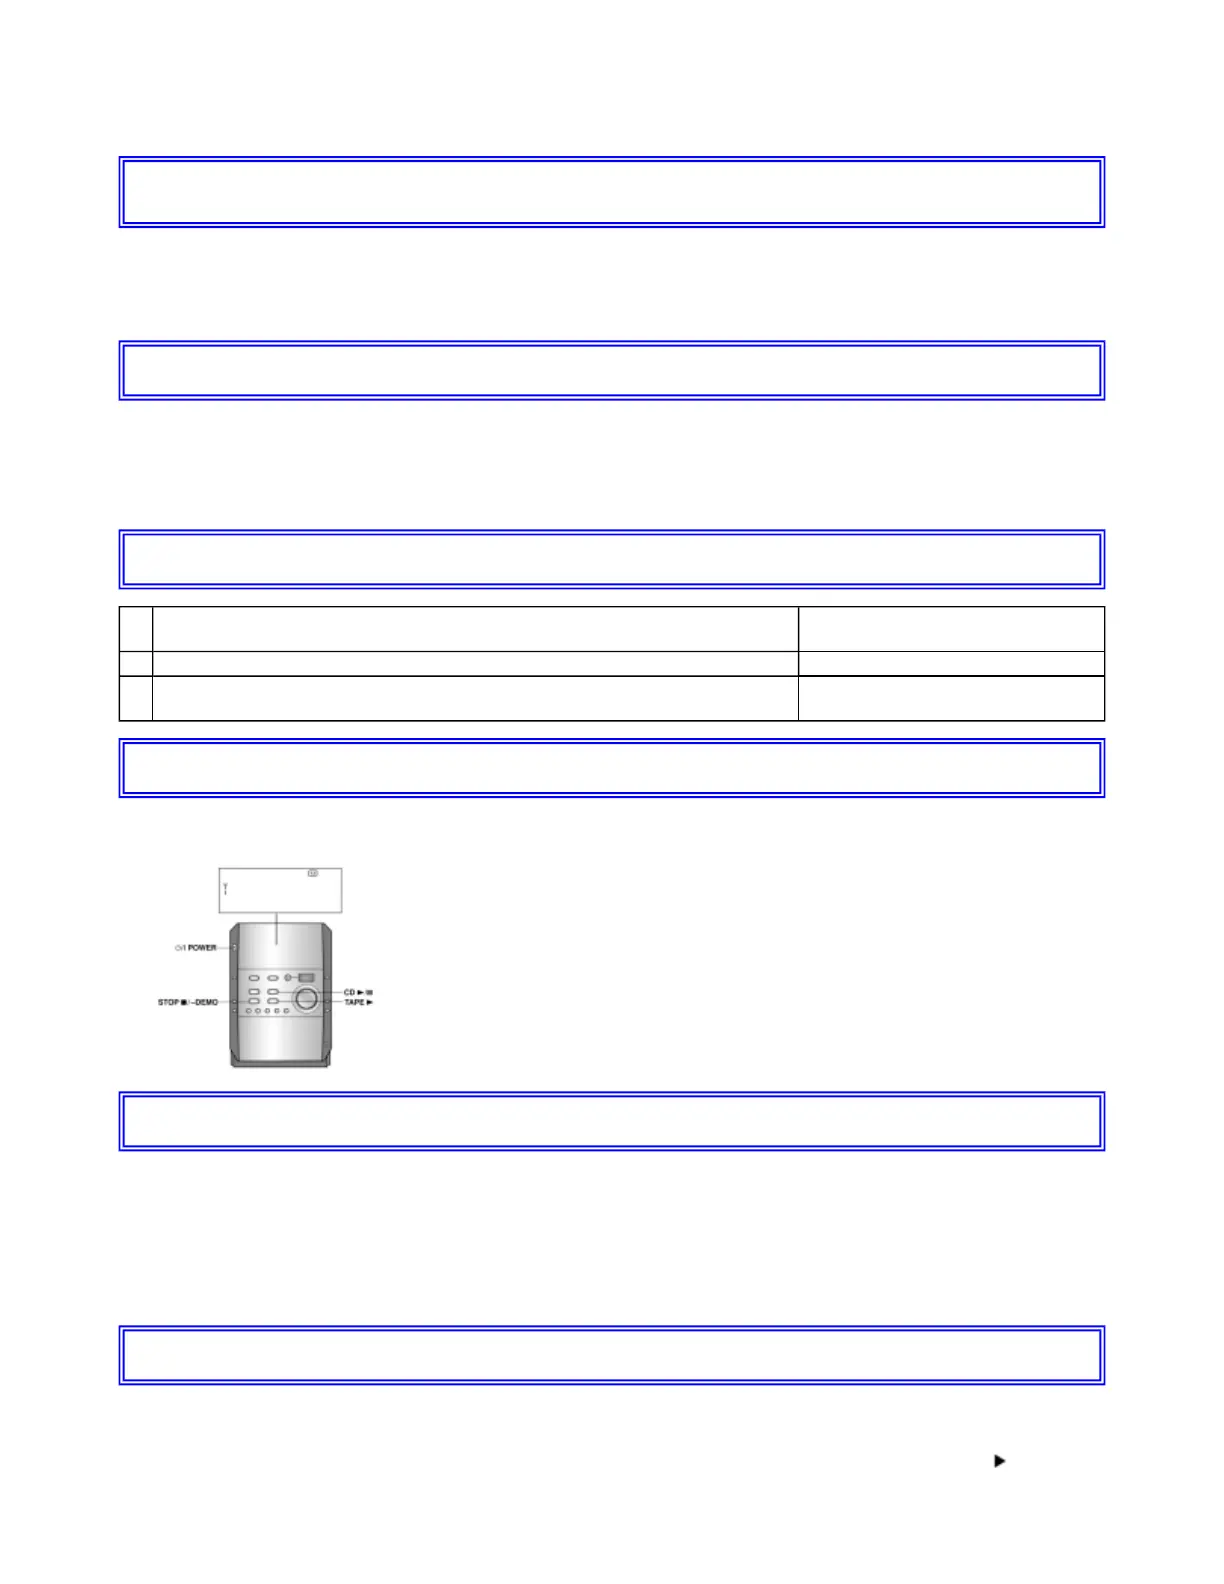
1 Switch the SELECTOR to CD. There should be NO disc loaded.
2
Press the [STOP█ ] key for 2 sec and press [CD PLAY] for another 2 sec, it
shall enter into the diagnostic mode.
[T ] shall be displayed in the FL.