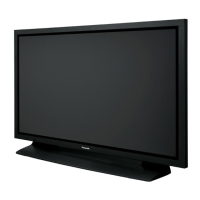
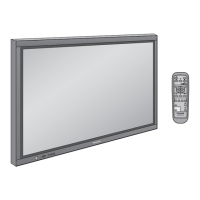
TH-65PF10WK/TK
23
SS52, SS57, SS58).
3. Remove 6 screws and then remove SS2-Board and SS3-
Board.
8.13. Removal of SS-Board
1. Disconnect the 2 Fan Relay Connectors.
2. Remove 4 screws and then remove the Fan Block (D).
3. Disconnect the connectors (SS11, SS12, SS23, SS27,
SS34, SS35, SS42, SS44).
4. Remove the Flexible Cables from the connectors (SS53,
SS54, SS55, SS56).
5. Remove 11 screws of SS-Board and slide SS-Board in
the direction of the arrow (B) and then remove SS-Board.
Note:
Remove SS-Board not to damage the Flexible Cables
of the Plasma Panel and parts on SS-Board.
8.14. Removal of H3-Board (L), (R)
1. Remove 4 screws and then remove the Speaker Terminal
Blocks (L), (R).
2. Disconnect the connector (H37).
3. Remove 3 screws (H) and then remove H3-Board.
8.15. Removal of C1, C2, C3, C4, C5
and C6-Board
1. Disconnect the 3 Fan Relay Connectors.
2. Remove 8 screws and then remove the Fan Blocks (B),
(C).
3. Remove 4 screws ( ) and then remove the Speaker Ter-
minal Blocks (L), (R).
4. Remove 4 screws ( ) and then remove the Reinforce-
 Loading...


