4.5 Wiring Connections
4.5.1 Wiring schematics
Note:
R See 4.5.4 Distribution box switch settings
(page 32, 33, and 34) for information about distribution box switch
settings.
R The required distribution switch settings for the basic system example are as follows.
– DIP switch: only set the number 1 switch to the "on" position
– Terminate switch: set to the "on" position
– Repeat switch: set to the "off" position
R See page 35 for information about lift controller DIP switch settings.
R Insert the wires fully into the connection terminals. After inserting the wires, pull slightly on each wire to make sure
it is firmly connected.
Basic system example
NP: Non-polarised
Distribution Box (1) Lobby Station (1) Room unit (up to 20)Control Box (1)
1
2
D1
D2
3
4
D3
D4
5
6
R1
R2
7
8
R3
IN1
9
10
IN2
IN3
11
12
IN4
P1
13P2
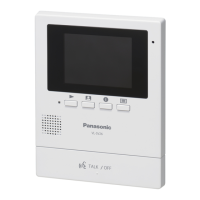
Main Monitor Door Station
NP
1
2
D1
D2
3
4
D3
D4
5
6
R1
R2
7
8
R3
IN1
9
10
IN2
IN3
11
12
IN4
P1
13P2
NP
DIP SW 1 : ON
1
DC IN
DC IN
DC IN
NP
N
P
Power
supply
12 V DC
NP
NP
NP
NP
NP
NP
NP
POWER SUPPLY UNIT
POWER SUPPLY UNIT
NP
POWER SUPPLY UNIT
V700 K-IN K-OUT
Access
controller
(input)
Electric
lock
(output)
TERMINATION SW : ON
REPEATER SW : OFF
26
4. Installation

 Loading...