Step 2: Log into the Pelican Connect app. At the top
under Notifications, there will be a selectable new
Thermostat with a matching serial number. If there is no
notification, reference “Power and Connectivity
Troubleshooting” on the previous page. You can also
check the Admin section of the app and see if under
Thermostat Configurations there is a matching device
serial number.
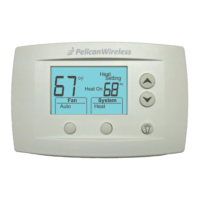
Step 3: In the thermostat’s configuration settings,
enable and set the correct configurations based on the
equipment the controller(s) are wired to control.
Reference “ Configurations” on pages 35 to 39.
For device operations, reference “Sequence of
Operations” starting on page 40.
IMPORTANT: If not already installed, a Pelican zone
coordinator must be installed to be able to configure a
Pelican thermostat as a zone damper controller.
You will then link the thermostat to its zone coordinator
in the thermostat configuration page.
The zone thermostat will operate its equipment for
cooling, heating, reheat, and/or ventilation sequences
when allowed or released to operate based on the zone
coordinators sequences.
IMPORTANT: NEVER wire any zone thermostat or its
accessry [D] terminals to the zone coordinator! This will
create communication issues and the system will not
operate.
All thermostat and accessory configurations are set
though the Pelican Connect app:
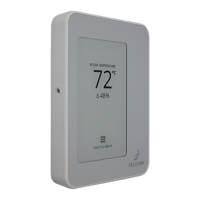
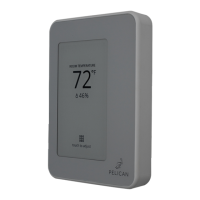
Step 1: Locate the thermostat’s Serial Number on the
display or in the INFO screen of the thermostat.
Setting Configurations
###-####
INFO
Serial Number:
###-####
34

 Loading...