- If an invalid Admin password is entered, the
Main screen appears and you must repeat the
sequence and enter the correct digits for the
Admin password.
The following figure shows the default Admin
password being enter in the Admin Password
Setup Access screen.
Figure 57: Admin Password Setup Access screen
3. In the Change Admin Password screen, press Up
or Down to select the first digit of the new Admin
password, then press Next to save the selected
first digit and go to the second digit of the Admin
password. Press Up or Down to select the second
digit of the Admin password, then press Next to save
the selected second digit and go to the third digit of
the Admin password. Repeat for the third and fourth
digit of the Admin password. Then press Next to
save the complete new Admin password.
Note: The Change Admin Password screen is
identified by a 1 in superscript following AdMN.
The factory-set default Admin Password is 1234.
If you change the Admin password, record and
store the new password appropriately. If you
do not recall the changed Admin password, you
cannot change the User or Admin passwords.
This following figure shows the Admin
password being changed to a new password.
Figure 58: Change Admin Password screen
4. In the Confirm New Admin Password screen, press
Up or Down to select the first digit of the new Admin
password, then press Next to save the selected
first digit and go to the second digit of the Admin
password. Press Up or Down to select the second
digit of the Admin password, then press Next to save
the selected second digit and go to the third digit of
the Admin password. Repeat for the third and fourth
digit of the Admin password. Then press Next to
save the complete new Admin password.
Note: The Confirm Admin Password screen is
identified by a 2 in the superscript following
AdMN.
The following figure shows the new Admin
password being entered in the Confirm Admin
Password screen.
Figure 59: Confirm New Admin Password screen
5. Press Next to return to the Main screens
Note: If the value entered in the Confirm
Admin Password screen does not match the
value entered in the Change Admin Password
screen, validation fails (FAIL) and the Admin
Password Setup Start appears.
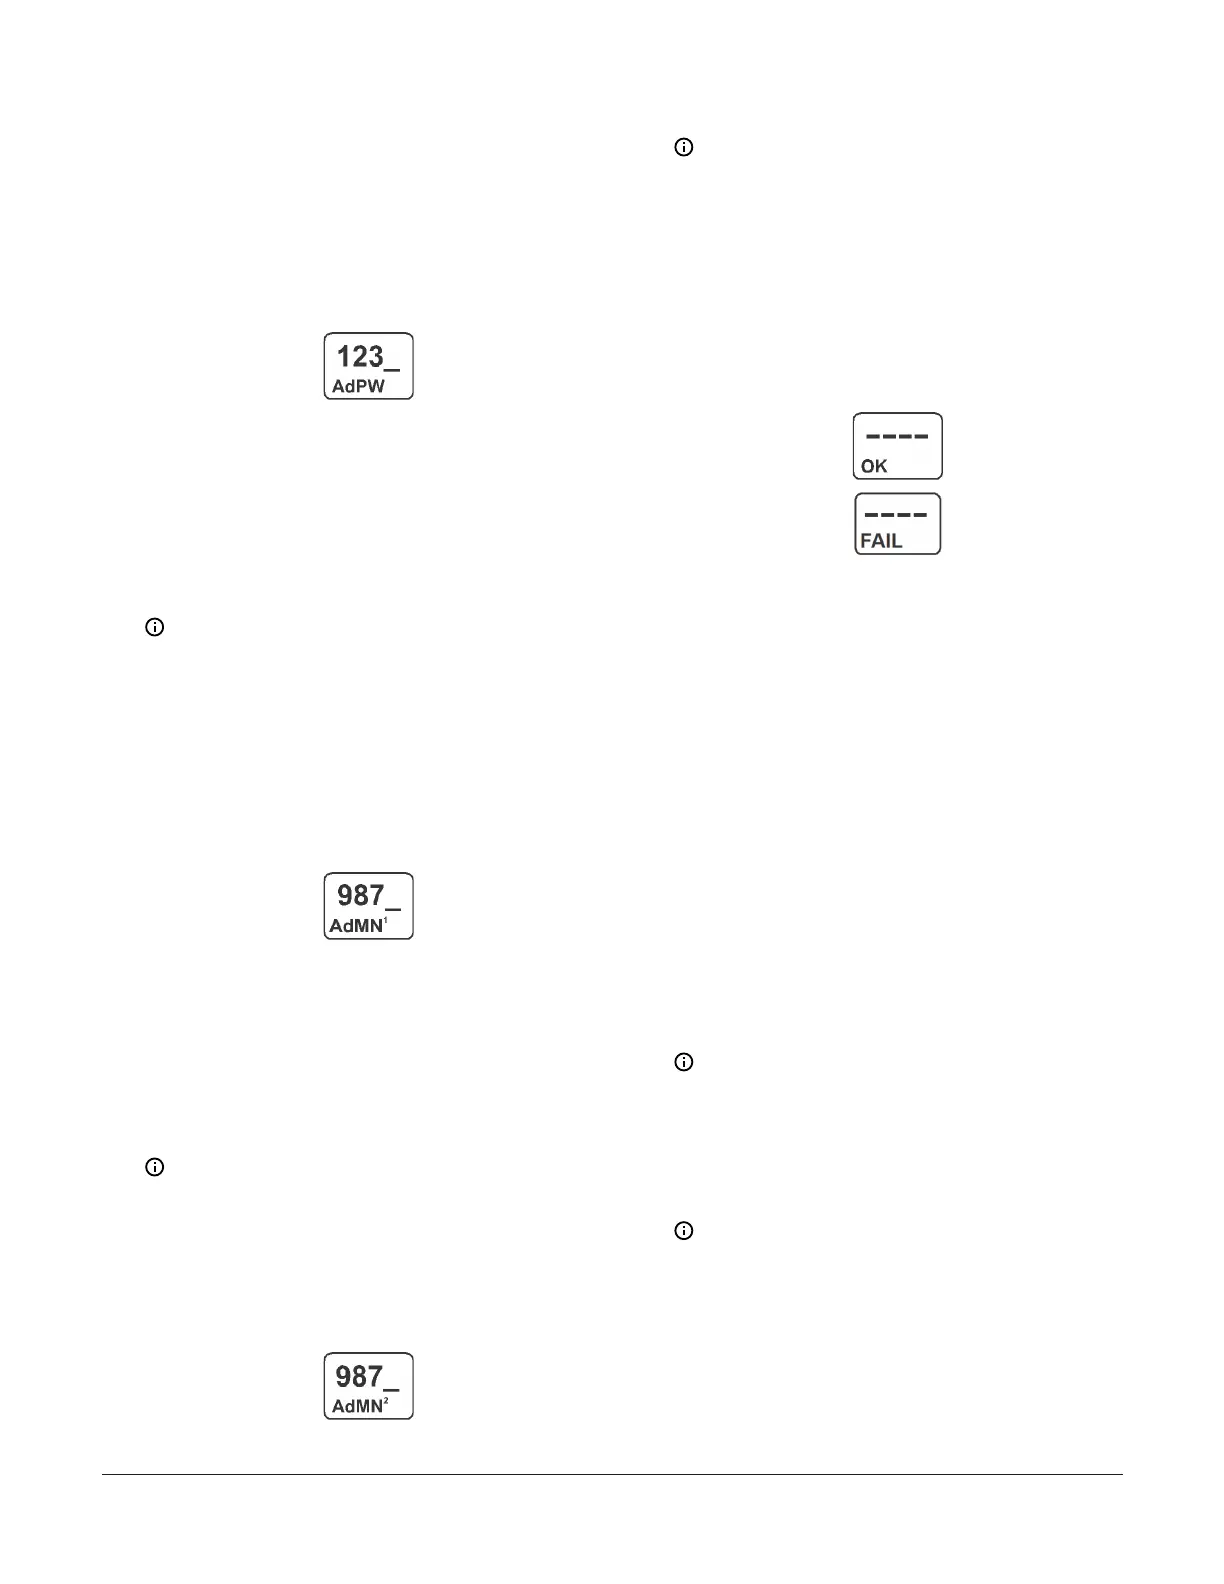
In the following figure, the top screen
example shows the Admin password change
is successful (OK). The bottom screen example
shows the Admin password change failed
(FAIL).
Figure 60: Validate Admin Password Change screens
Setting up Ethernet communications
Obtain the information in this section and record the
values in the fields provided. Your network administrator
may be able to provide most, if not all, of this Ethernet
setup information. Use the following steps to connect
your computer to the router using a wired port or Wi-Fi:
1. Consult the user manual for the router or see your
Network Administrator to obtain the router IP
address, username, and password.
- Record the router’s Internal LAN IP address
(____.____.____.____).
- Record the username (__________) and
password (__________).
2. Log in to the router using the router’s IP address
and login credentials from Step 1. Access the
configuration and setup pages within the router.
3. Locate the router’s LAN setup screen to view the
router’s subnet mask.
Note: The subnet mask is usually 255.255.255.0.
- Record the router’s subnet mask
(____.____.____.____).
4. Determine the DHCP client address range used by
the router. You can use addresses outside this DHCP
address range for static addressing.
Note: If the DHCP client address range does
not provide space for the devices you need to
add to the network, reduce the DHCP client
address range.
- Record the DHCP client address range
(____.____.____.____ to ____.____.____.____).
System 450 Series Control Module with Ethernet Communications Installation Guide22
 Loading...

