B
A
4:4
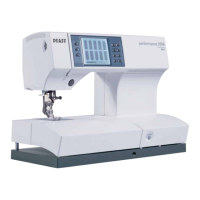
Topstitching - No 1
The straight stitch can be sewn in 19 different needle positions
allowing you to guide the presser foot along the fabric edge for
topstitching. The distance between the rows of topstitching is
determined by the needle positions.
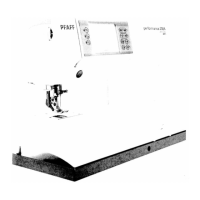
Use the guide marks on the needle plate, or the edge guide to topstitch
further from the fabric edge. The edge guide is inserted into hole A
and is secured with set screw B.
Basting stitch - No 17
With stitch no. 17 you can baste. When you press the foot control, the
machine will sew one stitch at a time. Press the foot control again for
each stitch. Your sewing machine has 19 needle positions that can be
adjusted with the needle position icon and function field buttons (5).
• Lower the feed dogs and disengage the IDT.
• Place the fabric under the presser foot.
• Sew one stitch, then move the fabric the required amount to the
rear. Continue to sew one stitch at a time until you finish basting.
Tip: Light fabrics are easier to baste with long straight stitches
(6mm) using stitch no. 1, letting the machine feed your fabric.
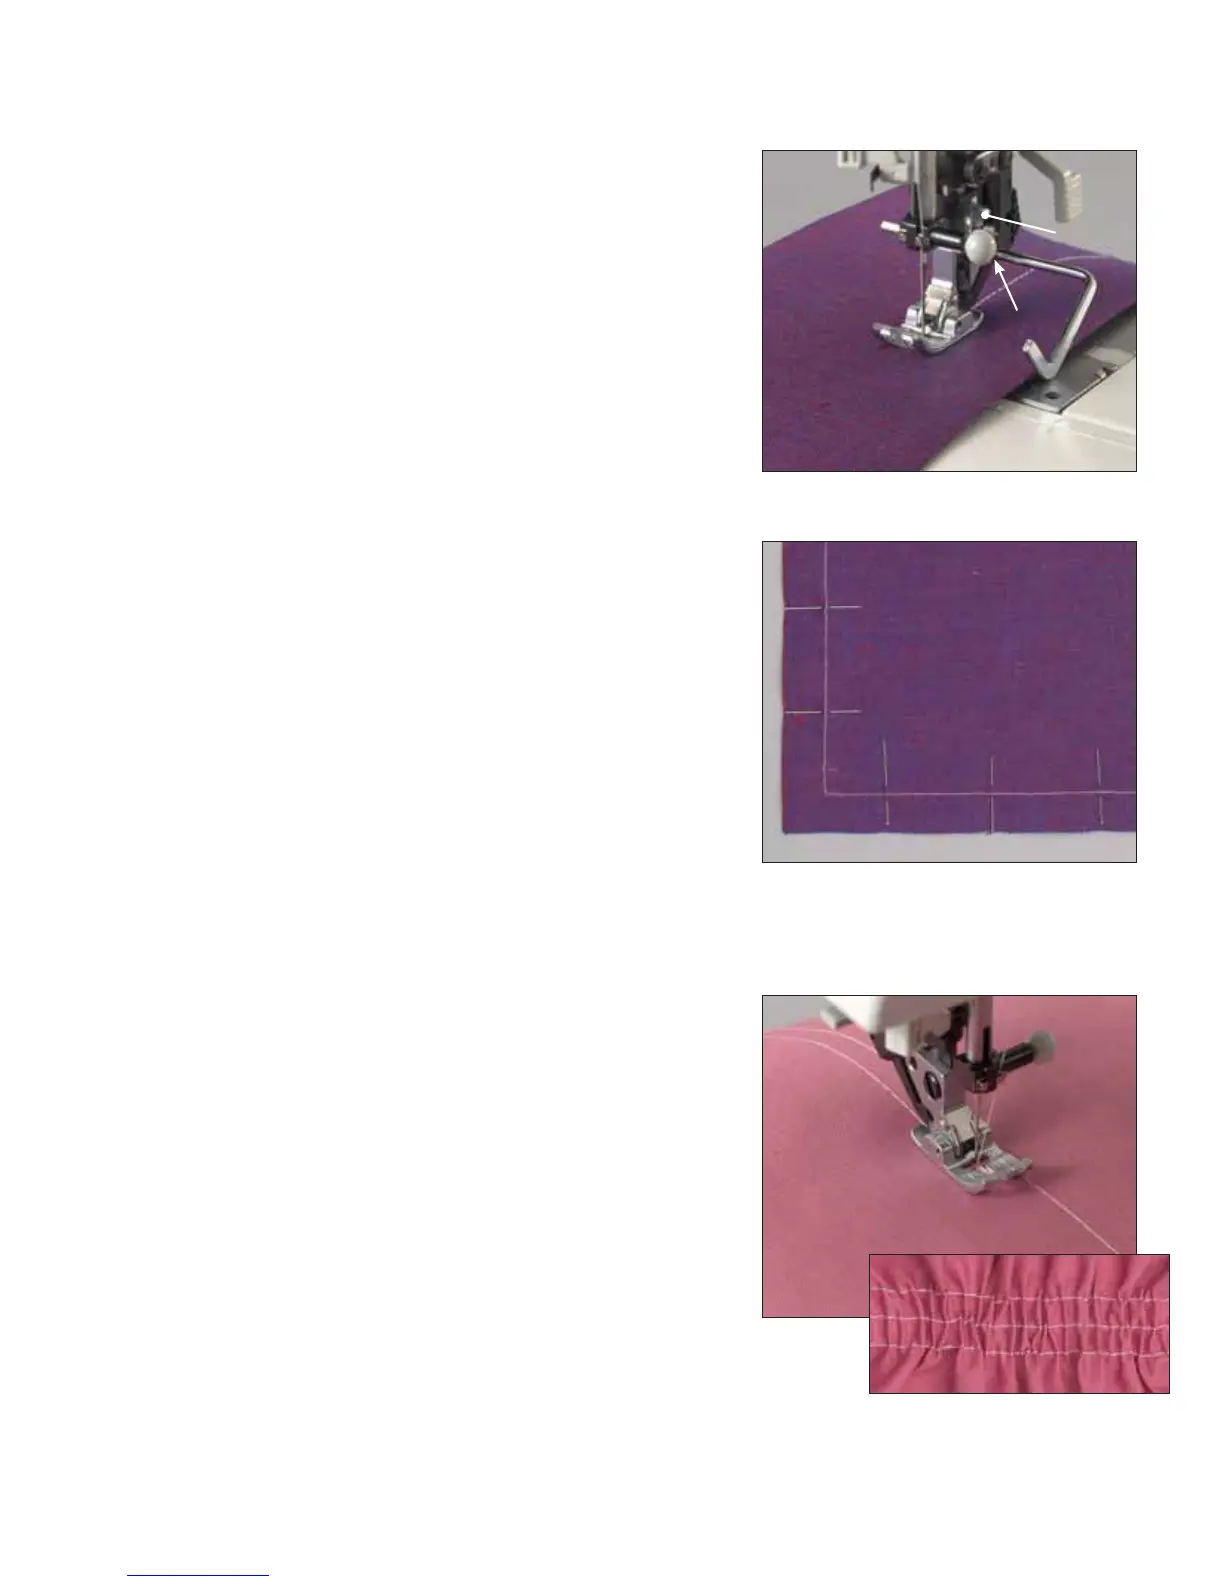
Gathering with straight stitch - No 1
A straight stitch can be used to gather your fabric when making
sleeves, cuffs, skirts or valances. To obtain neat and even gathers you
should sew two or three rows of gathering stitches.
• Set your stitch length to 6.0mm. Lower the needle thread tension to
3.
• Mark the first gathering line on the right side of the fabric. Sew
along this line. Leave about 4 - 5 inches (10-13 cm) of thread at the
beginning and end of the seam.
• Sew 1 or 2 more rows of stitching, using the edge of the presser foot
as a guide.
• Gather the fabric by pulling the bobbin (bottom) threads to the
desired fullness.
• Distribute the gathers evenly and knot the thread ends together to
secure the gathering.
 Loading...