112
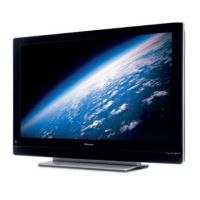
KRP-500P
1
2 3 4
A
B
C
D
E
F
1
2 3 4
SENS Assy
SENSOR Assy
FAN CH Assy
50F Y DRIVE
Assy
50F X DRIVE
Assy
POWER SUPPLY
Unit
POWER SUPPLY Unit
P1
P2
Tape (white)
J101
J102
The J101 and J102 cables require correct orientation for
connection. Connect the connectors with white tape to the
POWER SUPPLY Unit.
Blue
GND
AC Inlet
Notes on Lead Dressing
Note: The wiring shown in the photo is different from the actual wiring, because the product in the photo is a prototype.
Upon servicing, be sure to restore the original wiring of the unit after repair work.
FAN Assy
Notes on Removing the POWER SUPPLY Unit
Discharge of residual electric charge
Immediately after the power cord is unplugged, residual electric charge remains for about 3-5 minutes in the capacitor inside
the POWER SUPPLY Unit.
Before removing the POWER SUPPLY Unit, make sure that residual electric charge has fallen to a safe level.
How to discharge residual electric charge rapidly
Discharge residual electric charge by connecting two 220 Ω (10 W) forced discharging resistors (440 Ω in total,) one to each
end, of C101.
<How to remove the POWER SUPPLY Unit>
1 Make sure that the power cord is unplugged. Check the voltage of both ends of C101, using a tester.
2 Wait until the voltage at both ends of C101 has fallen to 5 V or less.
3 When the voltage becomes less than 5 V, disconnect the connectors of the POWER SUPPLY Unit then remove it.
POWER SUPPLY Unit
Points of checking residual
electric charges:
After making sure that the voltage
of both ends of C101 has fallen
to 5 V or less, remove the POWER
SUPPLY Unit.
 Loading...