113
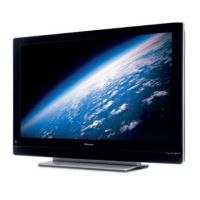
KRP-500P
5
6 7 8
5
6 7 8
A
B
C
D
E
F
MAIN and AUDIO Assys
2
Under cover (509M)
3
1
1
1
1
1
1
2
2
2
Remove the six N grip screws. (ABA1381)
1
Remove the three screws. (ABA1389)
2
Remove the under cover (509M).
3
Under cover (509M)
3
1
2
2 1
4
Note: The wiring shown in the photo is different from the actual wiring, because the product in the photo is a prototype.
Upon servicing, be sure to restore the original wiring of the unit after repair work.
Screw tightening order
The other screws are random order.
Screw tightening order
The other screws are random order.
Remove the two screws. (BPZ30P080FTB)
1
Remove the one screw. (AMZ30P060FTB)
2
Remove the one screw. (BMZ30P060FTB)
3
Remove the two hexagon headed screws. (ABA1382)
4
Remove the two N grip screws.
(ABA1381)(KRP-500P/WYSIXK5)
Remove the two screws.
(AMZ30P060FTB)(KRP-500P/WYS5, LFT, WA5)
5
Remove the two N grip screws. (ABA1381)
6
Remove the three N grip screws. (ABA1381)
7
Remove the two screws. (ABZ30P080FTC)
8
Remove the terminal panel SEP.
9
Terminal panel SEP
Terminal panel SEP
Terminal panel SEP
9
2
3
5
×2
6
8
8
7
7
7
6
1
×2
4
×2
Note:
Do not use an electric screwdriver.
If the screw is over-tightened, the screw thread
may be damaged.
 Loading...