Control System Set Up and Testing
The control system of this kit consists of myRIO, LabVIEW code, the PC used for code development and teleoperation where
applicable, the motor controller board, sensors, and motors.
LabVIEW and myRIO Setup
1. Install the software required to program myRIO. You can find this software on the disks provided with myRIO
as well as to http://www.ni.com/product-documentation/14603/en/. Disk 1 includes the minimum software
required to use myRIO. Disk 2 includes additional software you can use to expand the functionality of myRIO.
The minimum software required to use myRIO is:
1. LabVIEW
2. LabVIEW Real-Time Module
3. LabVIEW myRIO Toolkit
Activate the software using your software serial number. The myRIO software is only compatible with Windows
operating systems.
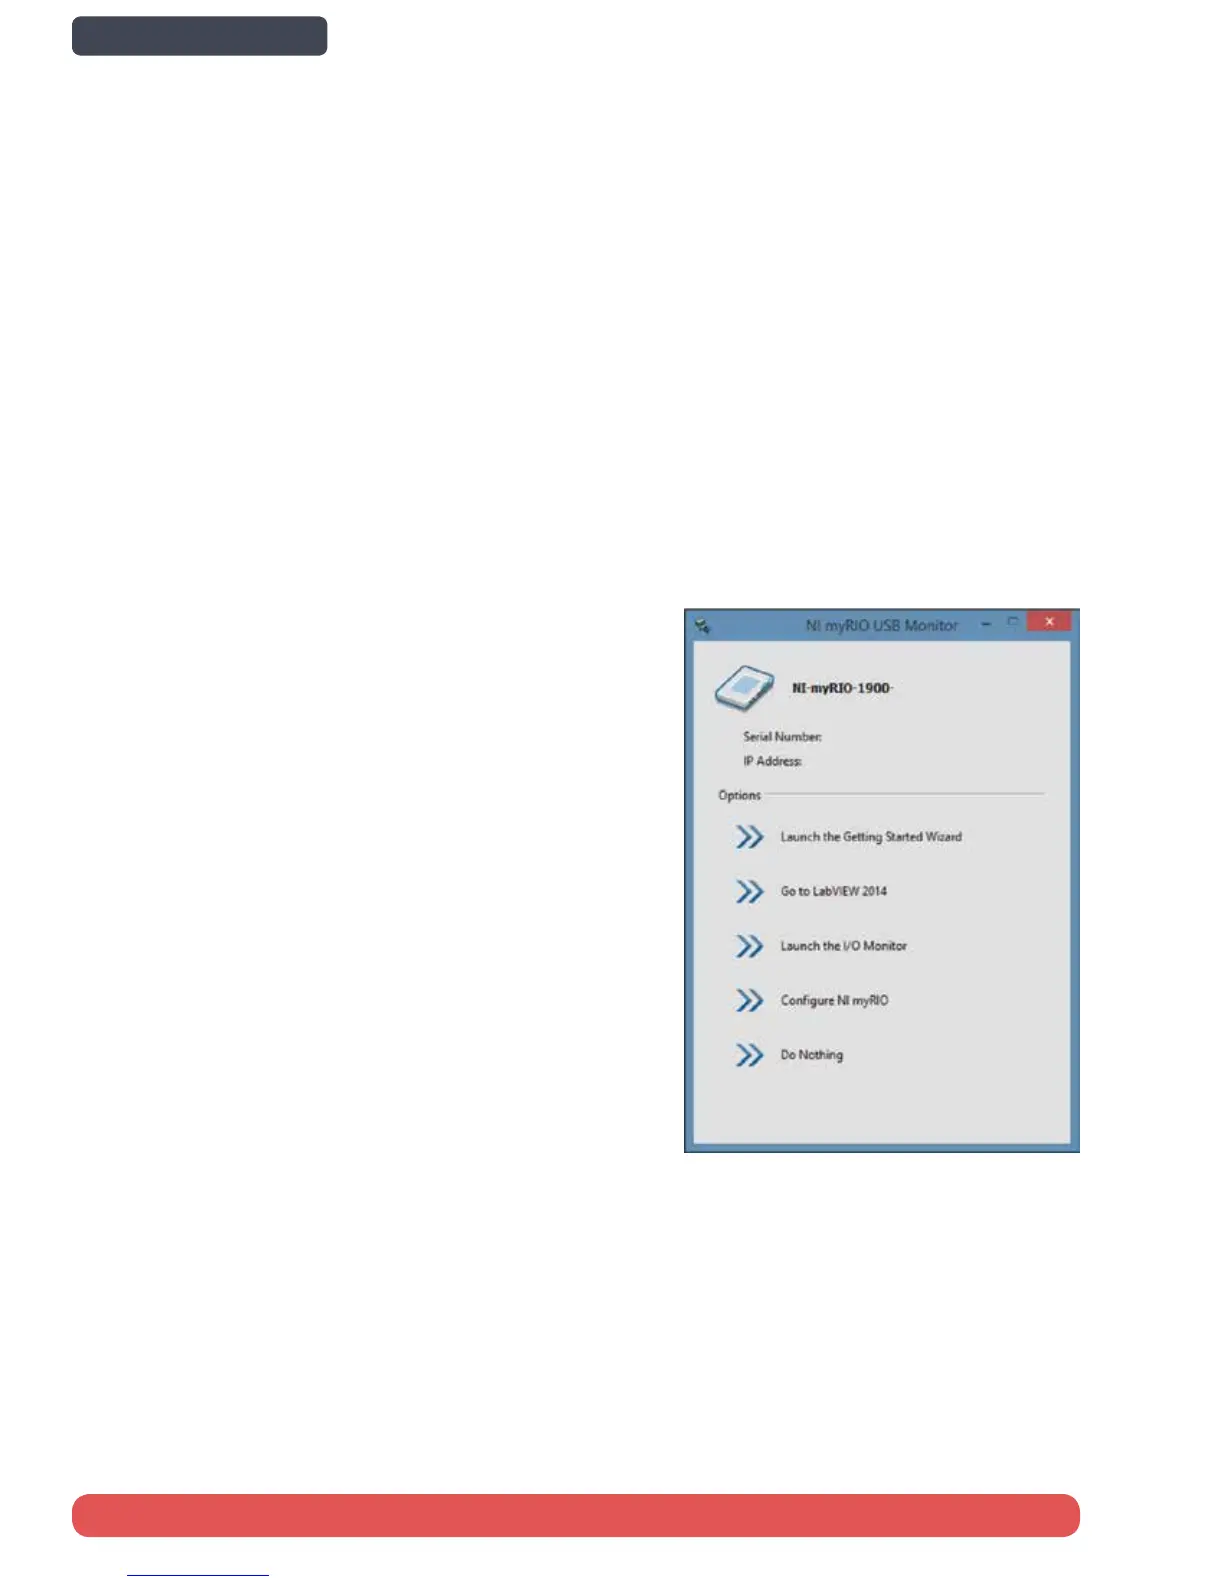
2. After connecting myRIO to power and to your PC using the included USB cable, the myRIO device monitor will
appear and will provide some options. For your first time connecting myRIO to your computer, select “Launch
the Getting Started Wizard.” This will lead you through
identifying myRIO, renaming myRIO, installing software onto
myRIO, and testing the onboard devices.
3. At the end of the Getting Started Wizard, select “Start my first
project now” to be guided through your first experience in
LabVIEW using the locally hosted web tutorial.
4. After completing the tutorials in the tab named “Your First NI
myRIO Program,” move on to the tutorial in the tab “Con-
figuring WiFi on the NI myRIO.” Scroll down to the section
named “Creating a Wireless Network.” Follow the instructions
in this section to use myRIO as an access point to create wire-
less networks. Take note of the SSID you chose and the IPv4
address myRIO was assigned. You will need this information
to wirelessly connect to myRIO from your computer.
5. For more information about getting started with the myRIO,
visit ni.com/myrio/setup/getting-started.
6. Download code to test your system and control the
mechatronic systems described in this guide from ni.com/
tetrix-prime. This will automatically open the VI Package
Manager (VIPM), which will guide you through an installa-
tion process. Though VIPM should have installed in step 1 by
default, if it is not installed, you can visit http://vipm.jki.net/ ,
click Get “VIPM,” and download the free version
7. Find the code in a folder on your desktop in a folder named “National Instruments.”
44 Control System Set Up and Testing
Back to Contents page