58
Mini100/Mini2
57
Mini100/Mini2
■ An IP address has been assigned to the print server
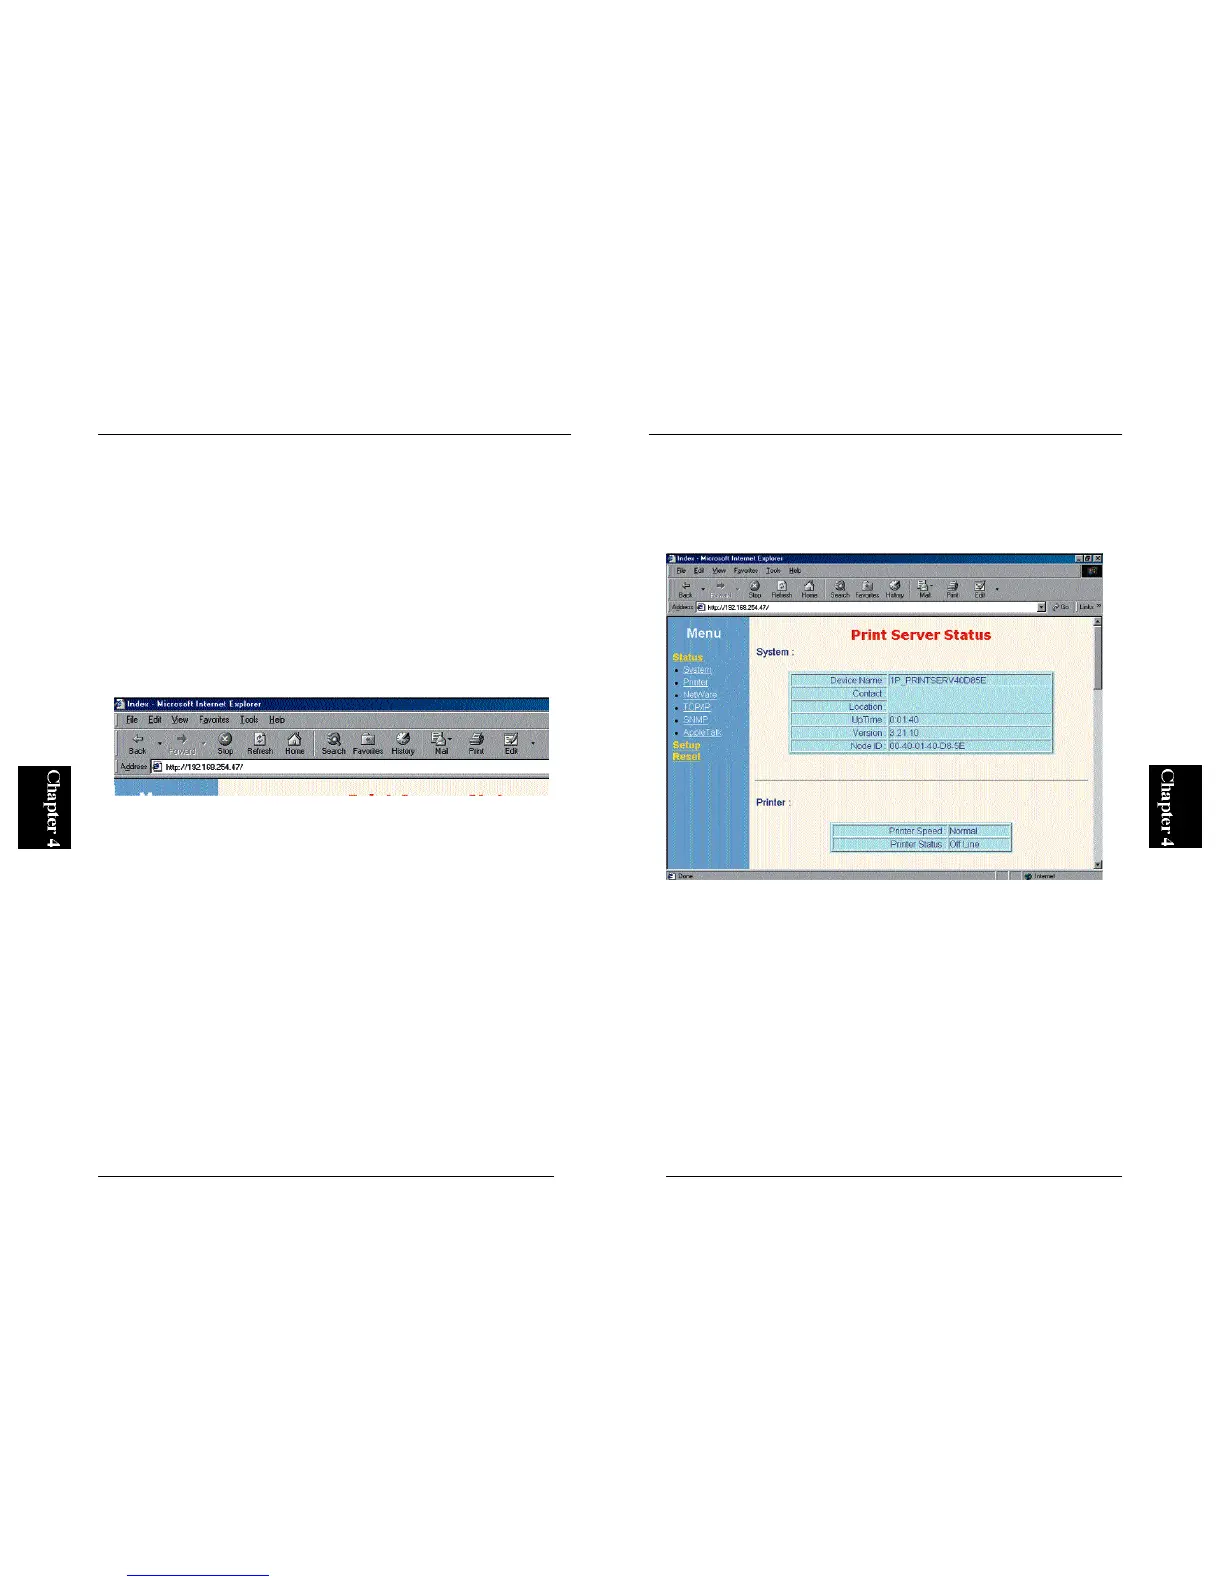
If the print server is already used in a TCP/IP network and an IP address has
been assigned to it, follow the steps below to configure the print server via
your Web browser.
1. Start your Web browser.
2. In the URL address field, enter “http://” and then the IP address of the
print server. Press the Enter key.
Example: Using Internet Explorer to access the print server
Note :
that the IP address displayed above is just an example. Enter the IP address
that has been actually used in your network.
3. A menu of accessible parameters will be displayed on the left. Click on
the menu item you wish to configure. Parameters (tasks) that are
configured in Smart Print Manager 2 are also accessible from the We b
browser.
4. After you have configured the parameters, click on the “Save” item in the
Setup menu. Click on the Save button to save the new settings.
● 4-3-c Using commands to configure the print server
■WindowsNT
1. From Start, select Program and then MS-DOS Prompt. A small window
titled “MS-DOS Prompt” will be displayed.
2. Use the “arp” command to assign a temporary IP address to the print