BEFORE EXPOSURE
6 Planmeca ProSensor
User’s Manual
7 BEFORE EXPOSURE
NOTE Detailed instructions for using Planmeca ProX X-ray
unit and Planmeca Romexis software are given in
their User’s manual, which should be used in
conjunction with this manual.
NOTE It is recommended to use a sensor holder. Select the
correct sensor holder according to the type of
exposure, refer to the sensor holder manual supplied
with the sensor holder package.
NOTE In case the environment temperature reaches 40°C
the sensor surface warms up to its maximum
temperature of 49°C and may feel warm. The surface
temperature of the sensor cools off when in patient
contact.
7.1 Positioning the patient
Ask the patient to sit down. Place a protective lead apron
over the patient’s chest.
7.2 Positioning the sensor
When using the sensor for the first time the message
Loading calibration files will appear on the Romexis
window.
NOTE When connecting the same sensor to another
workstation the calibration files will be reloaded.
Select the appropriate sensor and connect it to the
Planmeca ProSensor ControlBox.
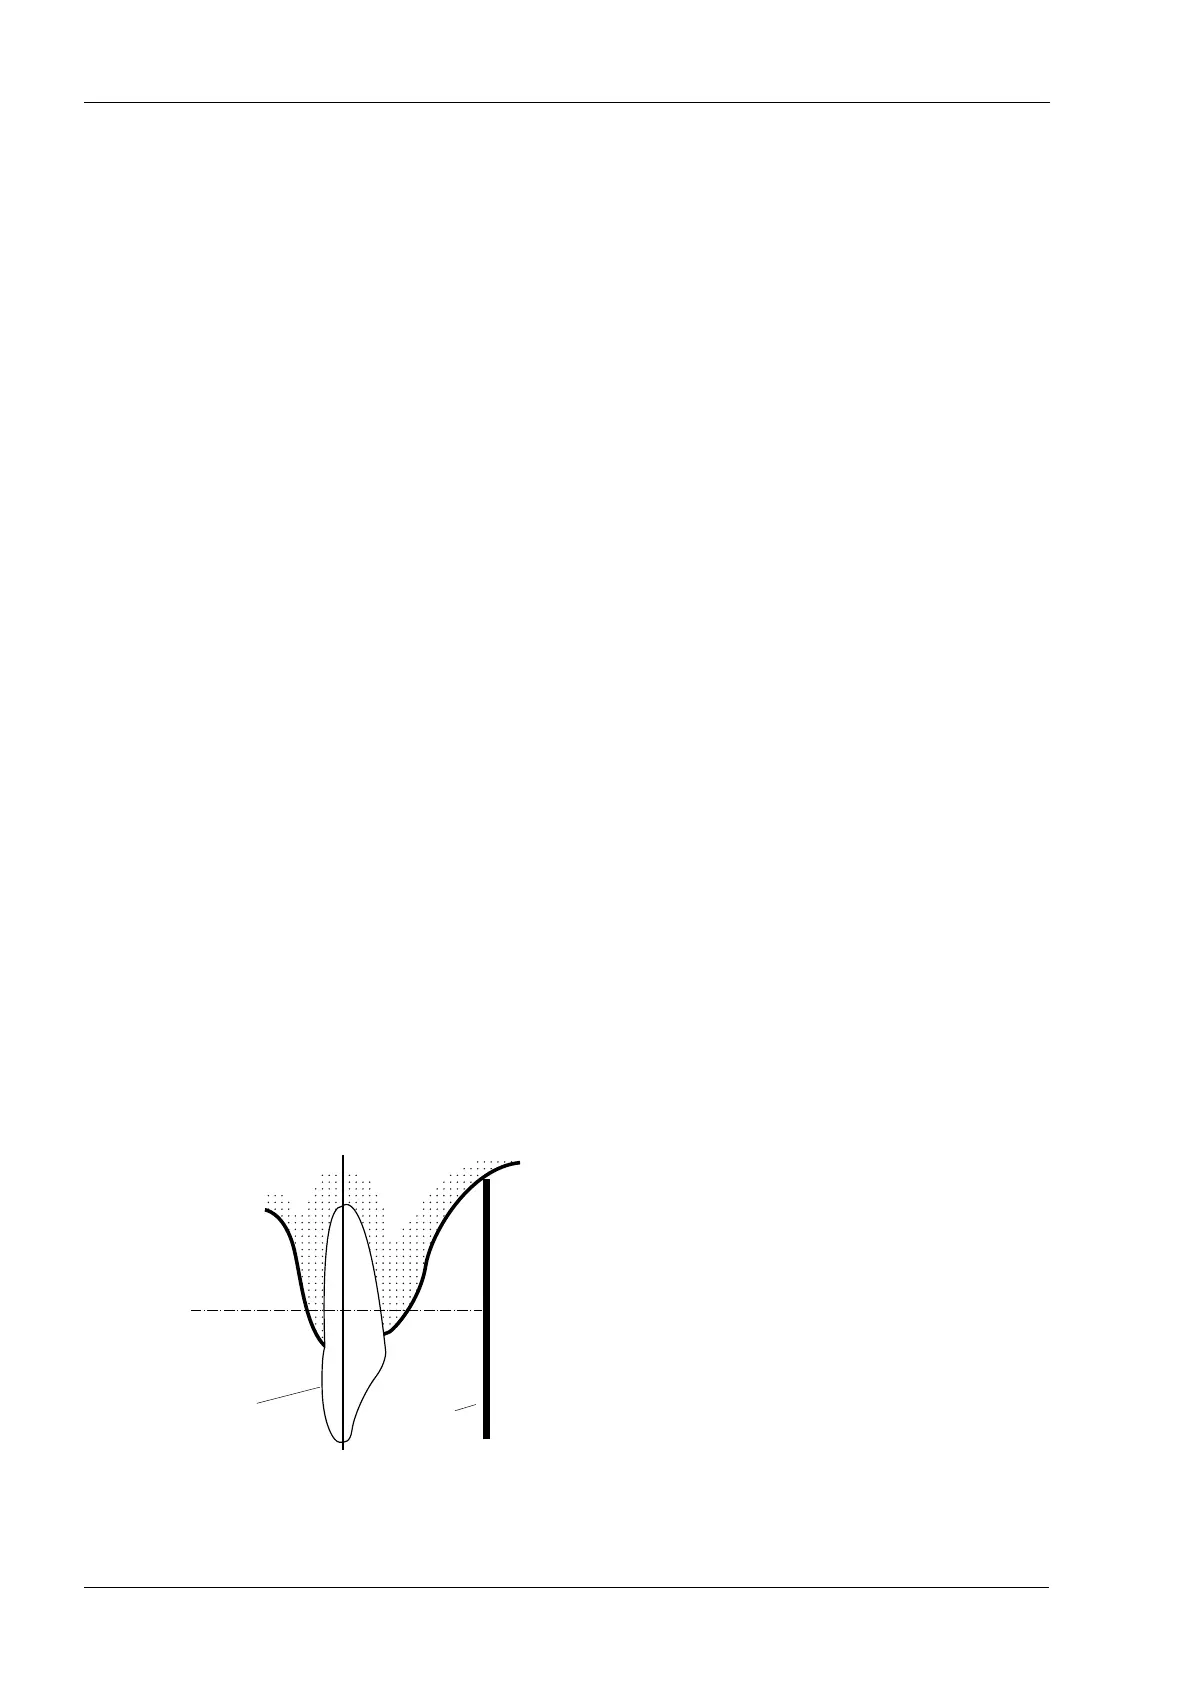
Paralleling technique (recommended)
The sensor is placed to a sensor holder which is used to
align the sensor parallel to the long axis of the tooth.
Use a long cone for the paralleling technique.
Sensor
Long axis
of the tooth