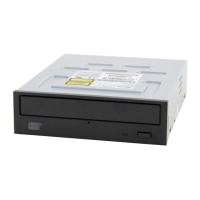
Section 2. Installing the PX-230A Internal ATAPI Drive
PX-230A Installation and Users Manual 19
Select an IDE Configuration
Set the PX-230A’s jumper and cable it according to the desired
configuration. Keep these rules in mind:
• For best CD-RW performance, try to connect the PX-230A to the
IDE port that is not connected to the hard disk drive or to a DVD or
CD-ROM drive. In most cases, this will be the secondary IDE port.
• For best results, set the PX-230A to be the Master, if possible.
• If you have only one device on a cable, always set its jumper as the
Master, never as the Slave.
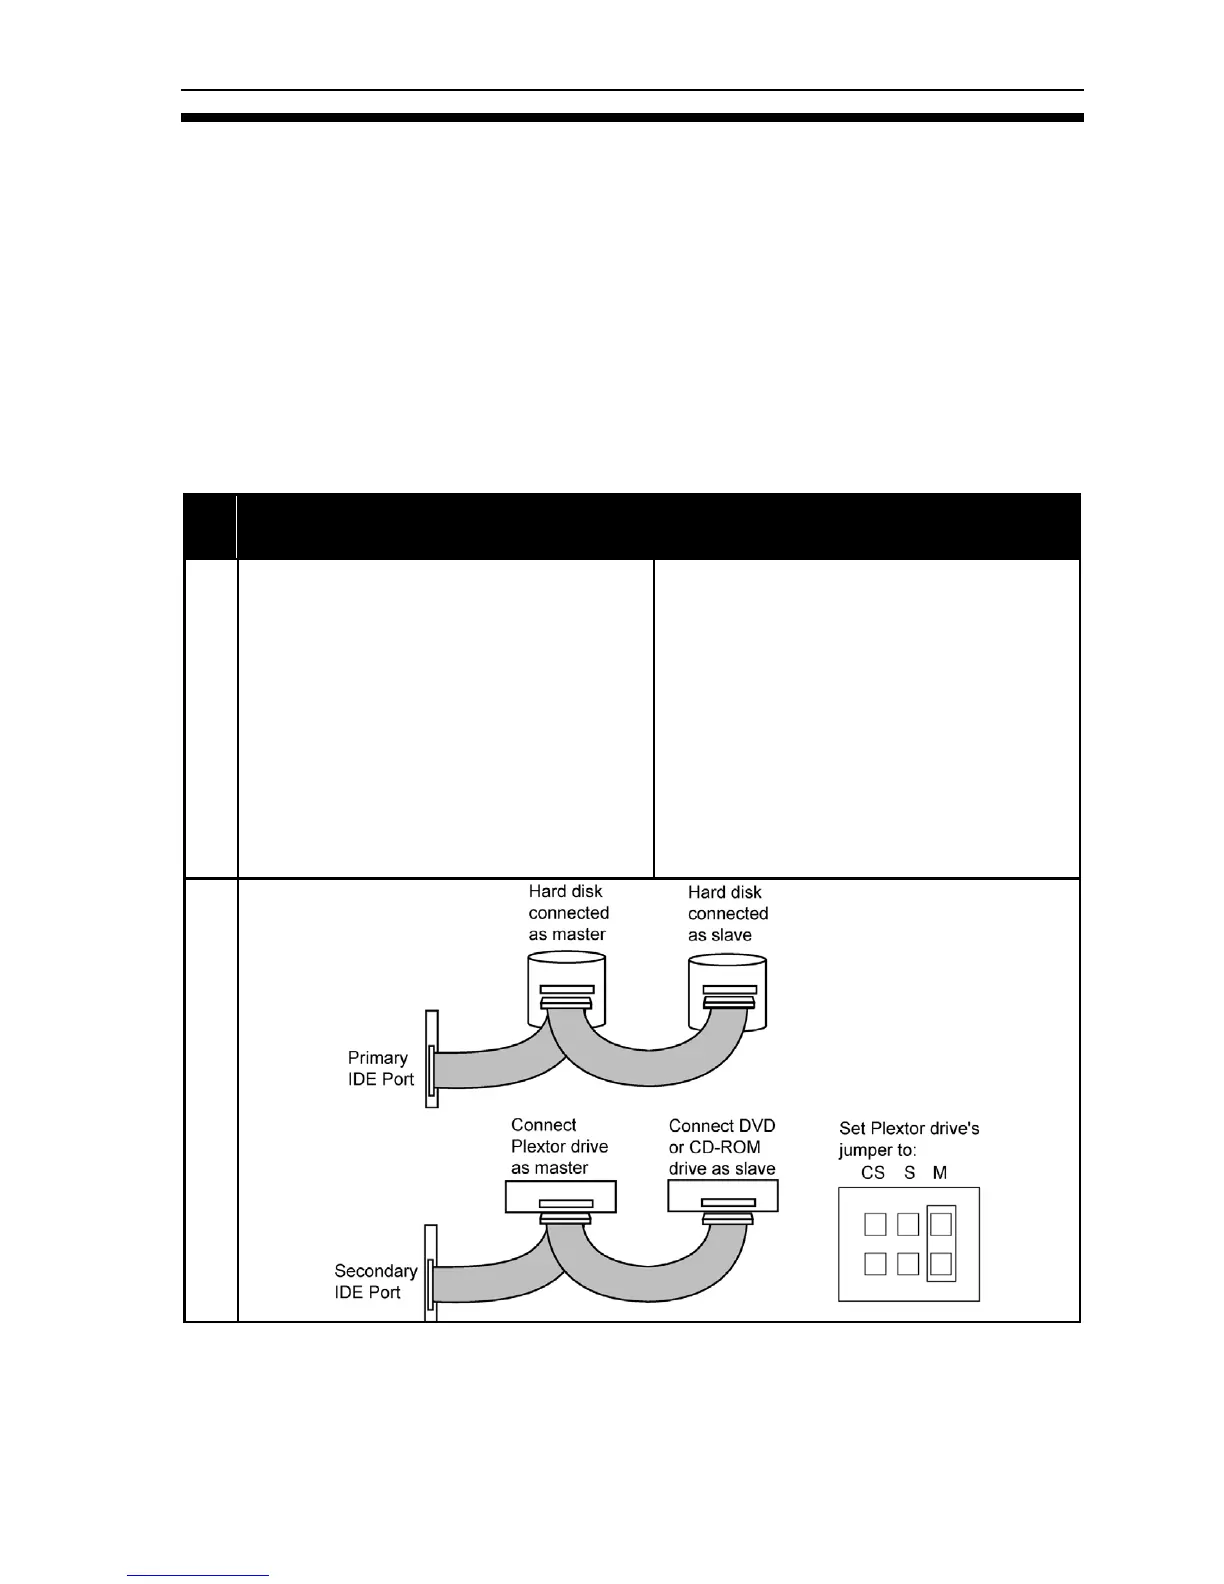
Before PX-230A
Installation
How to Install the
PX-230A
A
Hard disks connected as
Master and Slave devices on
primary IDE port; DVD-ROM or
CD-ROM drive connected as
Master device on secondary
IDE port.
Remove the DVD-ROM or
CD-ROM drive, change it to
Slave, and re-connect it to the
secondary IDE port.
Set the mode jumper to Master,
and connect the PX-230A as
Master device to the secondary
IDE port.
Figure 8. How to install the PX-230A if your computer is originally
set up in configuration A
 Loading...