),..POtNTERAWNC$&
SkyHuntcu40~
MANL:INS:SH:X:XX
6.6 ELT INSTALLATION AND CONNECTIONS
NOTE: When making connections to the face of the ELT be sure
to use silicone grease to aide in creating a water resistant seal
and to help protect against corrosion. Do not use RTV on the
mini USB port or the DB 15 connector.
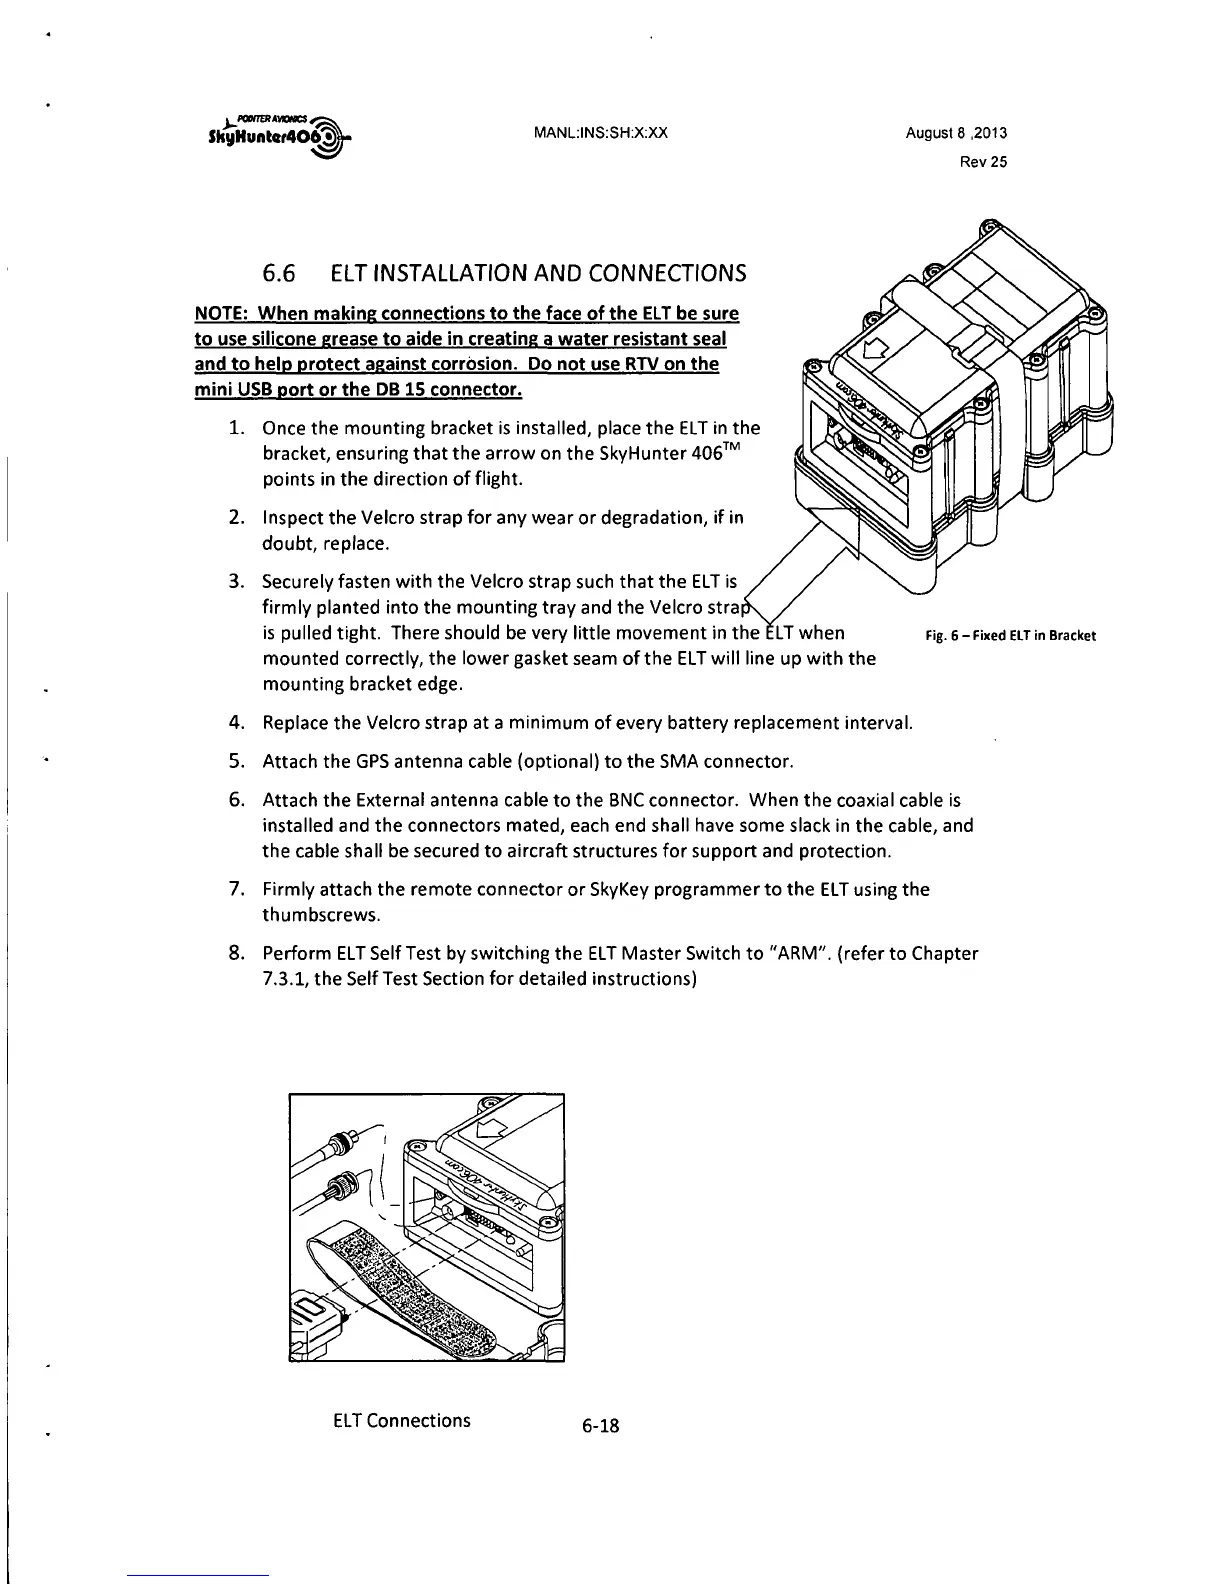
1. Once the mounting bracket is installed, place the ELT in the
bracket, ensuring that the arrow on the SkyHunter
406™
points in the direction of flight.
2. Inspect the Velcro strap for any wear or degradation, if in
doubt, replace.
3. Securely fasten with the Velcro strap such that the ELT is
firmly planted into the mounting tray and the Velcro stra
is pulled tight. There should be very little movement in the
mounted correctly, the lower gasket seam of the ELT will line up with the
mounting bracket edge.
August 8 ,2013
Rev25
Fig. 6 - Fixed ELT in Bracket
4. Replace the Velcro strap at a minimum of every battery replacement interval.
5. Attach the GPS antenna cable (optional) to the SMA connector.
6. Attach the External antenna cable to the BNC connector. When the coaxial cable is
installed and the connectors mated, each end shall have some slack in the cable, and
the cable shall be secured to aircraft structures for support and protection.
7. Firmly attach the remote connector or SkyKey programmer to the EL Tusing the
thumbscrews.
8. Perform ELT SelfTest by switching the EL T Master Switch to "ARM". (refer to Chapter
7.3. 1, the Self Test Section for detailed instructions)
EL T Connections
6-18