6.20
Drive and Brake Systems
9923396 - 2007-2012 EDGE/Widetrak LX Service Manual
©2011 Polaris Sales Inc.
Brake Fluid Replacement & Bleeding
This procedure should be used to change fluid or bleed
brakes during regular maintenance, or after complete
brake service. Brake fluid may damage painted or plastic
surfaces. Take care not to spill, and wipe up any spills
immediately. Cover parts to avoid damage.
1. Clean any dirt from the master cylinder cover.
2. Remove the screws from the cover.
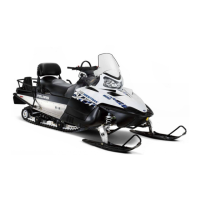
3. Carefully remove the cover and diaphragm assembly
from the reservoir.
4. Under the cover, inspect the vent slots under the
bellows and remove any debris or blockage.
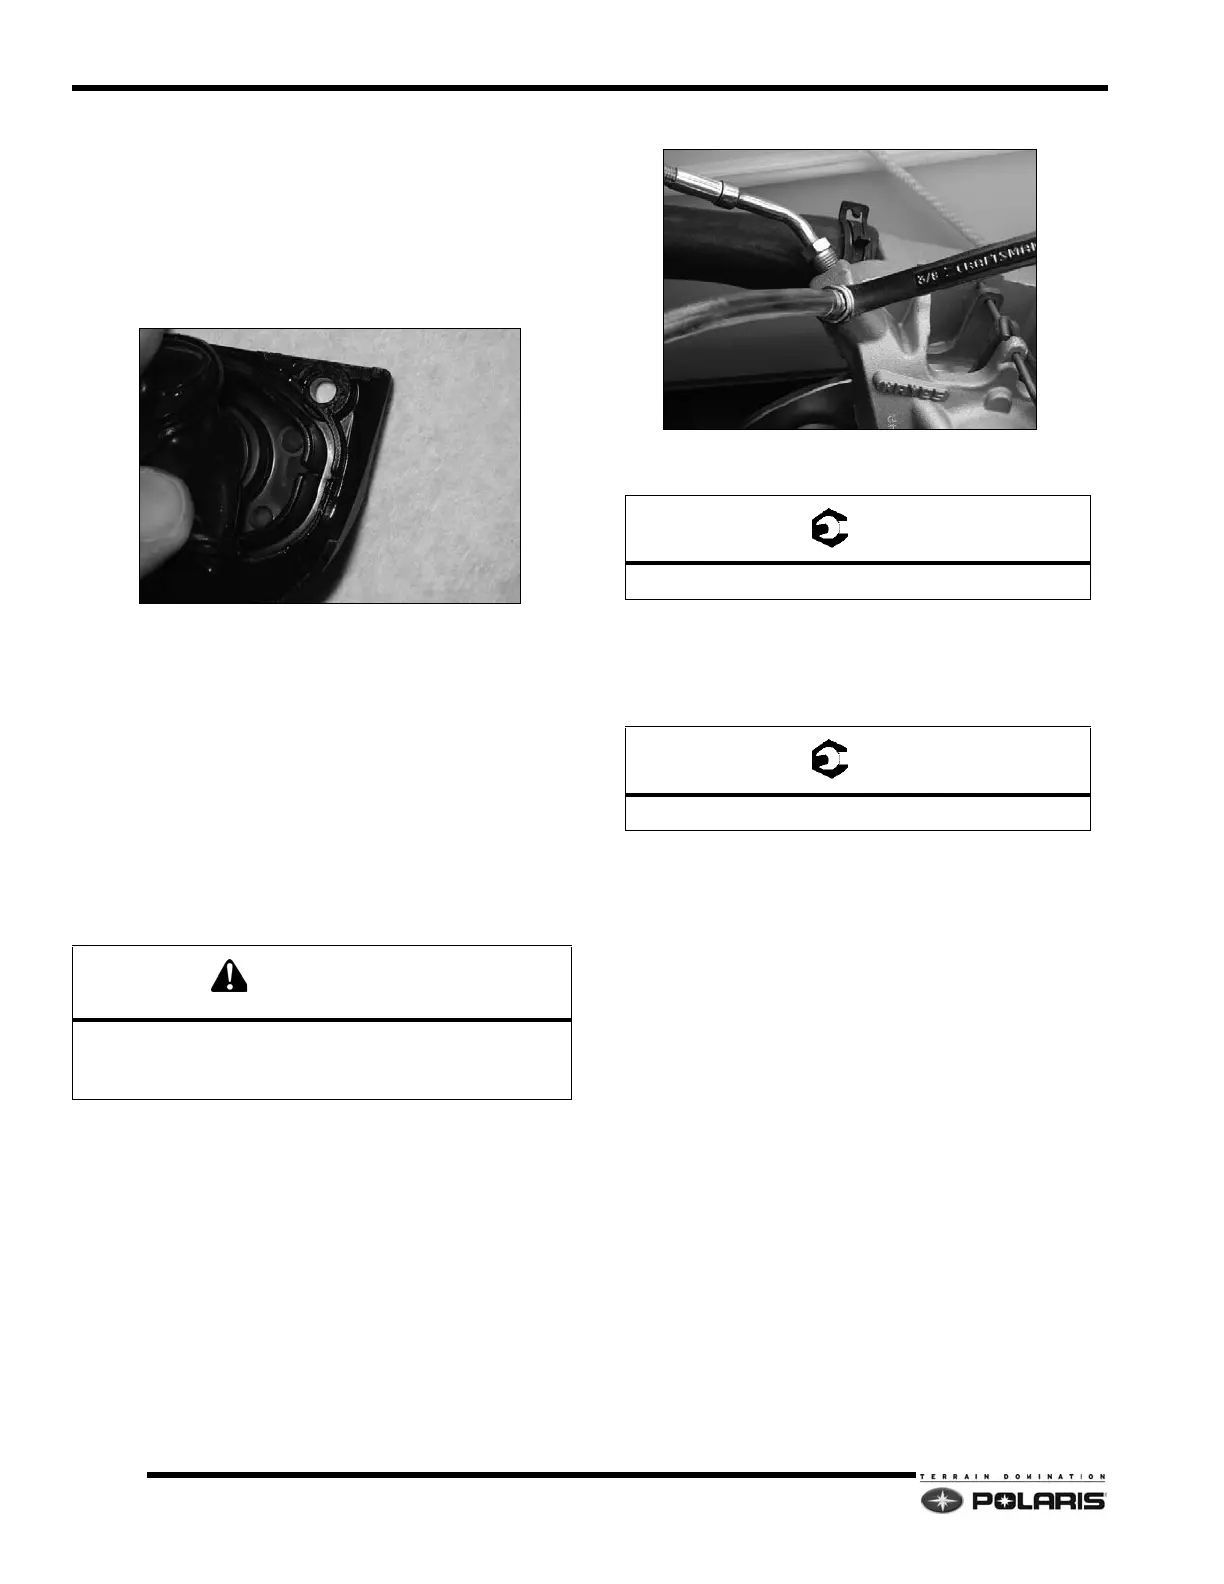
5. Attach a flexible clear hose to the caliper bleeder
screw. Place the other end in a jar or suitable
container.
6. Have an assistant loosen the bleeder valve one full
turn.
7. Slowly compress the brake lever. As the brake lever
is depressed to the end of its stroke, the assistant
must retighten the bleeder valve.
8. Add new brake fluid to the reservoir.
9. Repeat steps 6 through 9 until new brake fluid flows
out of the clear tube or all of the air bubbles disappear
from the brake fluid.
10. After removing the air or replenishing the brake fluid,
actuate the lever. If the lever feels “spongy”, further
bleeding is required. If the lever feels “stiff”, the
system is fully bled.
11. Torque the bleed fitting when finished.
12. When adding fluid, add DOT 4 brake fluid to 1/4"
(.6cm) from the reservoir top.
13. Install cover and diaphragm assembly.
14. Tighten the cover screws.
15. Field test machine before putting into service. Check
for proper braking action and lever reserve. Lever
reserve is when the lever is firmly applied, the lever
reserve should be no less than 1/2" (1.3 cm) from the
handlebar.
NOTE: If the brake lever travel is within specification
and feels “stiff” when the snowmobile is not in
motion, but lever travel increases, or requires more
than one stroke to “pump-up” the brakes when the
snowmobile is in motion, the brake disc may be
warped and requires immediate inspection.
16. Verify that the sight glass indicates a full reservoir.
17. Check brake system for any fluid leaks.
DO NOT RELEASE THE BRAKE LEVER WHEN THE
BLEEDER VALVE IS OPEN. DOING SO MAY
INTRODUCE AIR INTO THE BRAKE HOSE.
Bleeder Screw: 8-11 ft-lb (11-15 N-m)
Cover Screws: 16-20 in-lb (1.8-2.3 N-m)
 Loading...