7.22
PVT System
9923396 - 2007-2012 EDGE/Widetrak LX Service Manual
©2011 Polaris Sales Inc.
Belt-to-Sheave Clearance Adjustment
Belt-to-sheave clearance is an important factor when
evaluating drive clutch performance as it controls the
starting drive ratio and the position of the drive clutch
weights in relation to engine RPM.
If the clearance is too small, the drive belt will drag on the
face of the sheaves when the engine is at idle speed.
If the clearance is too large, the belt will slip during initial
engagement causing belt burning and engine bogging.
Belt-to-sheave clearance can adjusted by installing a
different drive belt, or by adding or removing shims
washers) located under the spider assembly.
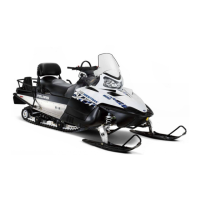
To measure belt-to-sheave clearance, follow these steps:
1. Verify the drive clutch sheave faces are clean and the
drive belt is in good condition.
2. Push the drive belt tight against one side of the drive
clutch sheaves. Measure the opposite-side gap using
a feeler gauge.
3. A slight drag should be felt when inserting the feeler
gauge between the belt and sheave face.
4. Compare measured gap to the specification.
The distance between the moveable and stationary clutch
sheaves and thus the belt-to-sheave clearance is
determined by the number and thickness of the washer(s)
installed between the spider and clutch spacer.
To increase the clearance, add or install thicker washer(s).
To decrease the clearance, remove or install thinner
washer(s). Either way, the belt-to-sheave clearance
adjustment most often requires the spider to be “re-
indexed”.
Spider Indexing
NOTE: Spider indexing effects belt to sheave
clearance and clutch balance. Please read all
procedures before proceeding.
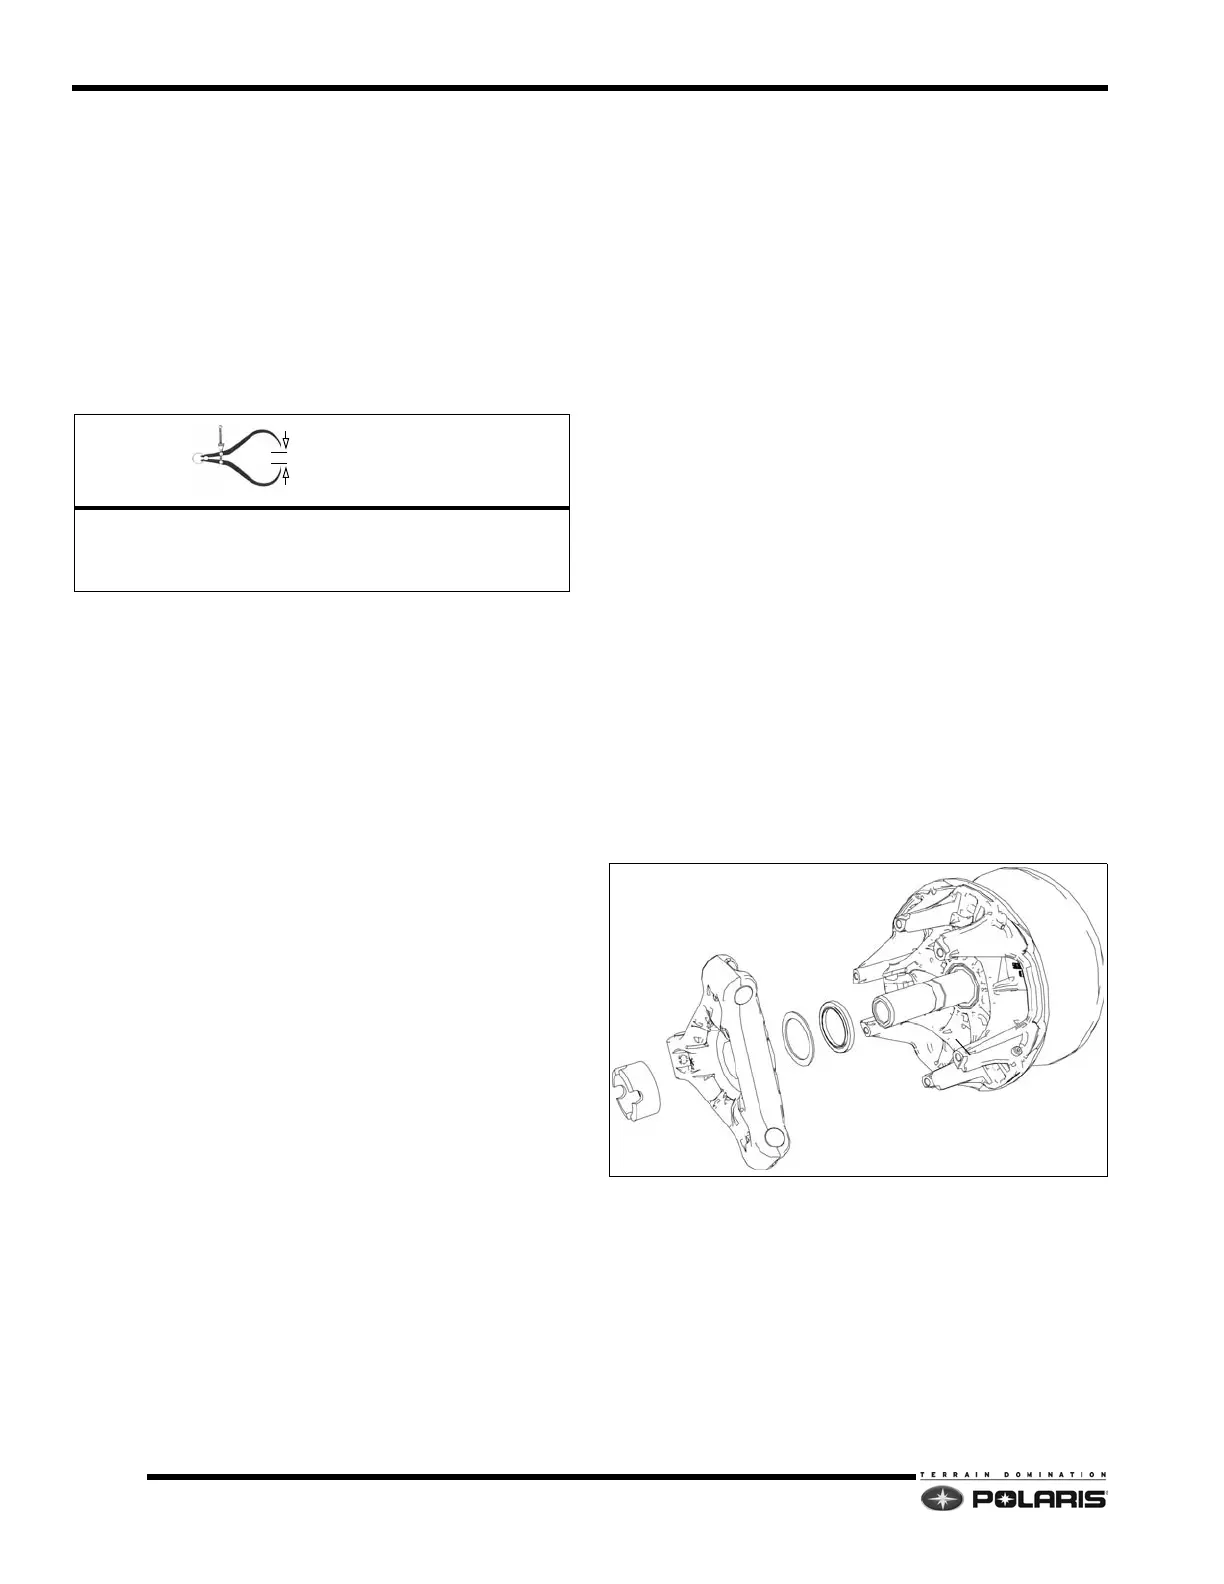
1. Remove and disassemble clutch
2. Add or remove spider washers as required to achieve
desired belt-to-sheave clearance. Make sure that the
stepped washer (A) is on the bottom of the spacer
stack (B). For example: If belt to sheave clearance is
.020 too large, removing one .020 shim will position
the movable sheave closer to the fixed sheave
reducing belt to sheave clearance by .020.
NOTE: Install the clutch spacer (stepped washer)
with the lip facing the spider.
3. Place the correct number of spacer washers (B)
between the spider and clutch spacer (stepped
washer). The following washers are available for fine
tuning:
• 5210752 - .020 (.51mm)
• 5242981 - .025 (.63mm)
• 5210753 - .032 (.81mm)
• 5210754 - .050 (1.27mm)
4. Install spider washer(s) and spider aligning the “X”
with the moveable sheave’s “X”. Notice as the spider
seat location is changed, the sheave marks made
before disassembly no longer align (C). There are two
ways to bring the sheave marks into alignment.
Belt-to-Sheave Clearance
Nominal = .020in. (0.508mm)
Range = .005 - .035in. (0.127 - 0.89mm)
 Loading...