Page 14
Contact Directory
Managing Contacts
You can enter 99 contacts in your phone’s Contact Directory.
You can add, edit, delete, dial, or search for a contact in this directory.
You can add a contact manually or from a call list.
New entries to the Contact Directory are added to the top of the list.
To View your Contact Directory
1. Press the More soft key to locate the Dir soft key.
2. Press the Dir soft key to view your current list.
To Add a Contact Manually
1. Press the More soft key to locate the Dir soft key.
2. Press the Dir soft key to view your current list or to add a new contact.
3. When you see <New Entry> press the check mark in the middle of the arrow keys.
4. Entry to this field is alphabetic as denoted by Abc.
5. Enter the first name of the contact from the dial pad.
6. Press the Ok or Cancel soft keys to accept or cancel changes.
7. Press the Down Arrow to display the next field in the contact’s entry.
8. Repeat steps 3 to 6 to enter the last name of the contact.
9. Repeat steps 3 to 6 to enter a contact number. Contact number can be either an
extension number or a telephone number. This is a required field and it must be
unique (not already in the directory). Entry to this field is number as denoted by 123.
10. Repeat steps 3 to 6 to change the Speed Dial Index if desired. It is automatically
assigned to the next available index value. For more information, refer to Assigning
Speed Dial Indexes.
11. Repeat steps 3 to 6 to change the Ring Type and Divert Contact if desired. These
fields may be left blank. For more information on setting the Ring Type field, refer to
Distinguishing Calls.
12. Repeat steps 3 to 6 to change the Auto Reject. For more information on setting the
Auto Reject field, refer to Rejecting Calls.
13. Press the Left Arrow key to end contact’s data entry.
14. Press the Yes or Cancel soft keys to accept or cancel changes.
15. Press the Left Arrow key repeatedly to return to the idle display. You may add another
entry by repeating steps 3 to 13.
How to Setup Speed Dial Lists
To assign a speed dial index, first follow the CONTACT DIRECTORY above.
To dial a contact associated with a speed dial index:
1. Using the dial pad, enter the speed dial index followed by #. (ie. if Bill is 4th on your
speed dial list, press 4#)
2. Press Dial or pick up the handset to complete the call
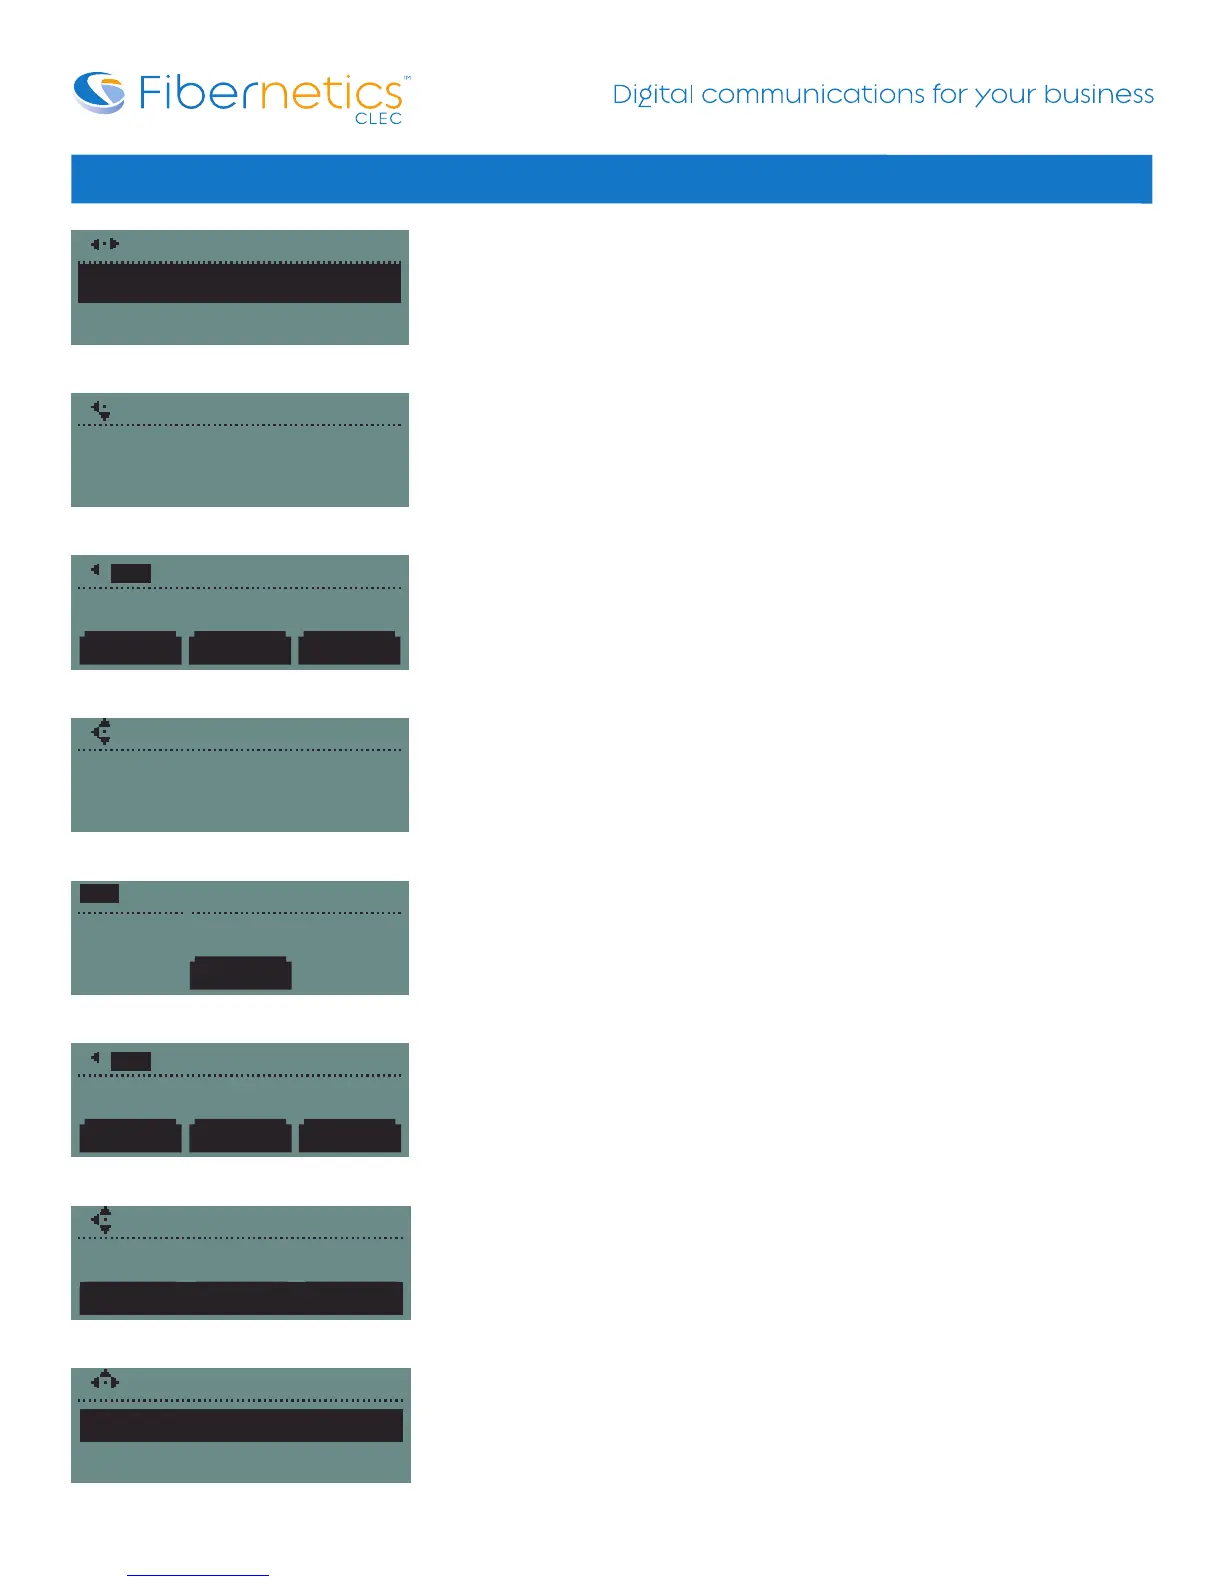
Directory
>New Entry<
Add T o Directory
First Name:
Firs t Name:
John
Ok
Cancel
>>
Abc
Add T o Directory
Last Name:
Las t Name:
Smith
Cancel
Abc
Contact:
637
Ok
Cancel
>>
123
Add to Directory
Speed Dial Index:
Cancel
>>
1
Directory
1 John Smith (637)
New Entry Directory Screen
First Name Entry Screen
Add First Name
Last Name Entry Screen
Enter Last Name
Enter Contact Name
Add Speed Dial Index
Directory Entry showing Speed Dial Index, Name, Contact #