960 Stewart Drive Sunnyvale, CA 94085 USA Phone +1.408.331.3300 +1.877.80SHORE Fax +1.408.331.3333 www.ShoreTel.com
- 21 -
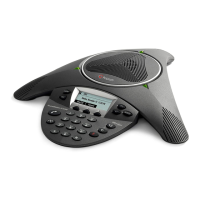
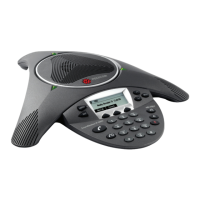
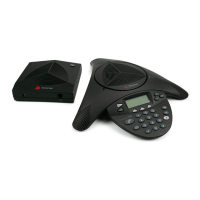
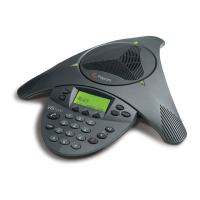
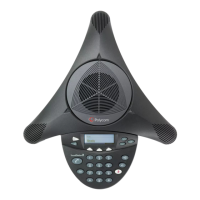
Polycom SoundStation IP Configuration
To setup the Polycom SoundStation IP conference phones with the ShoreTel system, it must first be installed and
operating on the network, please refer to the respective SoundStation IP Quick Start Guide or SoundPoint IP /
SoundStation IP Administrators Guide at http://www.polycom.com/voicedocumentation.
Note: Polycom recommends using configuration files hosted by a centralized server for all SoundStation IP
conference phone configuration and settings. Please see Polycom’s whitepaper on configuration file management in
the troubleshooting section at the end of this document. If a centralized server is unavailable, you may configure the
devices by hand as directed below.
SoundStation IP Phone Settings – Phone User Interface
The following settings will be managed through the phone’s user interface (PhoneUI):
1. Press the “Menu” button on the conference phone to enter the “Main Menu” screen.
2. Scroll down using the down arrow key to item “3. Settings…” and press the “Select” key to enter the
“Settings” screen, or press the number “3” on the dial key pad.
3. Scroll down using the down arrow key to item “2. Advanced…” and press the “Select” key, or press the
number “2” on the dial key pad.
4. At the “Password” display prompt, enter the password (the default is 456) and press the soft key under the
“Enter” text that appears on the LCD display.
5. On the “Advanced” screen, the “1. Admin Settings…” parameter should be highlighted. Press the “Select”
key or press the number “1” on the dial key pad to select the “Admin Settings” menu.
6. Scroll down using the down arrow key to item “2. SIP Configuration…” and press the “Select” key, or
press the number “2” on the dial key pad.
7. On the “SIP Configuration” screen for “Server:” press “Edit” and press the “1/A/a” soft key until the
screen title “SIP Configuration(1/Ascii)” appears.
8. Enter the IP address for the ShoreGear Switch using the keypad (use “*” key to enter the periods in the IP
address), and then press “Ok” to enter.
9. Press the “Back” key to exit the “Server Configuration” menu.
10. The “SIP Configuration” menu is displayed again and the “Outbound Proxy” parameter should be
highlighted. If it is not, use the scroll keys to highlight the “Outbound Proxy” parameter. Now press the
“Select” key.
11. The “Outbound Proxy” configuration menu is displayed with the “Address:” field highlighted, press the
“Edit” key.
12. On the “Outbound Proxy” sub-menu, press the “1/A/a” softkey until the screen title “Outbound
Proxy(1/Ascii)” appears.
 Loading...