page 17
Diagram 13
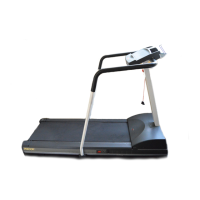
15. Level the unit. Diagram 13. The M9.31 has adjustable rear feet. Check to make
sure that the running surface is level (use a bubble level as shown in Diagram 13).
If the treadmill is placed on a slightly, uneven surface, adjusting the rear feet can
help, but will not compensate for extremely uneven surfaces.
Important: If you need to make adjustments, adjust one rear foot at a time. Do
not use the rear foot to raise or lower the unit more than ¾-inches. Check the
level of the unit after each adjustment.
16. Adjust the rear deck. Diagram 13, #3. To raise the rear deck, insert the ¼-inch
hex key (G). Make sure that the key is fully engaged and turn it clockwise.
Turning the hex key counterclockwise lowers the unit.
2
1
Level
the
unit.
17. Connect the power cord. Diagram 14, #1. Insert the power plug’s connector into
the receptacle at the front of the treadmill.
18. Plug the M9.31 into a grounded outlet. Be sure to use the appropriate voltage
and amperage requirements. Refer to
Grounding Instructions on page 5
.
3
1
Connect the power
cord and turn on the
treadmill.
2
Diagram 14
CAUTION: Never remove or bypass the
3-prong plug on the unit’s power cord with
an adapter. Do not use a non-grounded
outlet. Do not plug the treadmill into a
power transformer in an attempt to adjust
the voltage requirements.
Power receptacle
Power cord
ON/OFF power switch
Hood