page 16
3
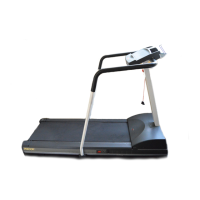
Diagram 11
Secure the fasteners.
Diagram 12
CAUTION: Do not overtighten the screws
or you may inadvertently cause stress
cracks.
Tighten the
handrail
fasteners.
First: Alternately
tighten four front
panel screws.
Third: Alternately
tighten the four
screws that secure
the console to the
uprights.
1
2
Center handrail
clamp screws (2)
Side bracket
Second: Alternately
tighten four side
upright screws.
13. Tighten all mounting screws with the hex key (G) provided. Diagram 11.
Start at the front of the treadmill with the four screws that attach the upright supports
to the front panel. Tightening these screws first helps pull the rest of the treadmill’s
parts into alignment. Then, proceed with tightening the four screws (A) that secure
the upright supports and the four display console assembly screws (C).
14. Tighten all the center handrail fasteners. Diagram 12. Start with tightening the
two side bracket screws and work inward. See Diagram 12, #1. So that you don’t
overtighten the fasteners, hold the supplied hex key by its 3-inch section and
tighten the two center clamp screws. Refer to Diagram 12, #2. Next, tighten the
four console bracket screws. Refer to Diagram 12, #3.
1
2
Center console
bracket screws (4)
3