19
3.2 Connecting the StudioLive CS18AI to one StudioLive RM Mixer
Your StudioLive CS18AI can be connected to a single
StudioLive RM-series mixer in any of these ways:
• Using an Ethernet cable from the CS18AI directly to an RM-
series mixer, with no switch or router in between.
• Using Ethernet cables to connect both the CS18AI
and an RM-series mixer to an AVB switch.
• Using Ethernet cables to connect both the CS18AI and an
RM-series mixer to a standard Ethernet router.
• Using the included USB Wi-Fi LAN adapter to connect the CS18AI wirelessly
to a standard Ethernet router that is connected to an RM-series mixer.
Note: The last two configurations use standard Ethernet instead of AVB, which enables
you to control your RM-series mixer but doesn’t support AVB audio operation.
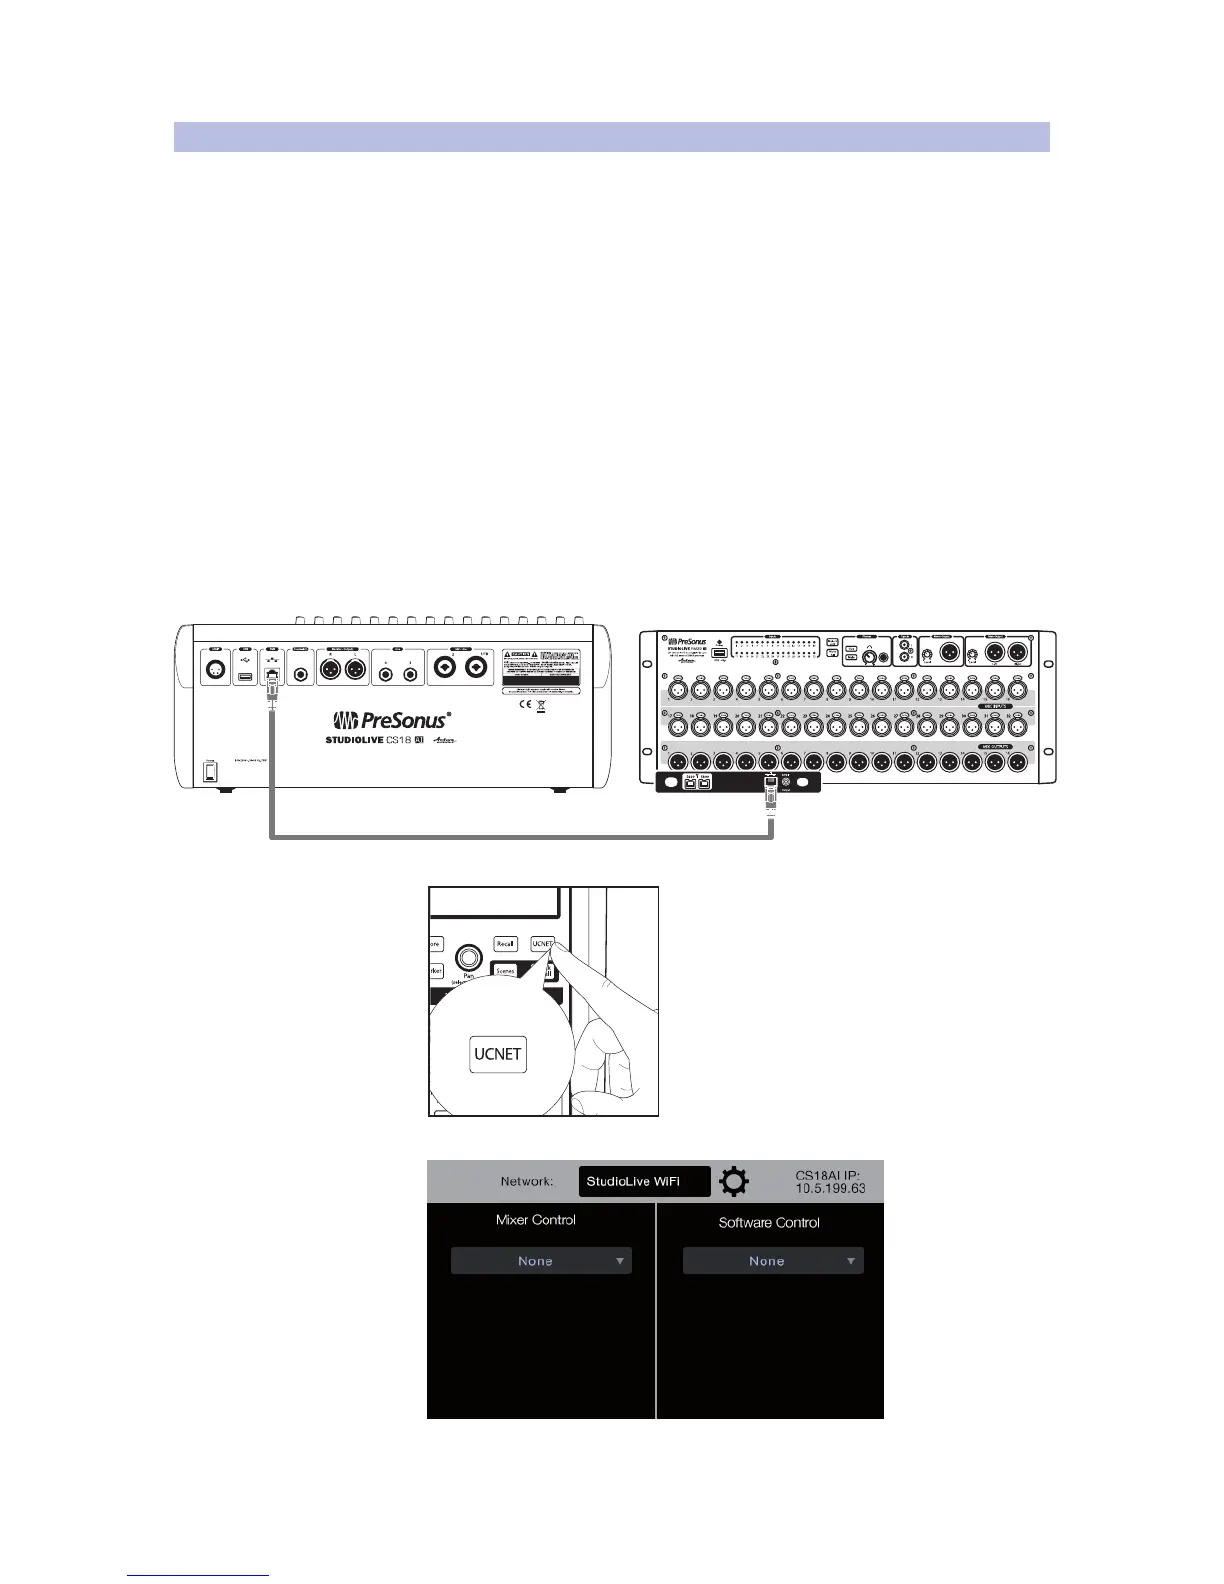
Connecting Directly to Your RM Mixer
To connect directly between an RM-series mixer and a CS18AI:
1. Connect a CAT5e or CAT6 cable from the AVB port on the rear panel
of the CS18AI to the Control port on the RM-series mixer.
2. Press the UCNET button in the Master Control area.
The Network Connection page appears on the display.