Accessories and Setting
142
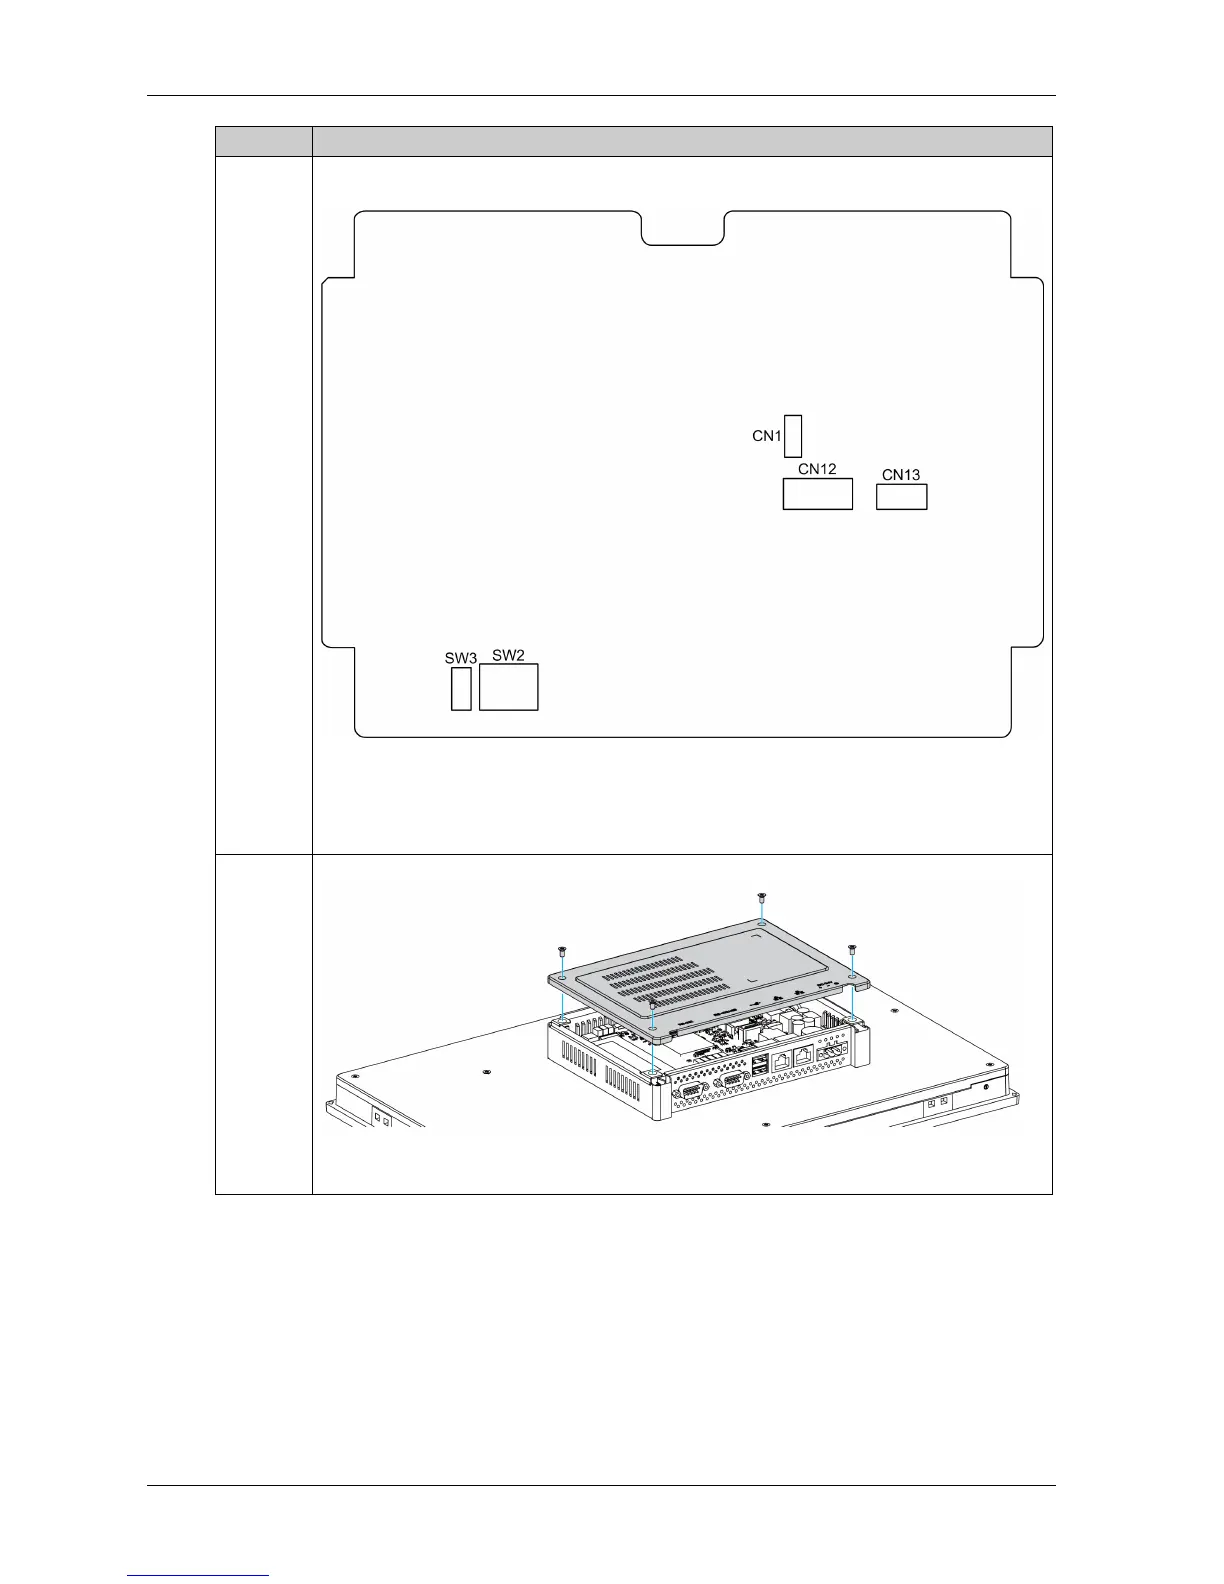
4 You can access connectors and setting of the main board.
The figure shows the main board of the Slim Panel:
CN1 Clear CMOS
CN12 SATA signal connector
CN13 SATA power connector
SW2 COM2 RS-232/422/485 mode setting
SW3 Termination resistors select
5 Replace the rear cover and fasten it with four screws:
NOTE: The recommended torque to tighten these screws is 0.5 Nm (4.5 lb-in).
Step Action