A Full Test consists in applying loads on the meter for at least 20 seconds (the time
can be modified) for each loads HL, PF and LL. Please note that the three potential
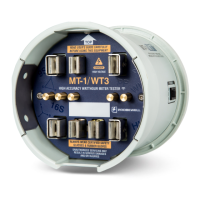
coils of the meter are automatically switched in parallel by the socket.
1. Connecting the Optical Pickup
To connect the cables:
• Plug the RJ12 connector at the end of the Optical Pickup’s straight cable
into the socket’s I/O port.
• Look for the meter’s LED output pulse and position the Optical Pickup’s
suction cup over it.
Note: An adapter may be required on some meters and can be purchased as an
option.
2. Performing a Full Test
Once the installation is complete and the connection to the socket and meter setup
is done (see previous section), you can proceed with the test.
Select “Full Test”.
Start the sequence. The load current will increase to HL, the meter will start to send
pulses and the internal electronic standard will begin to register the energy passing
through the meter. The test can be stopped at any time.
In addition to the test parameters appearing on the display, you can see the voltage
and current applied to the meter, the chronometer and the cumulated energy
registered by the electronic standard.
While testing, you can check the partial results of the test scrolling up and down the
screen. You will get the results as they come in.
3. Obtaining and Saving Test Results
After the three test points, the watthour measurement period ends automatically.
Then, the load is removed and three test results are displayed: one for HL, one for