ENGLISH
Translation of the original German user manual 28
Caution!
Danger of injury: The following parts are hot or may become hot:
• area around the steam handle and the hot water handle
• steam and hot water wands
• portafilter
• brew group
• body (upper part and side frames)
Power: 1400 W
Water tank: approx. 2.8 l
Boiler volume: 1.6 l
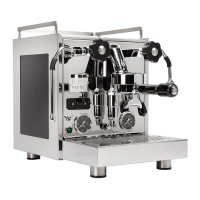
Measurements: W 228 mm x D 448 mm x H 372 mm
Measurements with portafilter: W 228 mm x D 558 mm x H 372 mm
Weight: 21.5 kg
4 MACHINE INSTALLATION
4.1 Preparation for installation
• Place the machine on an even and stable surface.
• Ensure that the machine is on a water-resistant surface in case of water spillage or
leakage.
• Do not place the machine on hot surfaces.
4.2 Electrical connection
• Ensure that the local main voltage supply corresponds to the information on the
machine label on the front panel of the espresso machine.
• Ensure that you use the correct power plug for your country.
• Plug the machine into a grounded socket only and do not leave it unattended.
• Do not roll or bend the power cord.
• Do not use a power extension cord or a multiple socket.
5 FIRST USE
Read the instruction manual carefully prior to operating the machine.
Prior to starting the machine, check if:
• the steam and hot water valves are closed.
• the machine is switched off. (Power switch in lower position.)
• the power cord is disconnected.
• the drip tray is inserted correctly.
• the machine is placed on a water resistant surface.
Now you can start up your machine:
1 Open the cup warmer tray.
2 Take out the water tank and rinse thoroughly.
3 Fill the water tank with fresh water low in lime, place it back into the water tank guides and close the
cup warmer tray.
4 Insert the power plug into the wall socket. Turn the power switch to “ON”. The machine is now on.